> ## Documentation Index
> Fetch the complete documentation index at: https://docs.openhome.com/llms.txt
> Use this file to discover all available pages before exploring further.
# OpenHome DevKit Reflash Guide
> Reflash the OpenHome OS image on your DevKit to restore it to a clean working state.
Every OpenHome DevKit ships pre-flashed with OpenHome OS on its included SD card. If your DevKit runs into an issue that prevents normal operation — for example:
* A firmware upgrade fails or gets stuck partway through.
* A factory reset fails or leaves the device in a broken state.
* The device becomes unresponsive or fails to boot.
* The Agent stops responding to voice and standard troubleshooting does not recover it.
…reflashing the SD card with a fresh OpenHome OS image will restore the device to a clean working state.
## Prerequisites
Before you start, make sure you have:
* **An SD card** — the SD card included with your DevKit is recommended, or a spare card (**16 GB minimum**).
* **An SD card reader** for your computer.
* **[Raspberry Pi Imager](https://www.raspberrypi.com/software/)** installed on your computer.
* **The OpenHome OS image**, downloaded from the link in Step 1 below.
 ## Step 1: Download the OpenHome OS image
Download the latest OpenHome OS image from the OpenHome Drive folder. Save the file somewhere you can find it — you will select it from Raspberry Pi Imager in Step 3.
## Step 2: Prepare the SD card
If you are reusing the SD card from your DevKit:
1. Power off your DevKit completely and wait for it to fully shut down.
2. Carefully eject the SD card from the DevKit's SD card slot.
3. Insert the SD card into your computer using the SD card reader.
If you are using a spare SD card (16 GB or larger), insert it into your computer using the SD card reader instead.
## Step 3: Flash the image with Raspberry Pi Imager
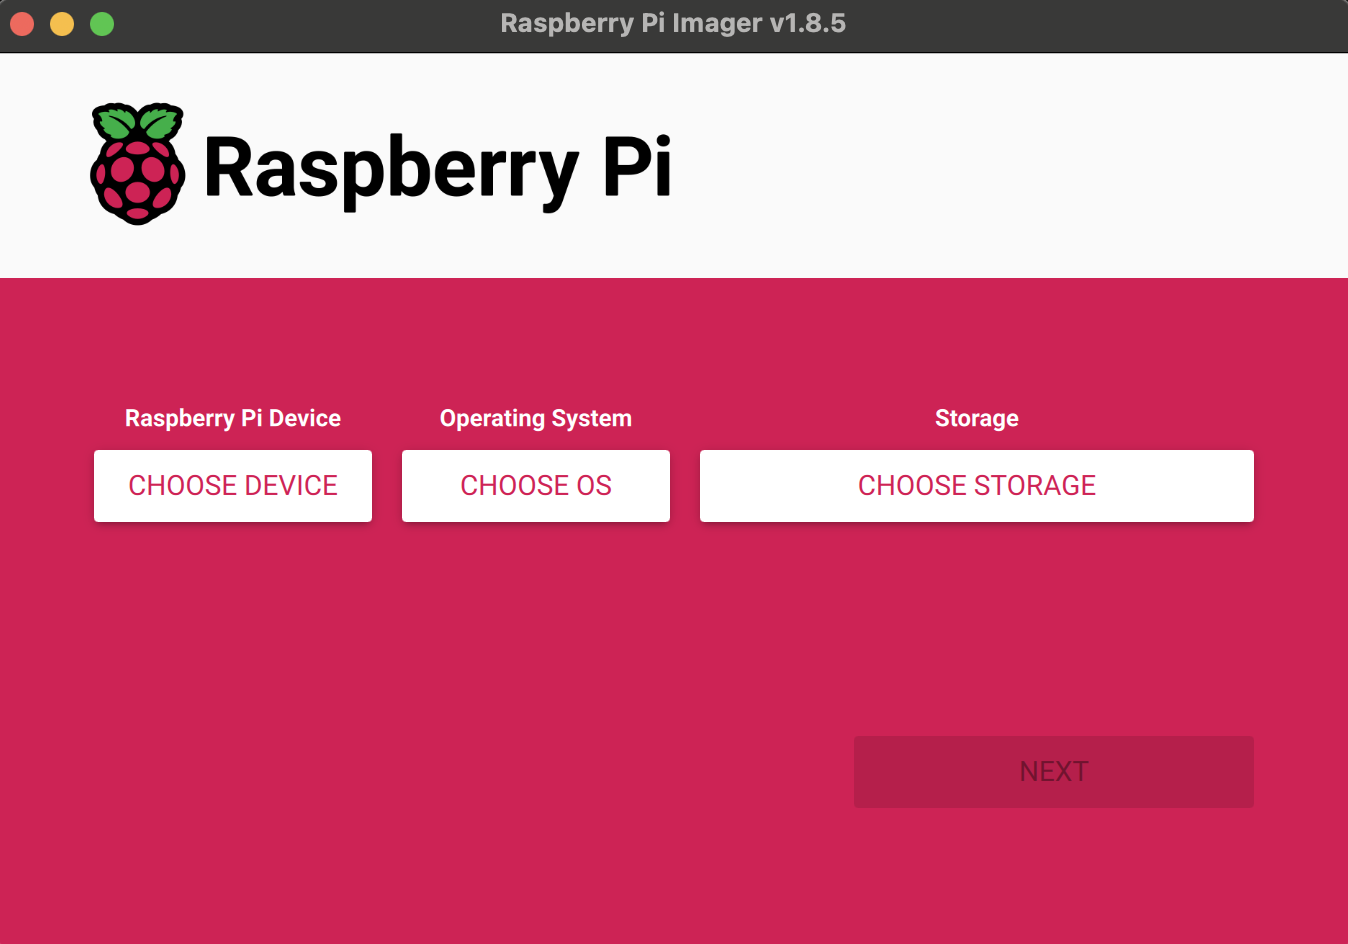
1. Open **Raspberry Pi Imager**.
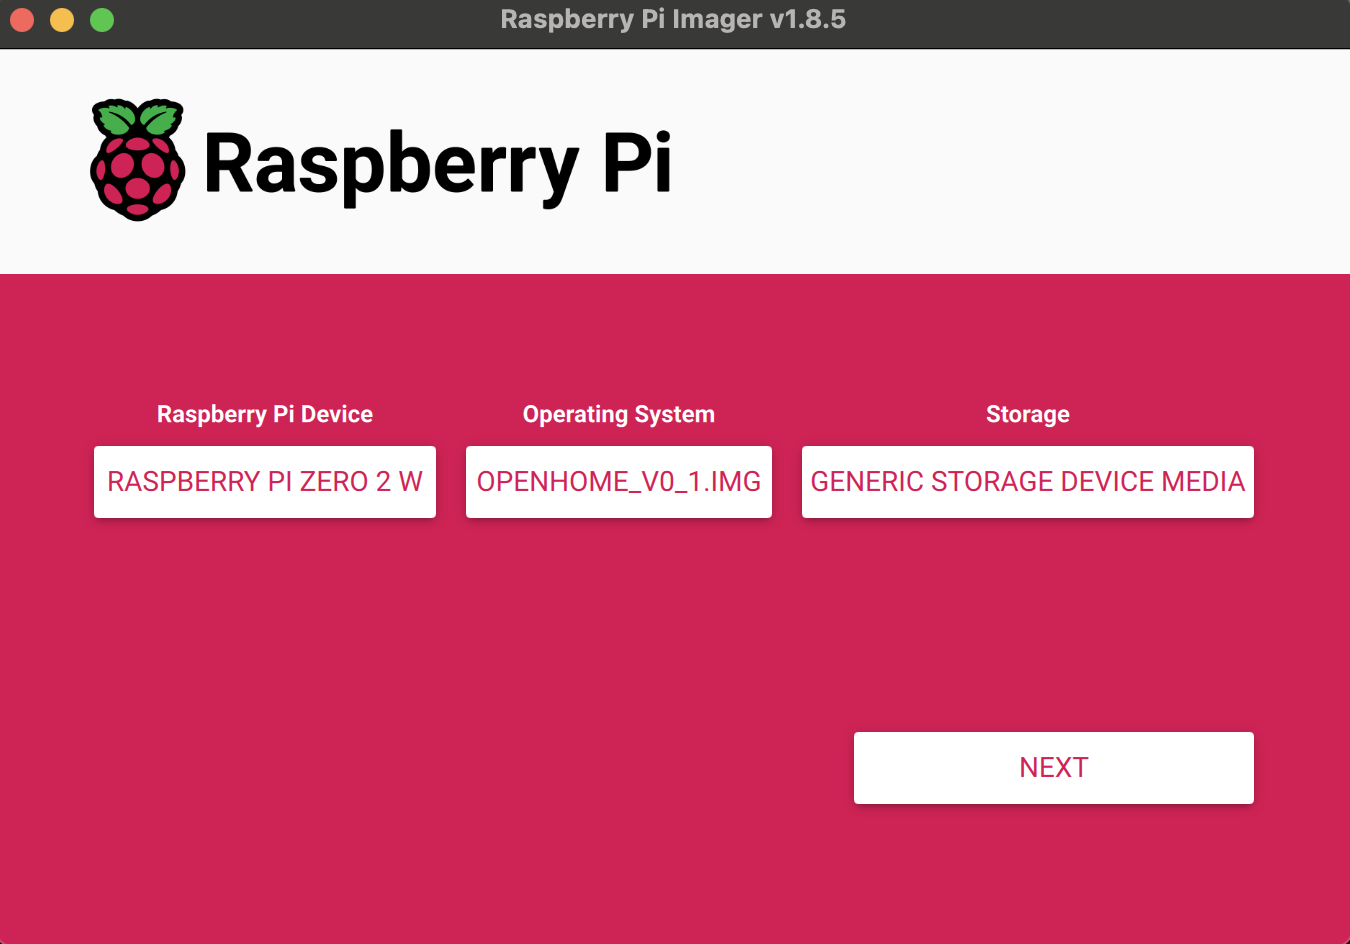
2. Click **Choose OS** → **Use custom** → select the OpenHome OS image you downloaded in Step 1.
3. Click **Choose Storage** → select the SD card from your DevKit.
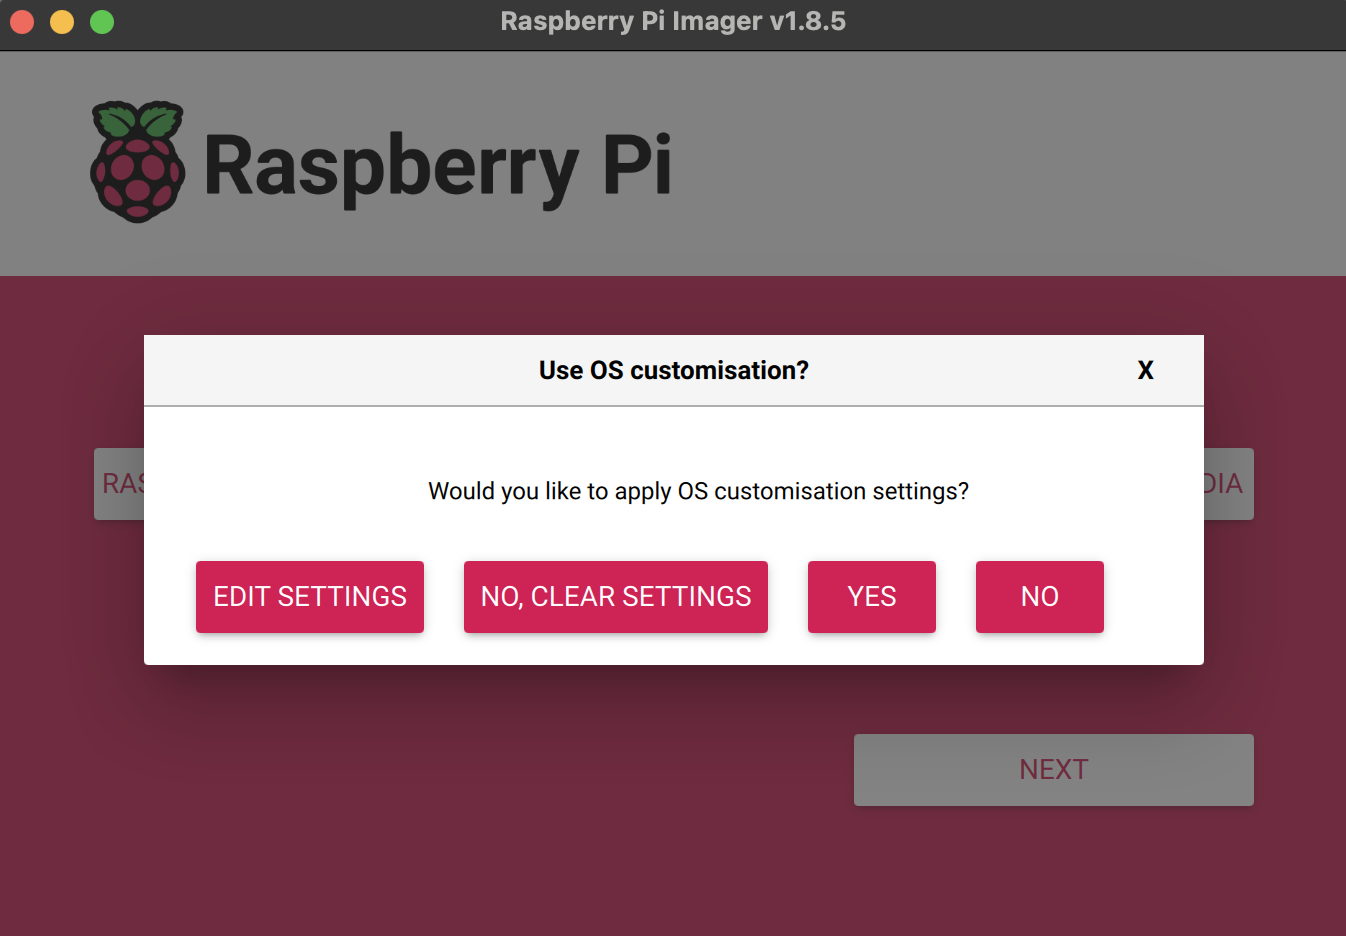
4. Click **Next**. When prompted to apply OS customisation settings, click **No** and continue.
5. Click **Write** to start flashing. Confirm when prompted.
6. Wait for the flashing and verification to complete. Do not remove the SD card while this is in progress.
7. When Raspberry Pi Imager reports success, safely eject the SD card from your computer.
Raspberry Pi Imager with the OpenHome OS image and SD card selected:
## Step 1: Download the OpenHome OS image
Download the latest OpenHome OS image from the OpenHome Drive folder. Save the file somewhere you can find it — you will select it from Raspberry Pi Imager in Step 3.
## Step 2: Prepare the SD card
If you are reusing the SD card from your DevKit:
1. Power off your DevKit completely and wait for it to fully shut down.
2. Carefully eject the SD card from the DevKit's SD card slot.
3. Insert the SD card into your computer using the SD card reader.
If you are using a spare SD card (16 GB or larger), insert it into your computer using the SD card reader instead.
## Step 3: Flash the image with Raspberry Pi Imager
1. Open **Raspberry Pi Imager**.
2. Click **Choose OS** → **Use custom** → select the OpenHome OS image you downloaded in Step 1.
3. Click **Choose Storage** → select the SD card from your DevKit.
4. Click **Next**. When prompted to apply OS customisation settings, click **No** and continue.
5. Click **Write** to start flashing. Confirm when prompted.
6. Wait for the flashing and verification to complete. Do not remove the SD card while this is in progress.
7. When Raspberry Pi Imager reports success, safely eject the SD card from your computer.
Raspberry Pi Imager with the OpenHome OS image and SD card selected:
 When prompted to apply OS customisation settings, click **No**:
 ## Step 4: Insert the SD card and boot the DevKit
1. Insert the freshly flashed SD card back into your DevKit's SD card slot.
2. Power on the DevKit.
3. Wait for the device to complete its first boot — this may take a minute.
## Step 5: Re-onboard with the DevKit App
Reflashing wipes the device's local configuration, so the DevKit needs to be onboarded again as if it were new. Follow the standard setup flow in the [DevKit Onboarding App guide](/devkit/devkit-onboarding-app) to:
* Connect the DevKit to your Wi-Fi network.
* Sign in to your OpenHome account.
* Restore your Agents and installed Abilities.
## Need help?
If you run into any issues while flashing or booting the DevKit afterwards, reach out on the OpenHome Discord and the team will help you out.
Ask the team and the community in #dev-help on Discord.
## Step 4: Insert the SD card and boot the DevKit
1. Insert the freshly flashed SD card back into your DevKit's SD card slot.
2. Power on the DevKit.
3. Wait for the device to complete its first boot — this may take a minute.
## Step 5: Re-onboard with the DevKit App
Reflashing wipes the device's local configuration, so the DevKit needs to be onboarded again as if it were new. Follow the standard setup flow in the [DevKit Onboarding App guide](/devkit/devkit-onboarding-app) to:
* Connect the DevKit to your Wi-Fi network.
* Sign in to your OpenHome account.
* Restore your Agents and installed Abilities.
## Need help?
If you run into any issues while flashing or booting the DevKit afterwards, reach out on the OpenHome Discord and the team will help you out.
Ask the team and the community in #dev-help on Discord.