

Don’t have an iOS device? You can onboard your OpenHome DevKit from the terminal instead. See Onboard OpenHome DevKit via OpenHome CLI.
Prerequisites
Before starting, ensure you have the following:- An iPhone running iOS 17.0 or later
- Your home Wi-Fi name and password
- An OpenHome account: sign up in the app during Step 4, or create one first at app.openhome.com
OpenHome - Voice AI DevKit App
Download on the App Store
Step 1: Get Started
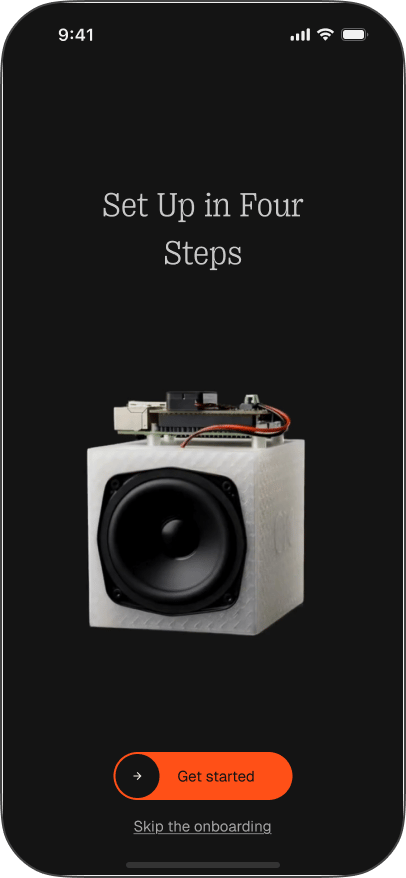
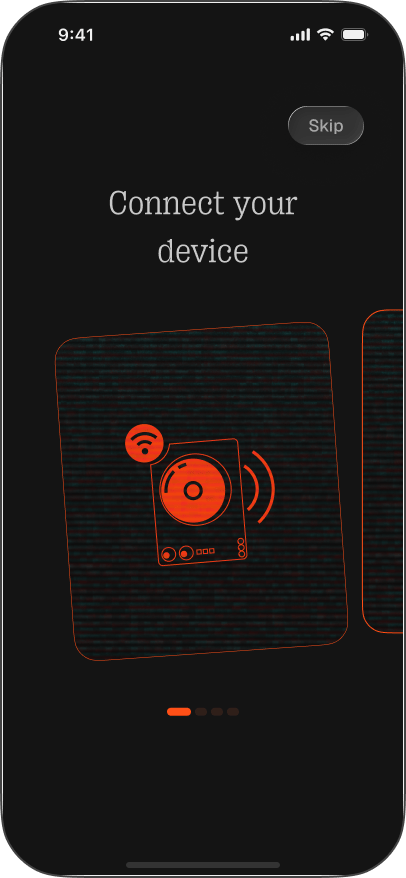
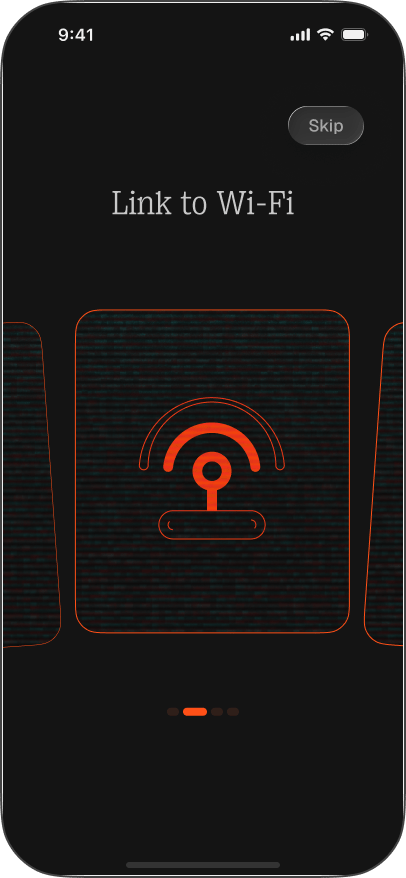
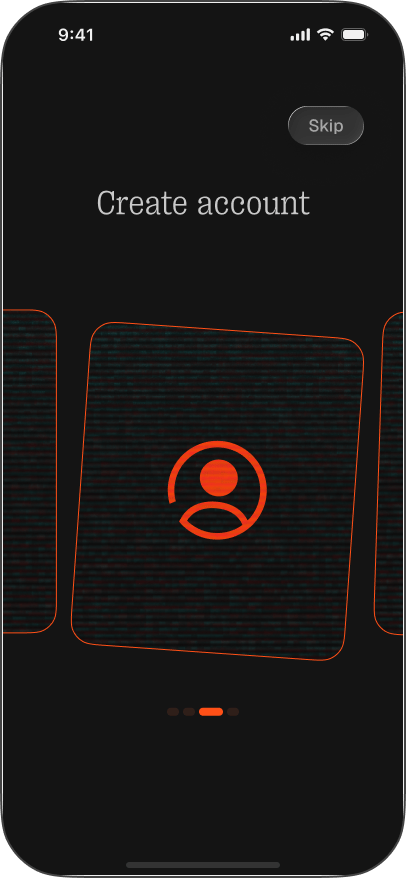
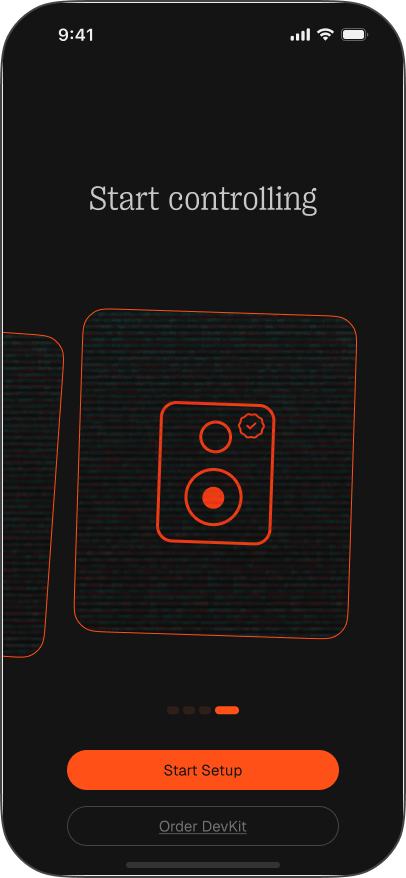
Turn on your OpenHome DevKit and open the OpenHome - Voice AI DevKit App on your iPhone. After the splash screen, you’ll land on the Set Up in Four Steps screen, with Get started and Skip the onboarding. Tapping Get started walks you through a short four-step intro before the functional setup begins: Connect your device, Link to Wi-Fi, Create account, and Start controlling. The first three each have a Skip control in the top right if you’d rather jump ahead. The last one instead offers Start Setup to continue, or Order DevKit if you don’t have one yet.
Step 2: Find and Connect Your DevKit
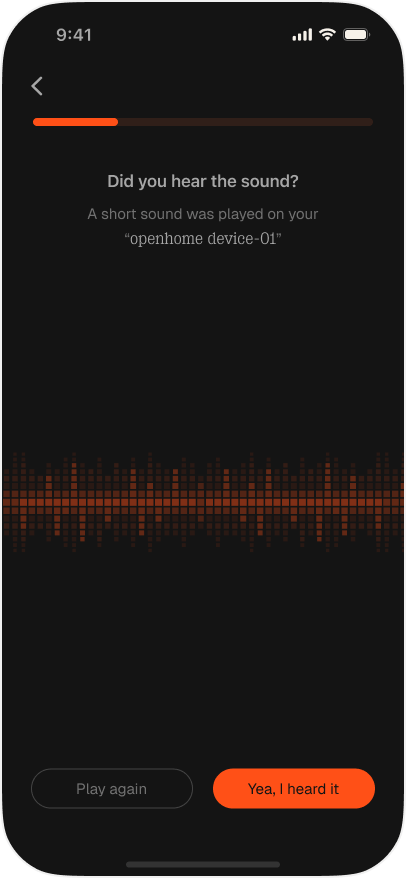
On the Find your device screen, the app lists each nearby DevKit with its signal quality: Excellent Signal, Good Signal, Fair Signal, or Poor Signal. Tap Scan again at any time to re-scan. Select your device from the list. The app plays a short sound on it and asks Did you hear the sound? Tap Yea, I heard it to continue, or Play again to replay it.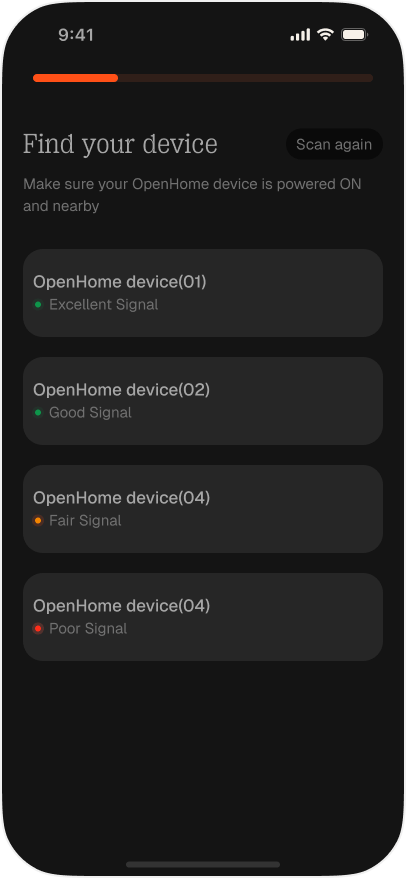
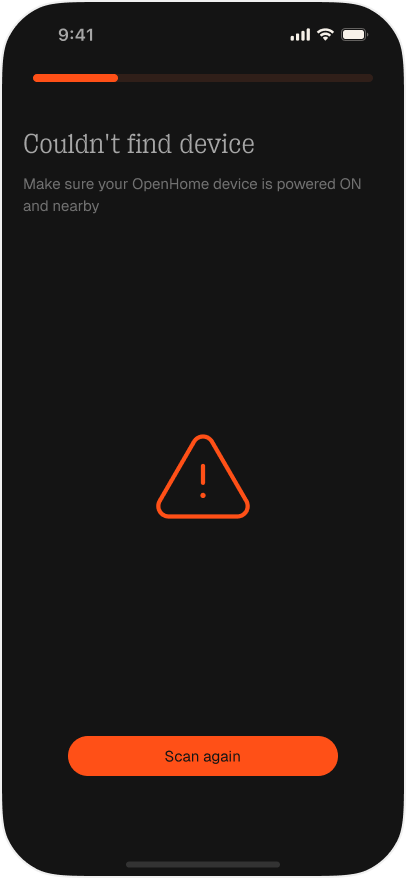
If no device turns up, you’ll see a Couldn’t find device screen (above, right). Check that your DevKit is powered on and nearby, then tap Scan again.
Step 3: Connect to Wi-Fi
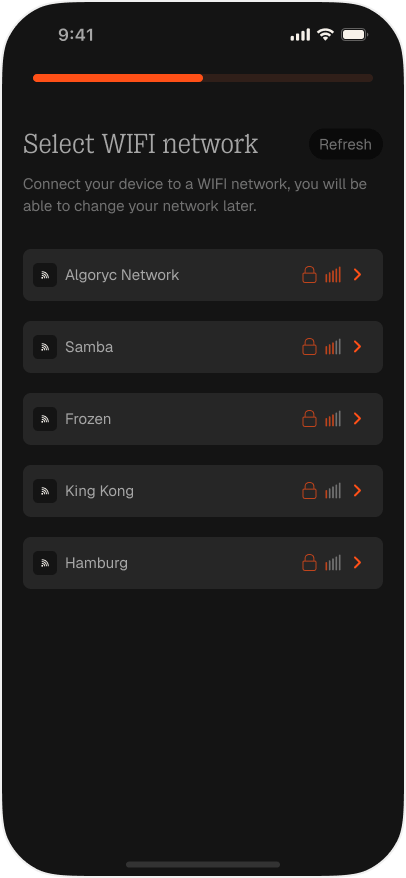
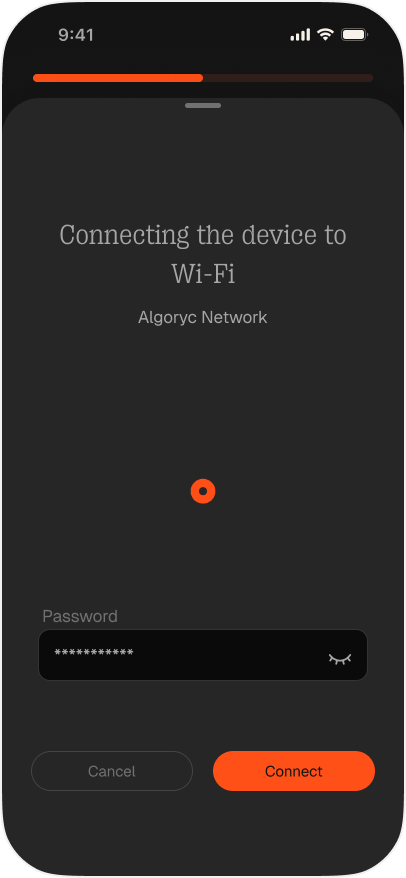
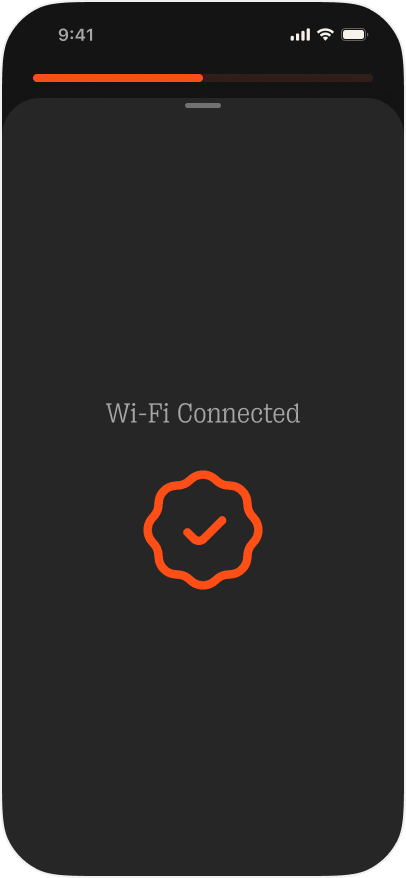
Pick your home network from the list, or tap Refresh if it isn’t showing yet. Enter the password and tap Connect. Once the DevKit joins the network it plays a sound, and the app shows Wi-Fi Connected.The DevKit also plays a sound if the Wi-Fi password is rejected. If you don’t reach the Wi-Fi Connected screen, re-enter the password and tap Connect again.
Step 4: Sign Up or Log In
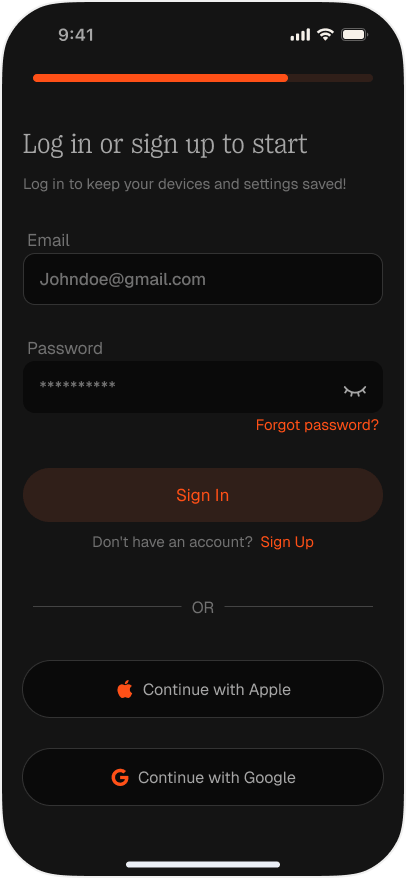
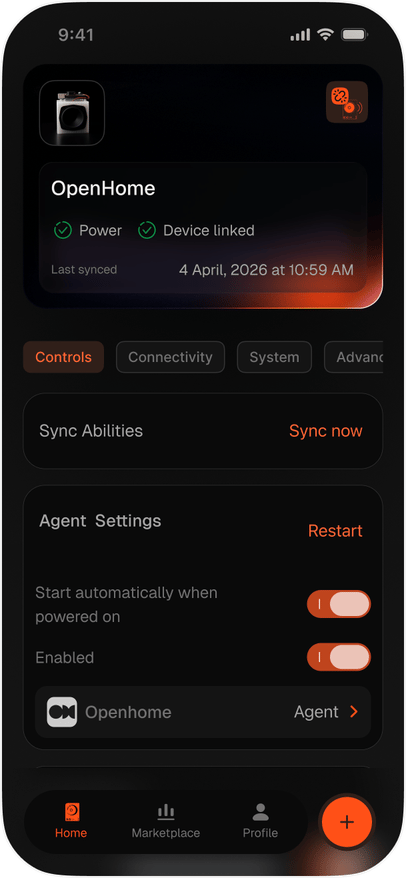
New to OpenHome? Tap Sign Up, then Start creating new account to fill in your first and last name, username, email, password, and an optional bio, or register straight away with Sign in with Apple or Sign in with Google. Already have an account? Enter your Email and Password and tap Sign In, or use Continue with Apple or Continue with Google. If you’ve forgotten your password, tap Forgot password? and enter your registered email to receive a reset link. The link opens a Create New Password screen, and you’ll see Password updated successfully! once it’s done, ready to log in with the new password. Once you’re signed in, the app takes you straight to the Home tab, with your DevKit already showing as Power and Device linked. The Agent on the DevKit speaks its welcome message at this point, which confirms the DevKit is set up and running.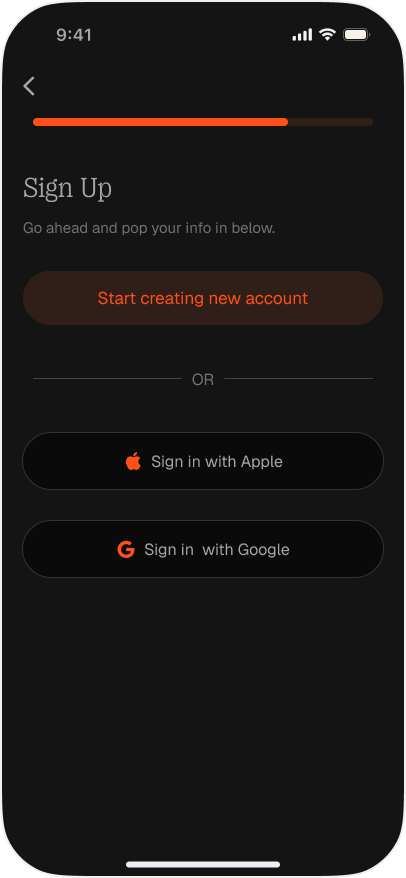
Setup Complete
Your OpenHome DevKit is set up and ready to use. Explore the OpenHome - Voice AI DevKit App to manage your DevKit, switch Agents, and configure your settings.See also
- OpenHome - Voice AI DevKit App Overview: full overview of the OpenHome - Voice AI DevKit App
- Agents: learn how voice Agents work on the OpenHome DevKit
- Abilities: extend your Agent with custom Python-based skills
- Local Ability: build Abilities that run directly on the OpenHome DevKit hardware