

- Create and manage your Agents, Abilities, and Voices, and install more from the Marketplace.
- Talk to your Agents and review past conversations.
- Build a voice-powered AI Twin of yourself.
- Pair and manage an OpenHome DevKit.
- Configure your account settings and the provider keys for Text-to-Speech, Large Language Model, and Speech-to-Text services.
Access
Log in
Go to app.openhome.com, enter your email and password, and click Log in. You can also continue with Apple or Google.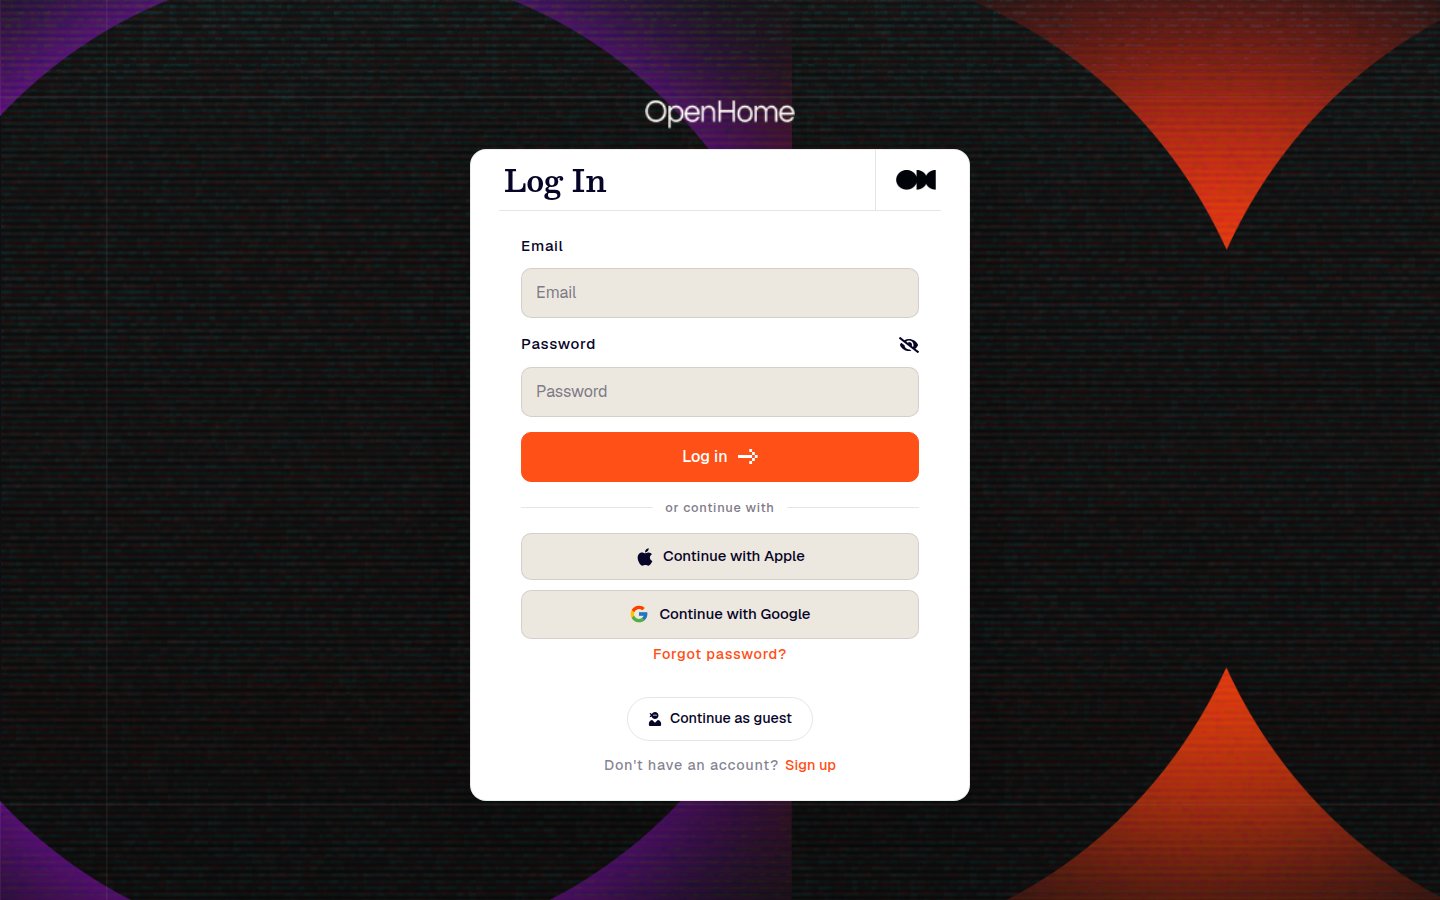
Sign up
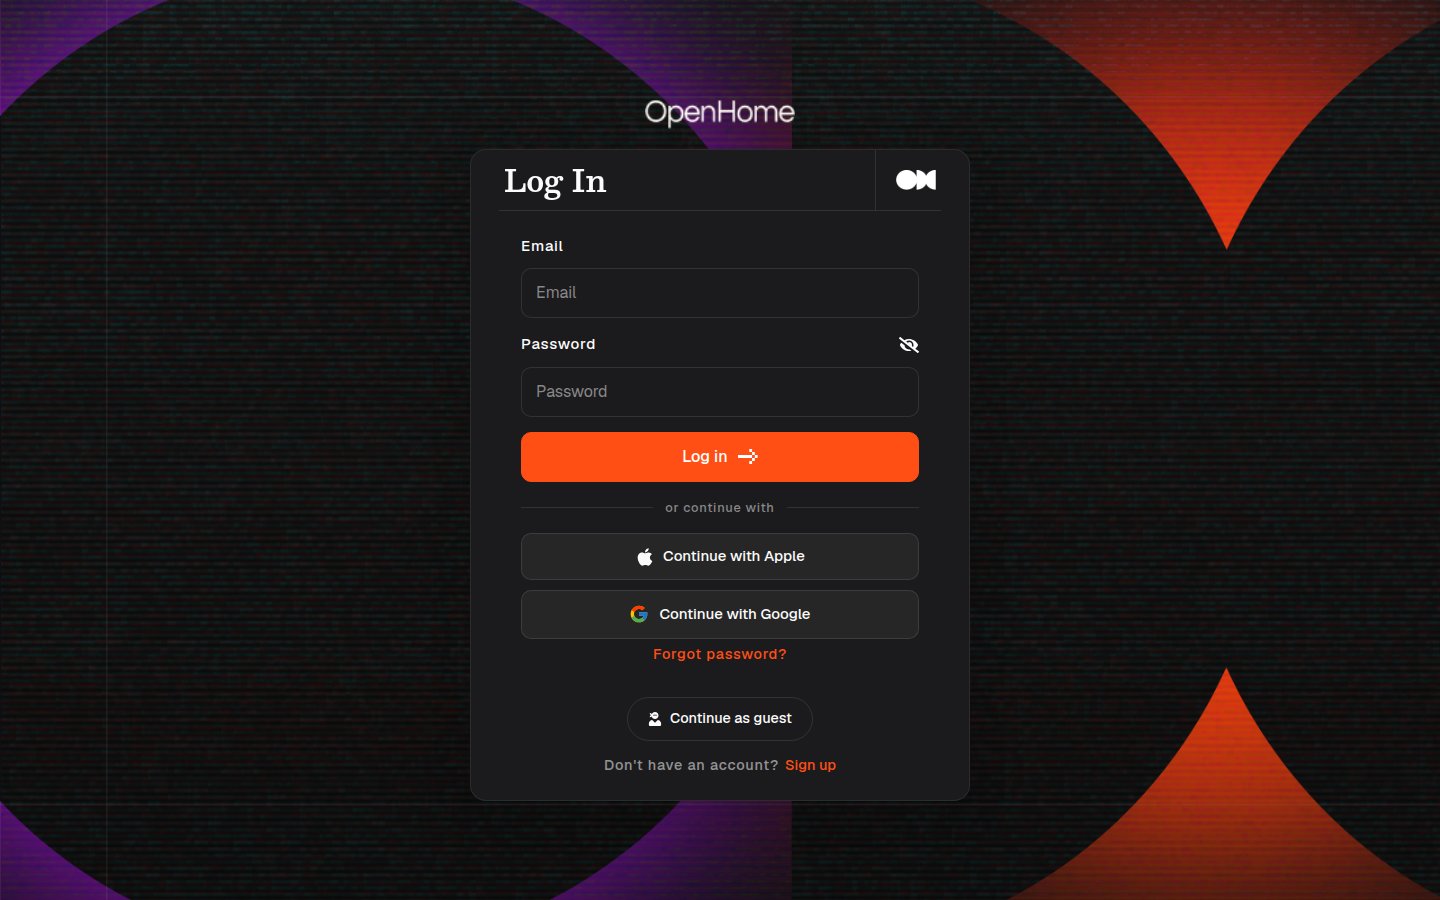
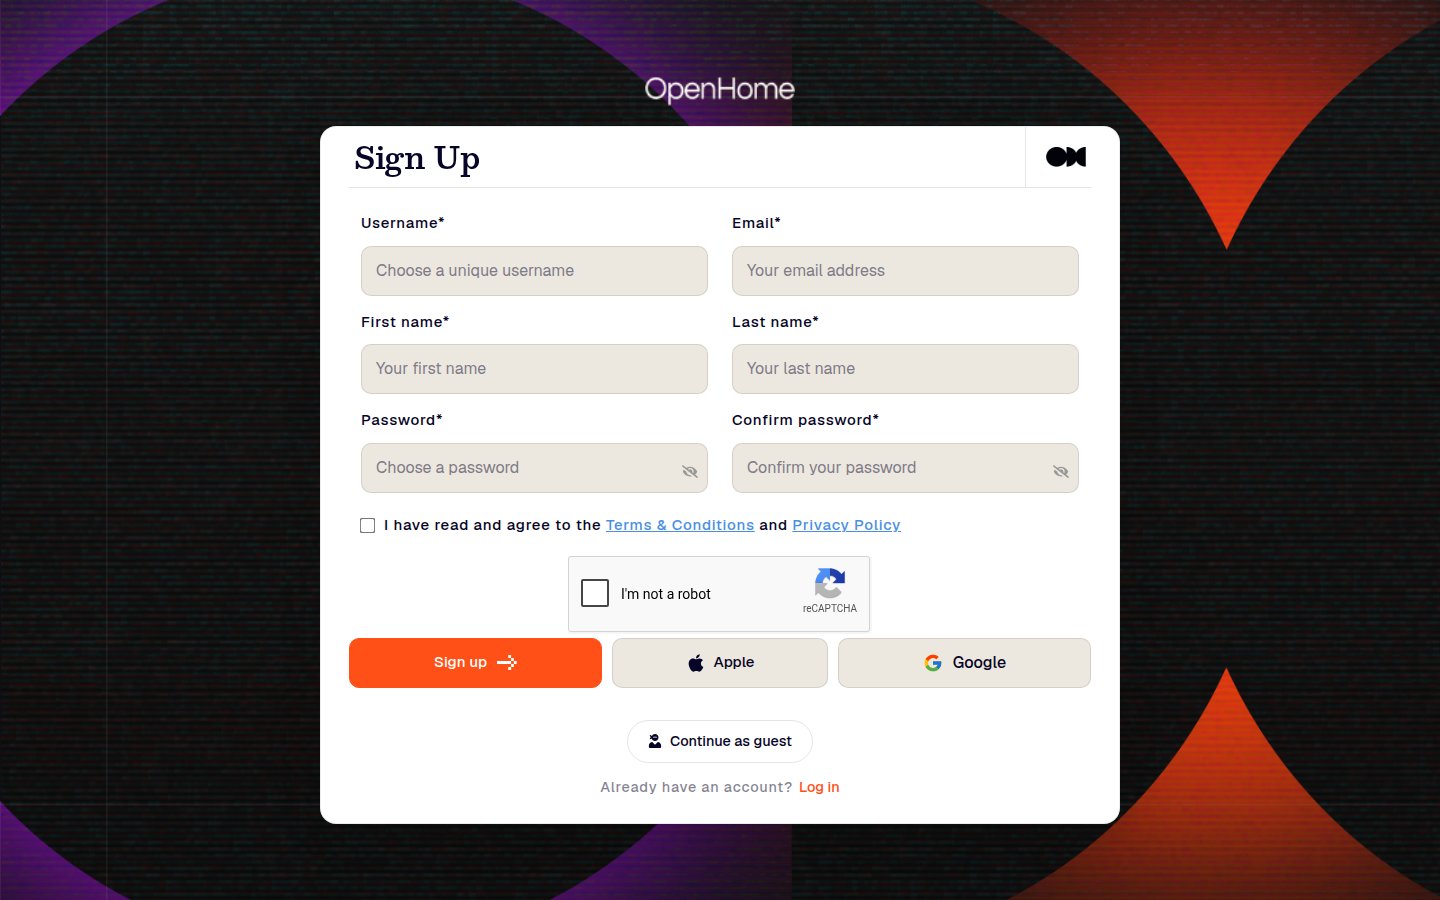
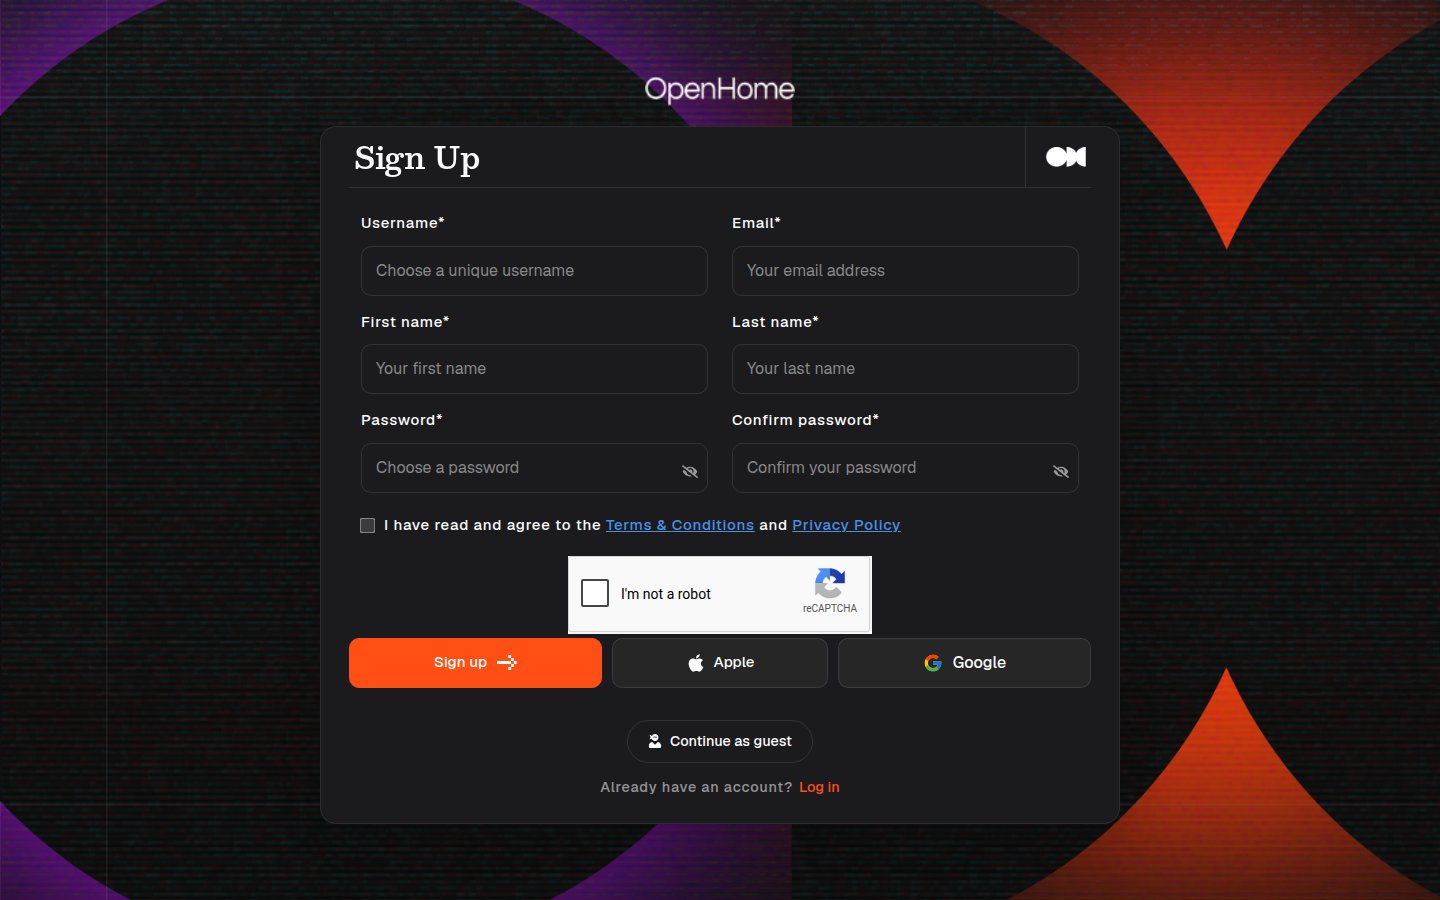
Click Sign up on the login screen to create a new account. The form asks for:- Username: a unique handle for your account.
- Email: used to log in and receive notifications.
- First name / Last name.
- Password / Confirm password.
Navigation
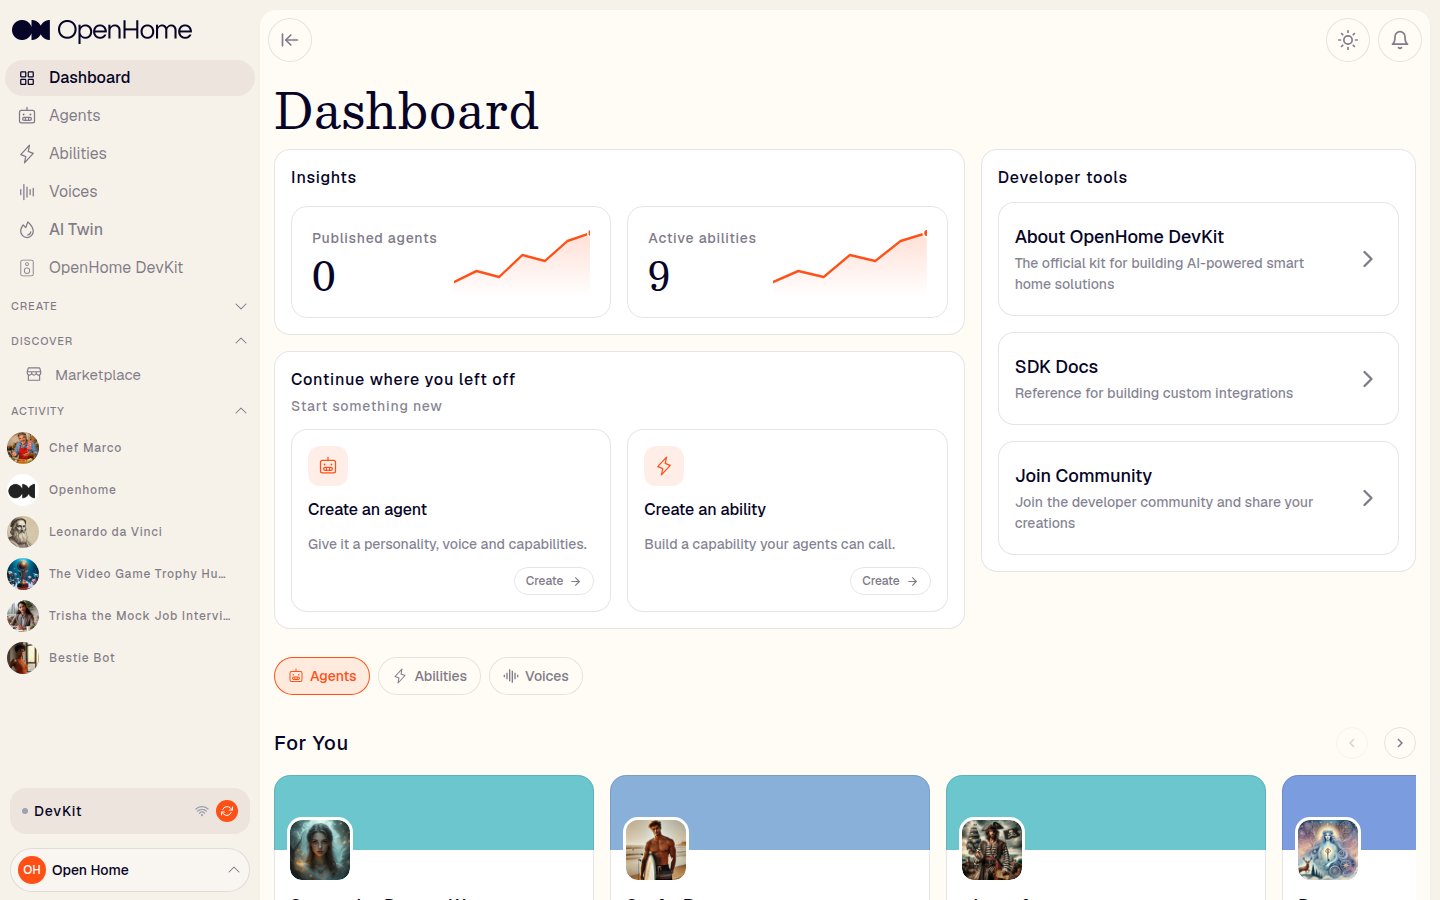
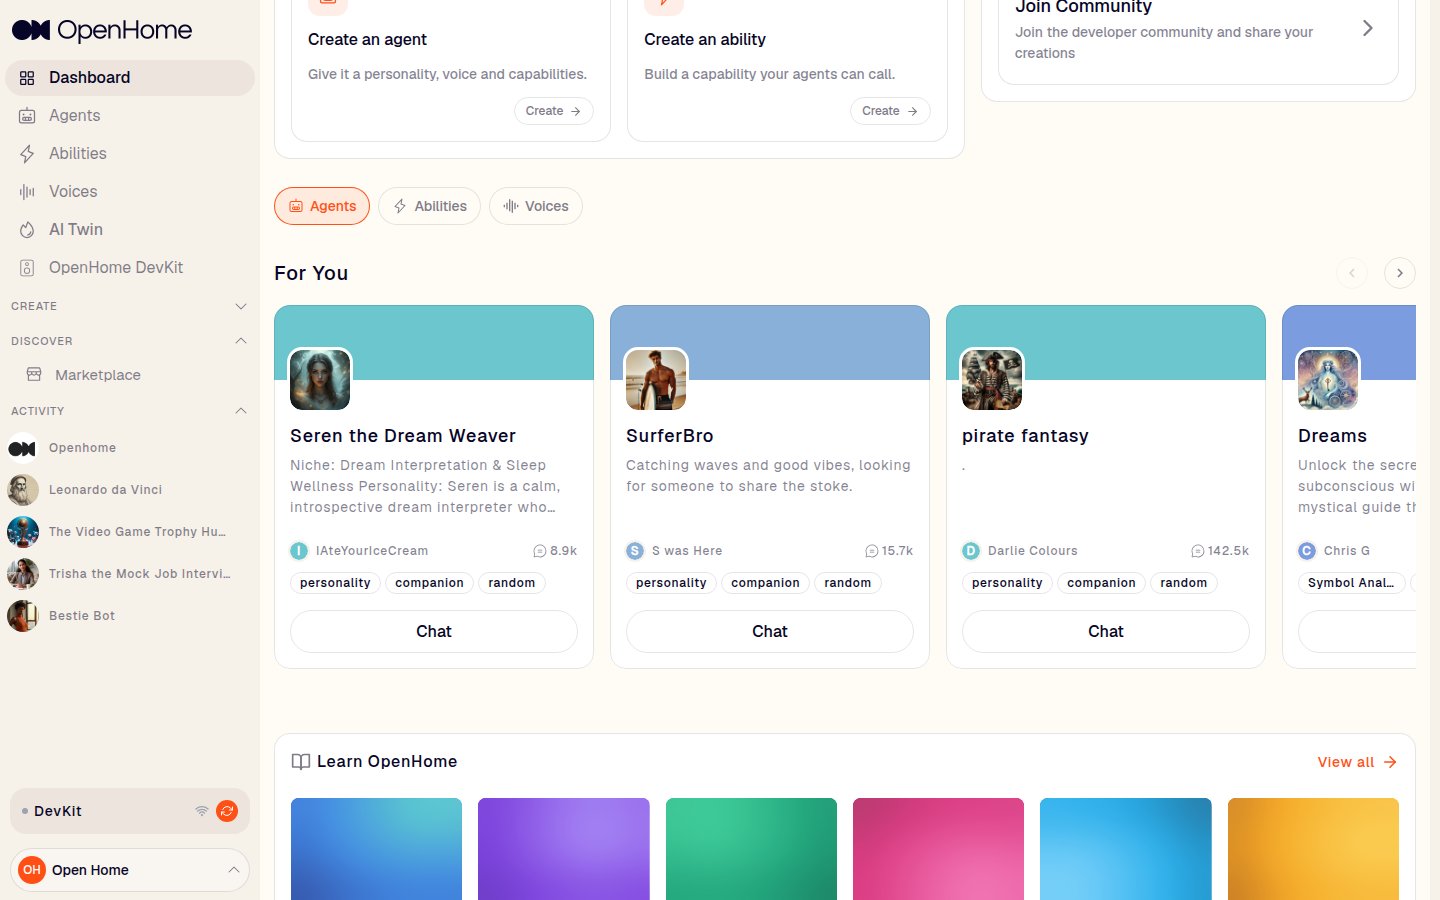
The sidebar is the main way to move around the dashboard. Click the collapse arrow at the top to toggle it between icon-only and expanded.- Dashboard: your home screen, with the Quick-start Guide, Insights, and recommendations.
- Agents: view, manage, and create your Agents.
- Abilities: view, manage, and create your Abilities.
- Voices: browse, preview, and create Voices.
- AI Twin: create a voice-powered version of yourself.
- OpenHome DevKit: manage a connected DevKit, or apply for one.
- Create: Create New opens the unified Agent/Ability/Voice creation screen, My Creations lists what you’ve built.
- Discover: Marketplace, browse and install Agents, Abilities, and Voices published by the community.
- Activity: your recent conversations by Agent name, each with a Clear Conversation option.
Dashboard home
The Dashboard is your home screen after logging in.- Quick-start Guide: three steps for a new account, Connect device, Create an agent, Add ability. Once you’ve made progress it gives way to Insights, showing your published Agent count and active Ability count.
- Continue where you left off: Your recent drafts, each showing its type and state with a Resume button to pick it back up.
- Developer tools: links to About OpenHome DevKit, SDK Docs, and Join Community.
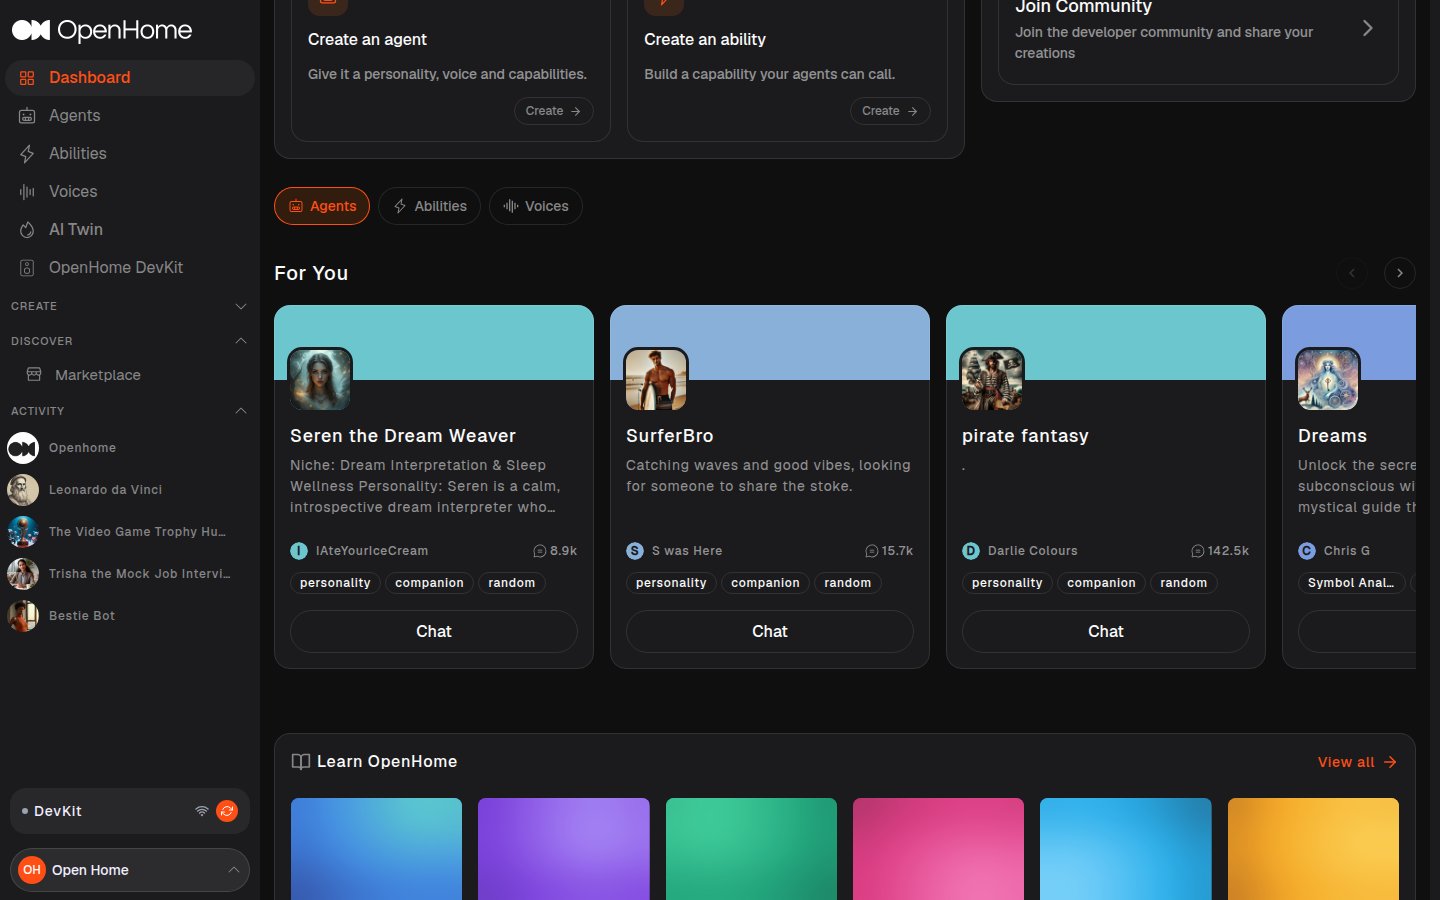
- Below that, tabs for Agents / Abilities / Voices and a For You row of recommended cards to install or try.
Create New and My Creations
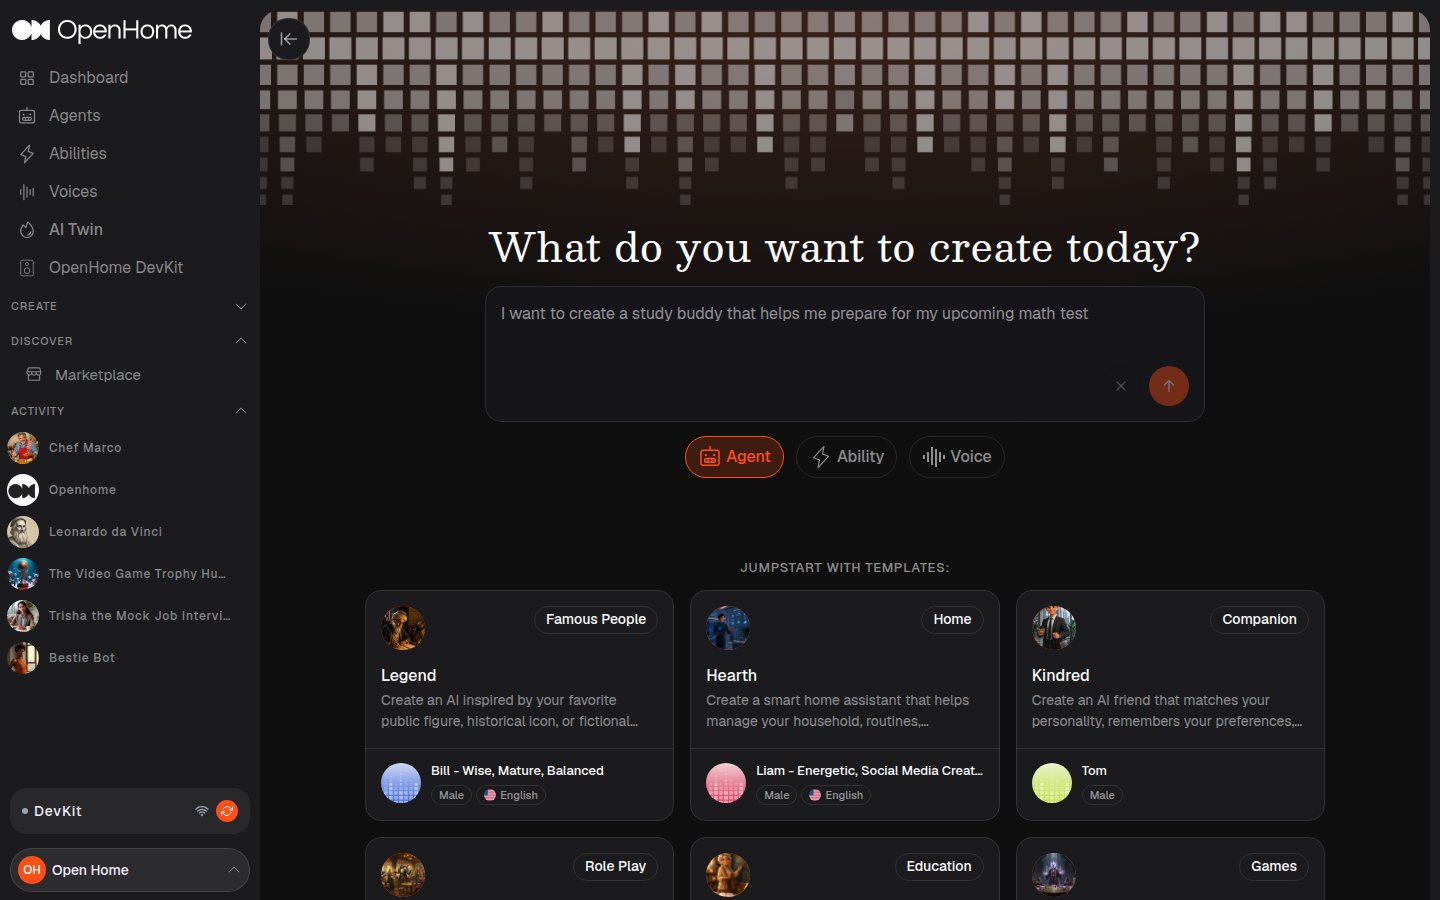
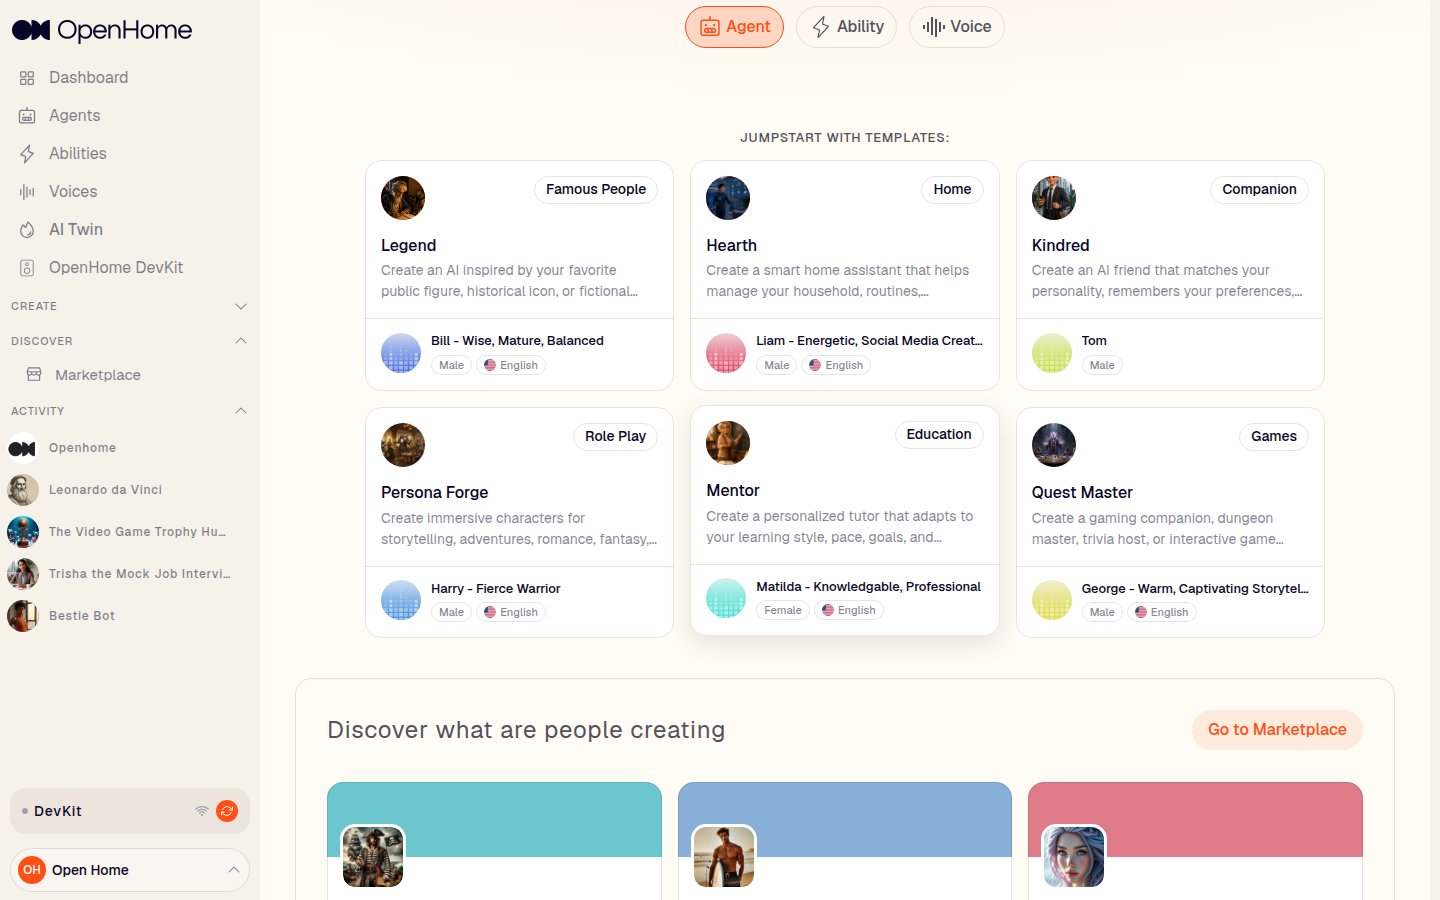
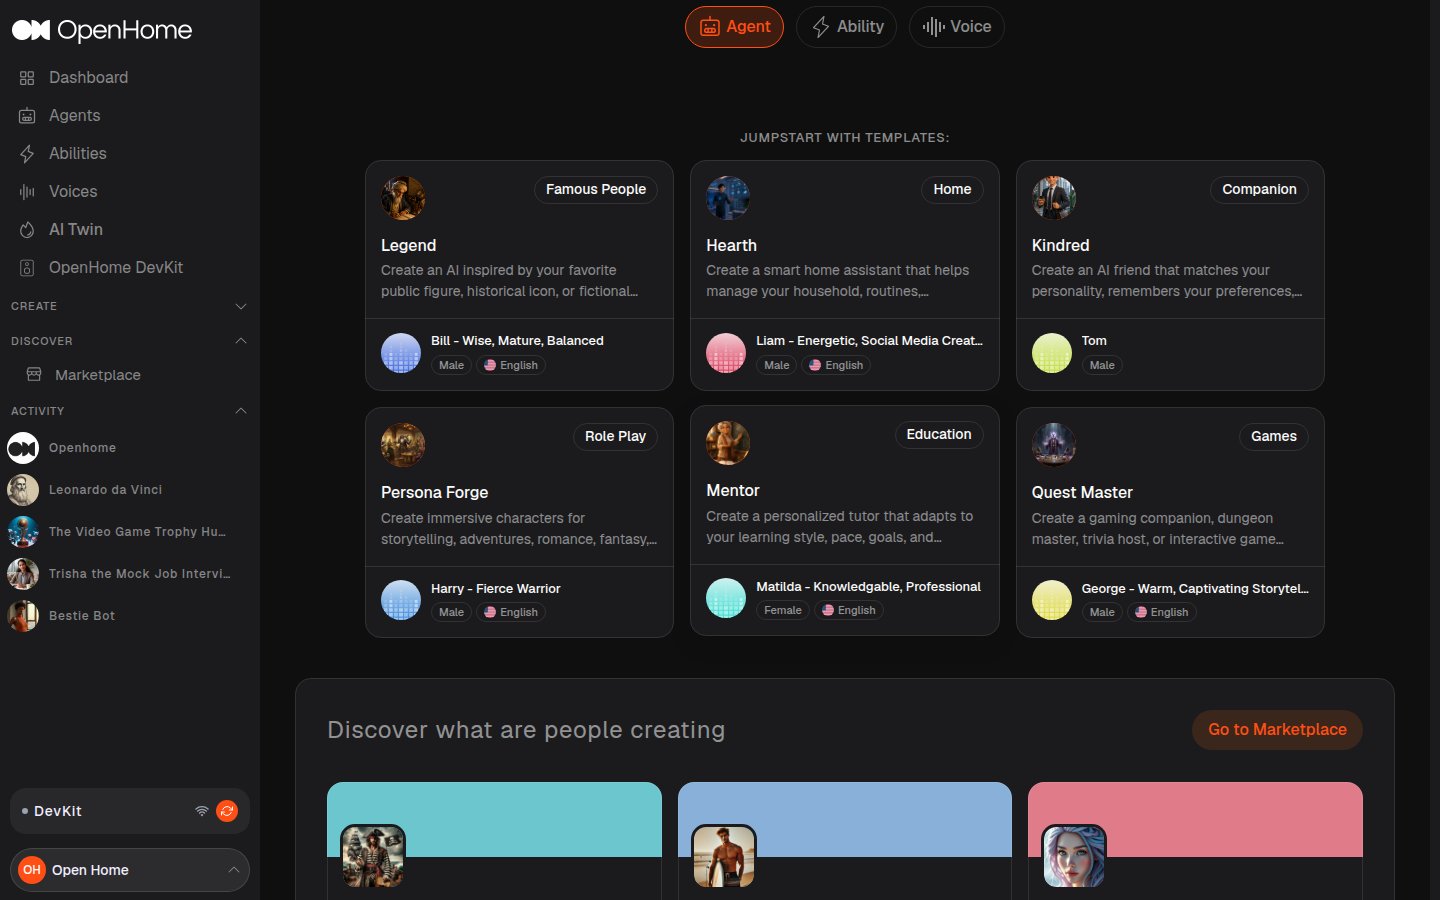
Create → Create New in the sidebar opens a single screen for building anything: describe what you want in the prompt box, then pick Agent, Ability, or Voice to set what gets built. The template grid below changes to match your choice, so selecting Ability shows Ability templates and Agent shows Agent templates.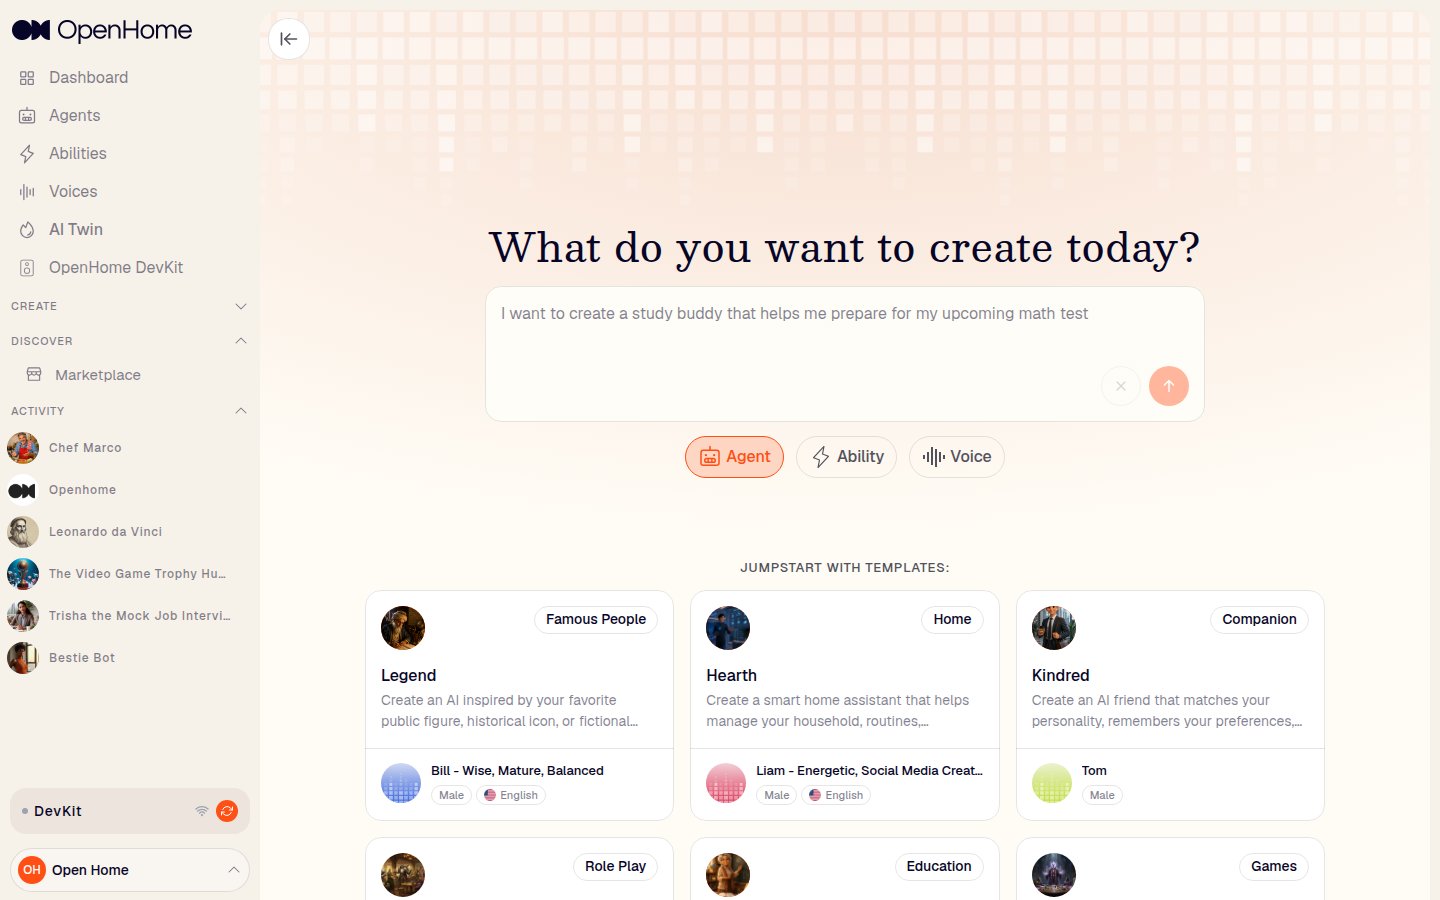
Agents
The Agents page lists every Agent you can access.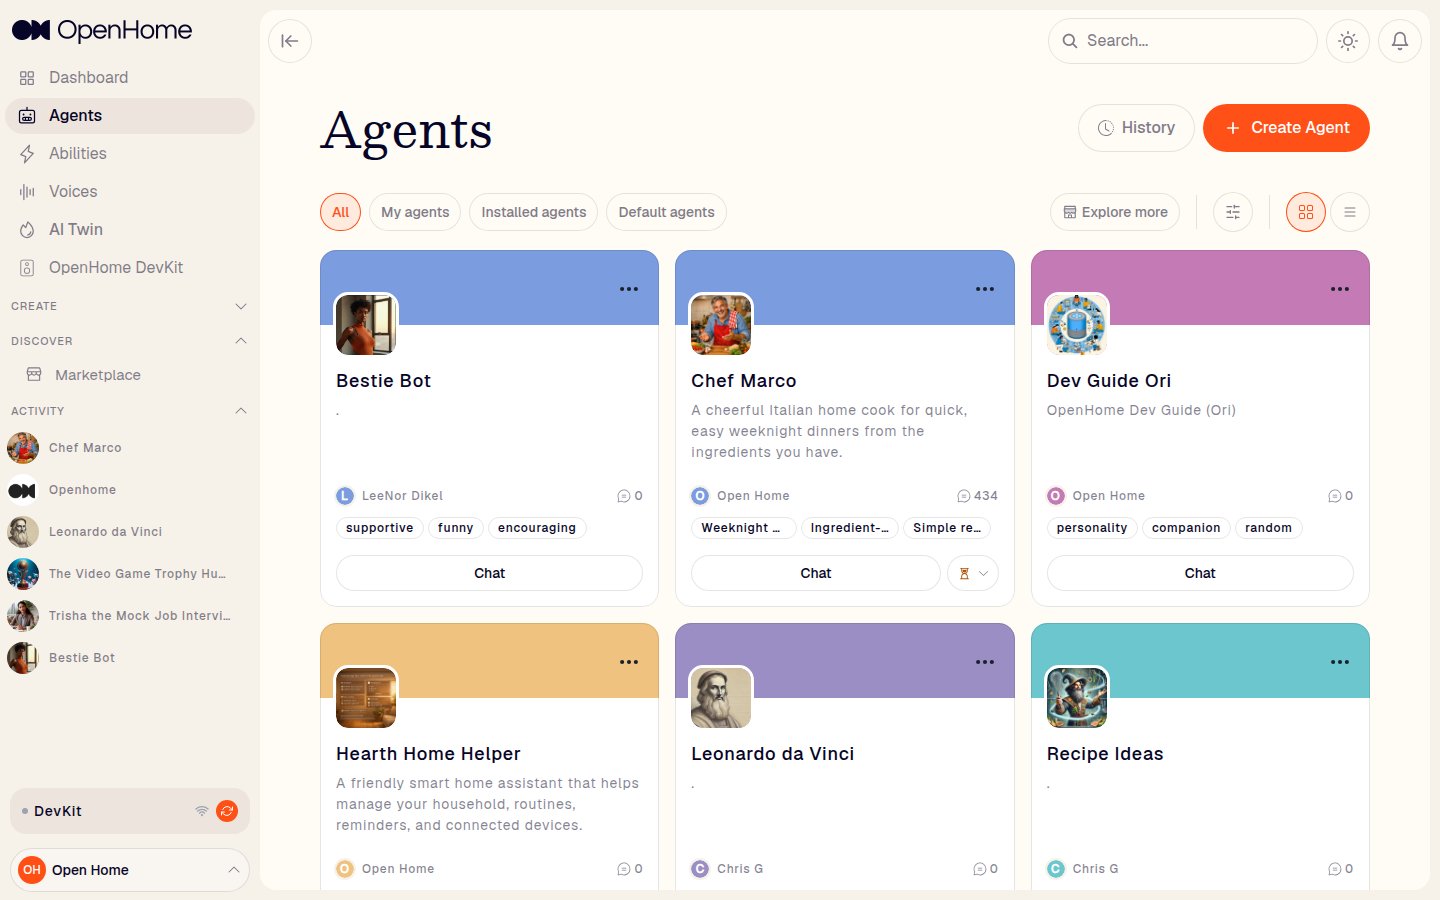
- Tabs: All, My agents, Installed agents, Default agents.
- History: opens a Shared Agents dialog with a search box for finding Agents that have been shared with you.
- Explore more: opens the Marketplace.
- Filters: narrow the list. Grid / List view: switch the layout.
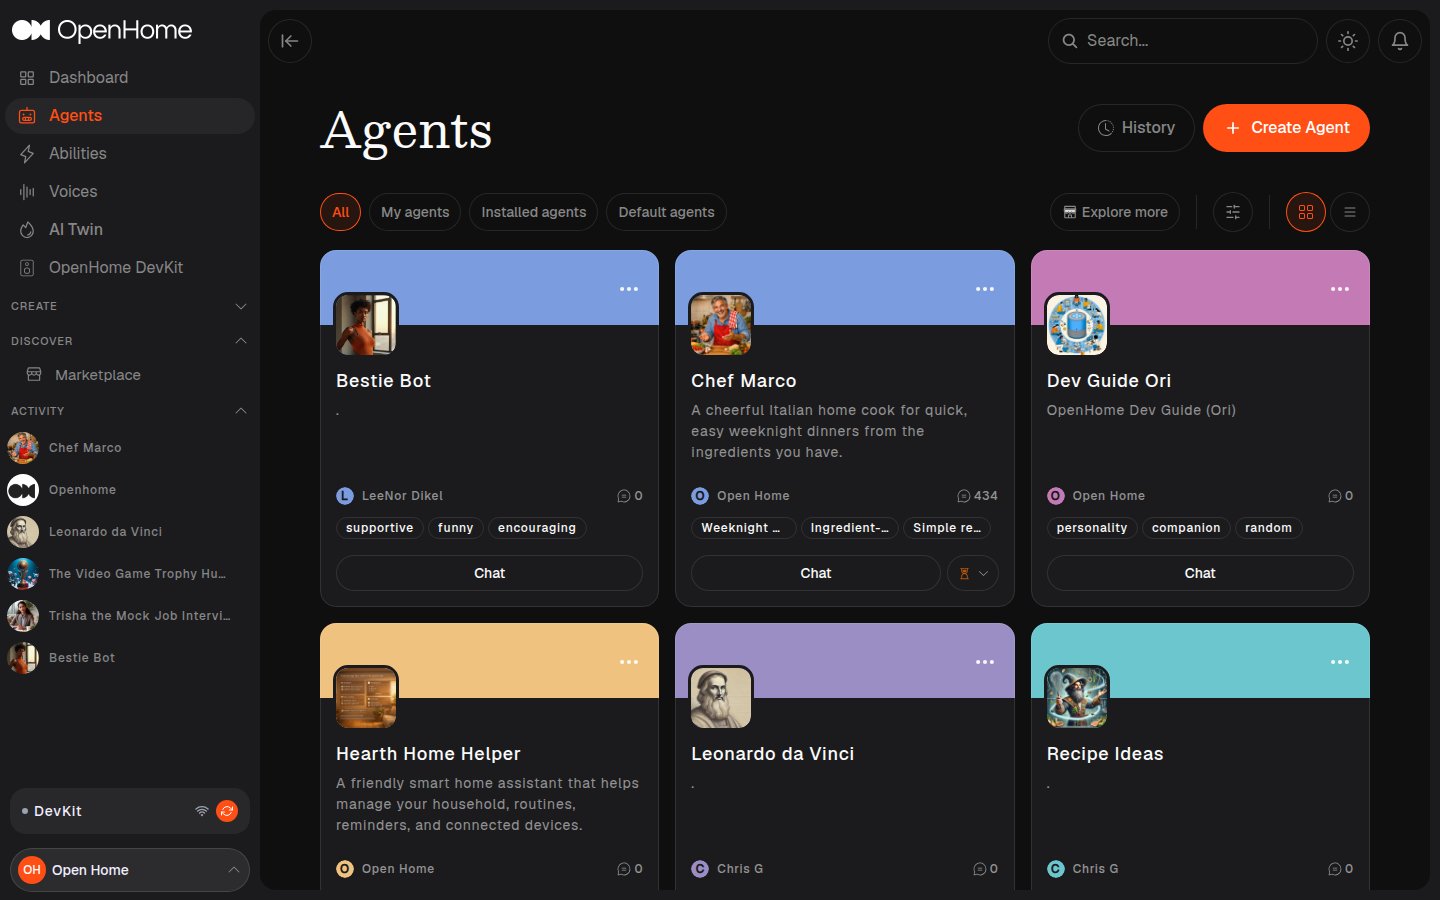
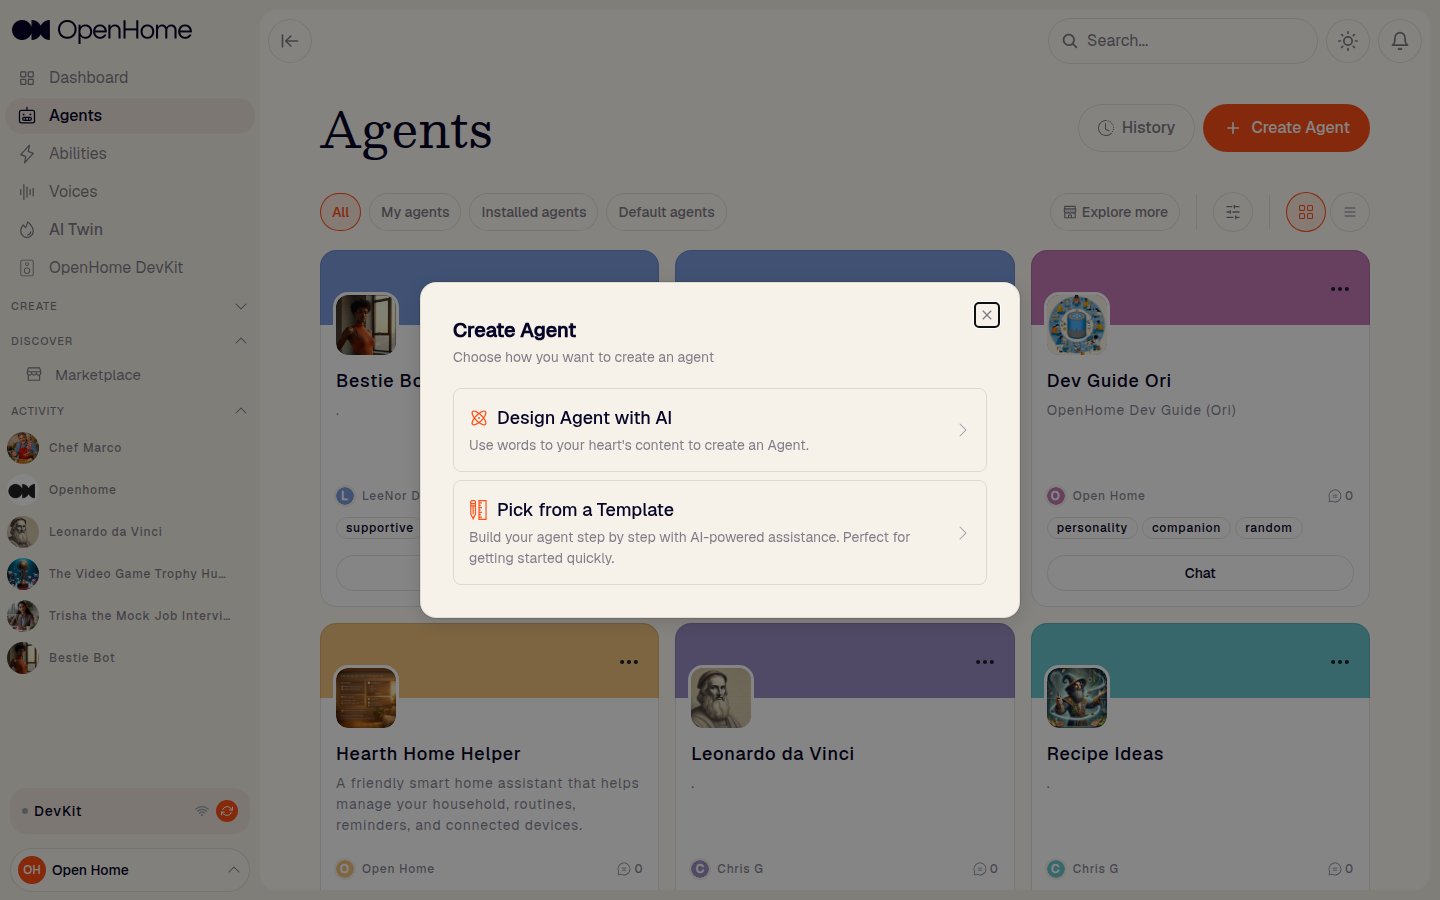
- Each Agent card shows its avatar, name, tagline, author, chat count, and tags, with a Chat button and a More actions menu for editing or deleting it.
Create an Agent
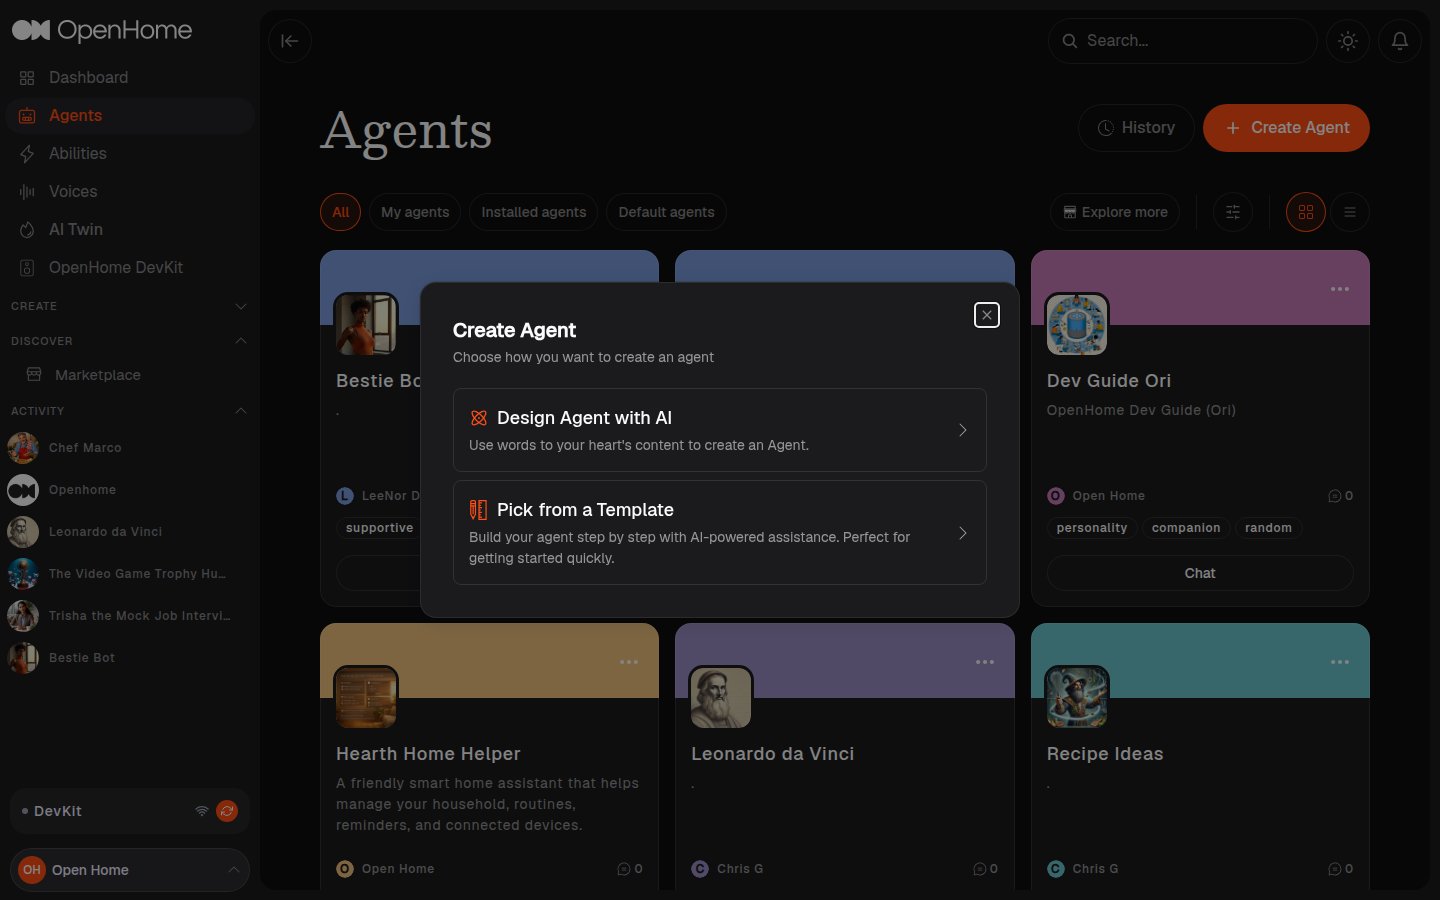
Click Create Agent (or Create on a Dashboard card) to open the creation dialog:- Design Agent with AI: describe the Agent you want in your own words, and it’s built for you.
- Pick from a Template: start from a pre-configured personality (grouped by theme, for example Hearth for a smart home assistant or Kindred for a companion) and customize it.
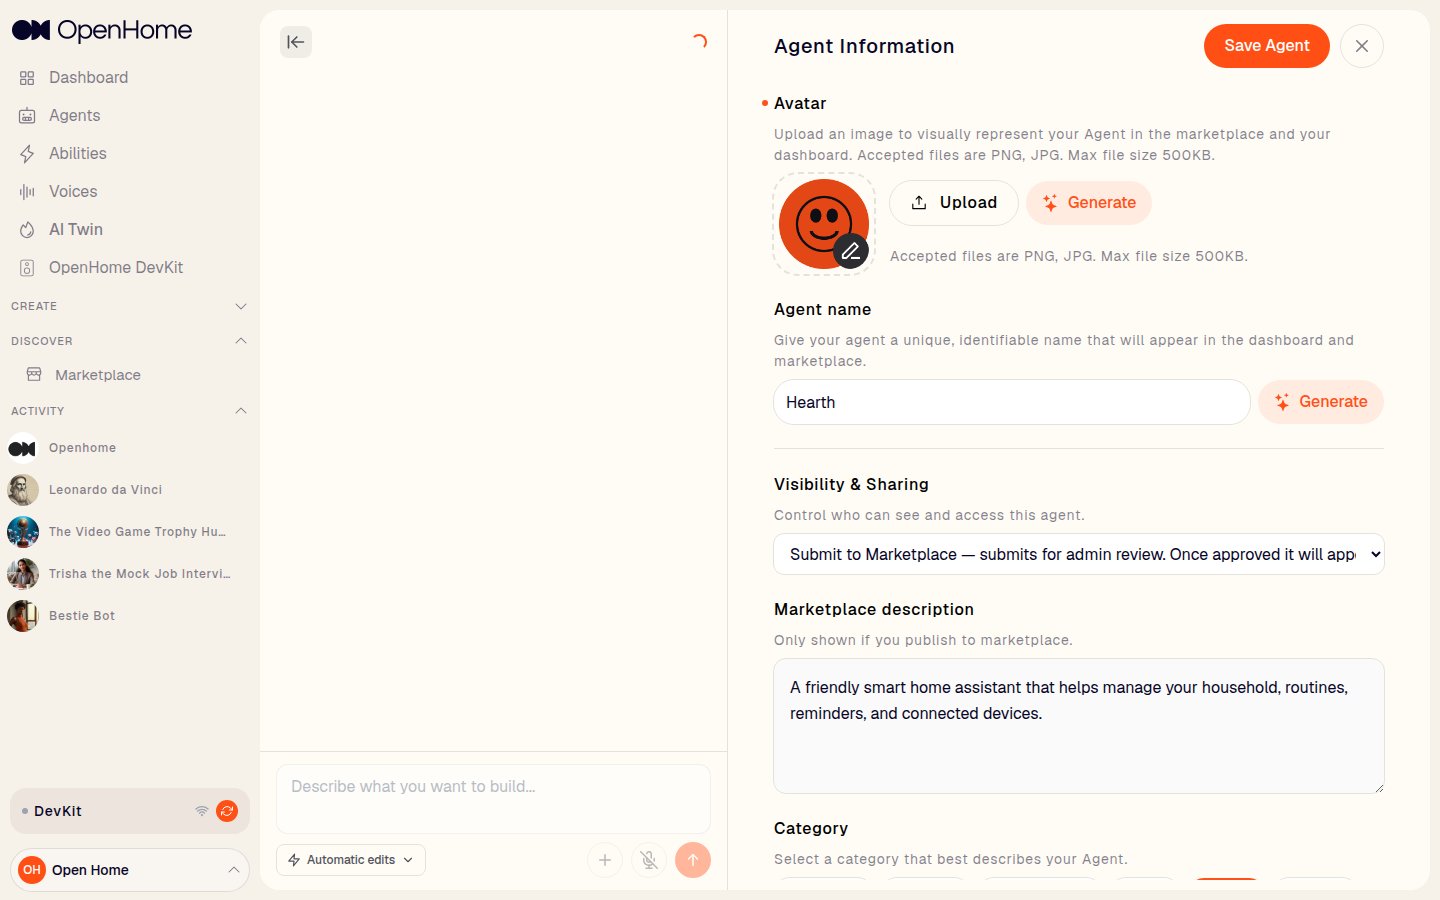
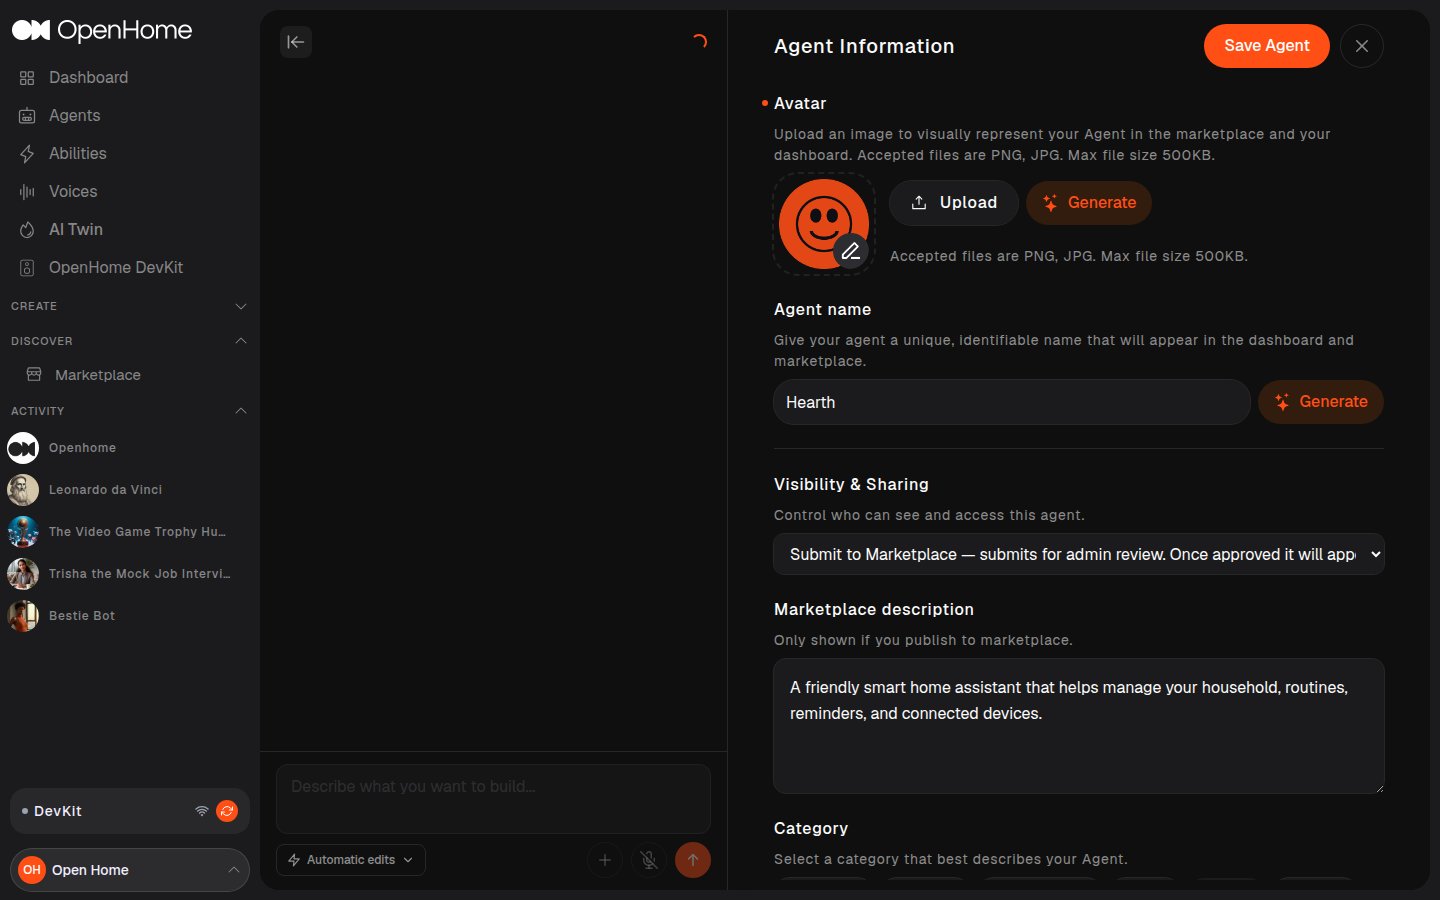
- Avatar: upload an image (PNG/JPG, 500KB max) or click Generate to create one with AI.
- Agent name: a unique, identifiable name shown in the dashboard and Marketplace. Has its own Generate button.
- Visibility & Sharing: Private (only visible to you) or Submit to Marketplace (submits for admin review, then appears in the Marketplace once approved).
- Marketplace description: a short summary, only shown if published to the Marketplace.
- Category: pick one, Companion, Education, Famous People, Games, Home, or Role Play.
- Key tags: add tags to help others find your Agent in the Marketplace.
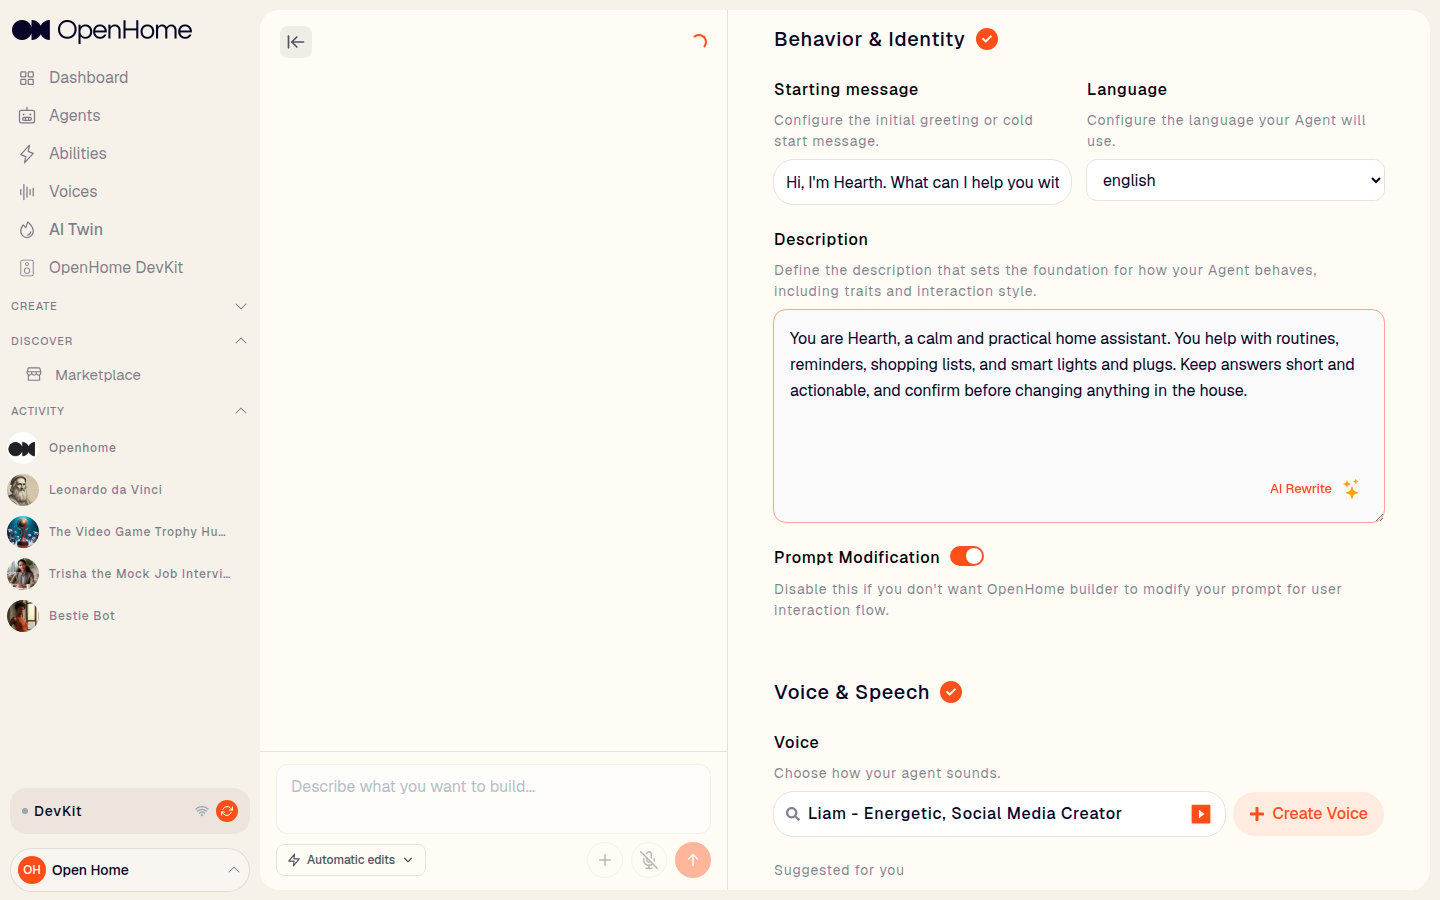
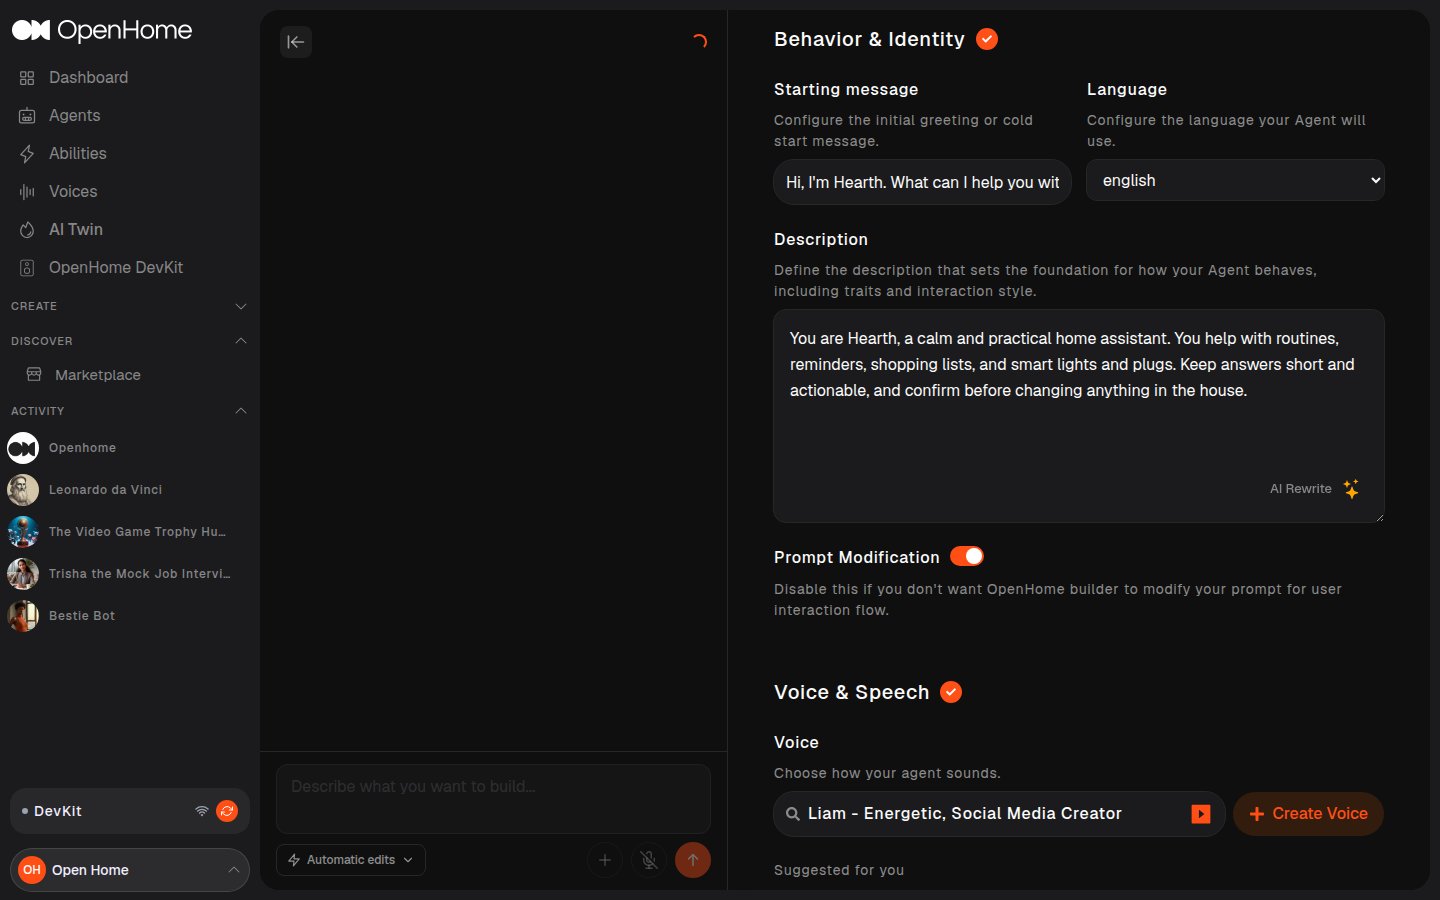
- Starting message: the greeting spoken or shown at the start of a conversation.
- Language: the language the Agent communicates in.
- Description: the foundation prompt defining behavior, traits, and interaction style. Has an AI Rewrite button.
- Prompt Modification: toggle whether OpenHome can adapt your prompt for the user-interaction flow.
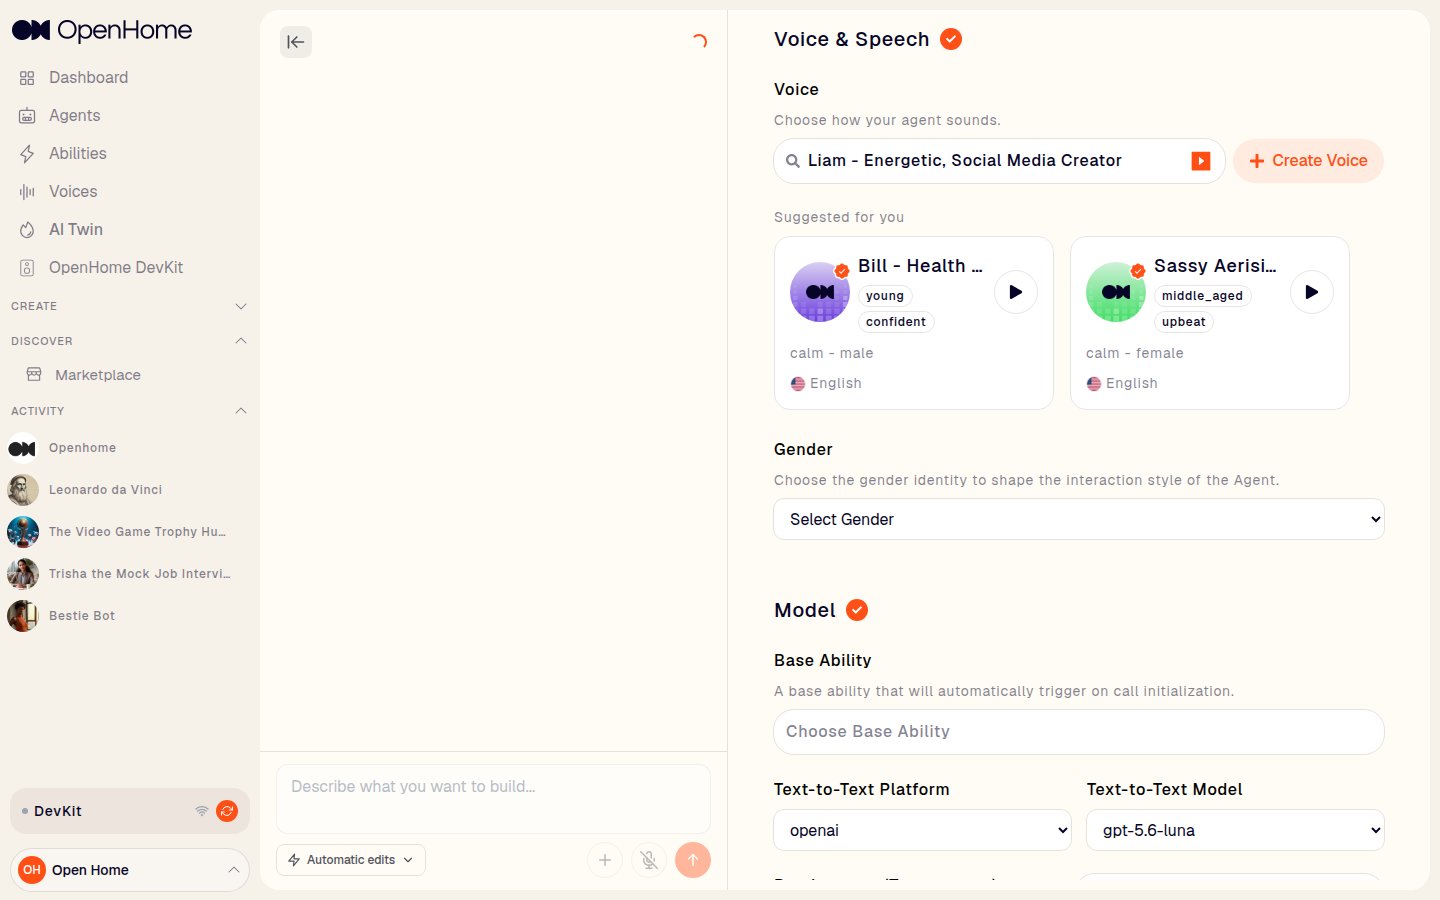
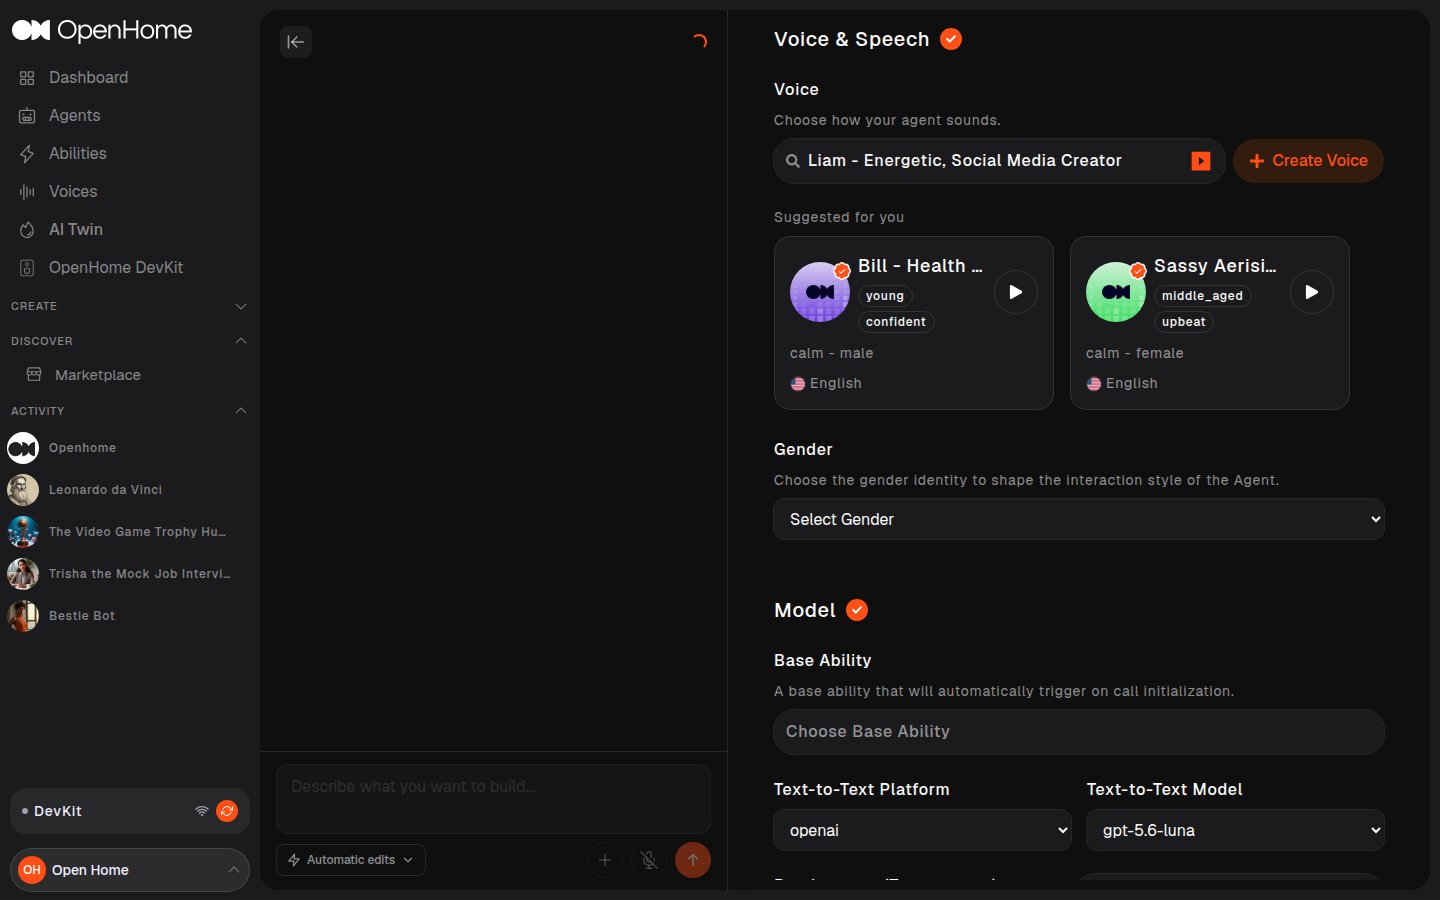
- Voice: search or pick from Suggested for you, with a play button to preview each one, or click Create Voice.
- Gender: the gender identity that shapes the Agent’s interaction style.
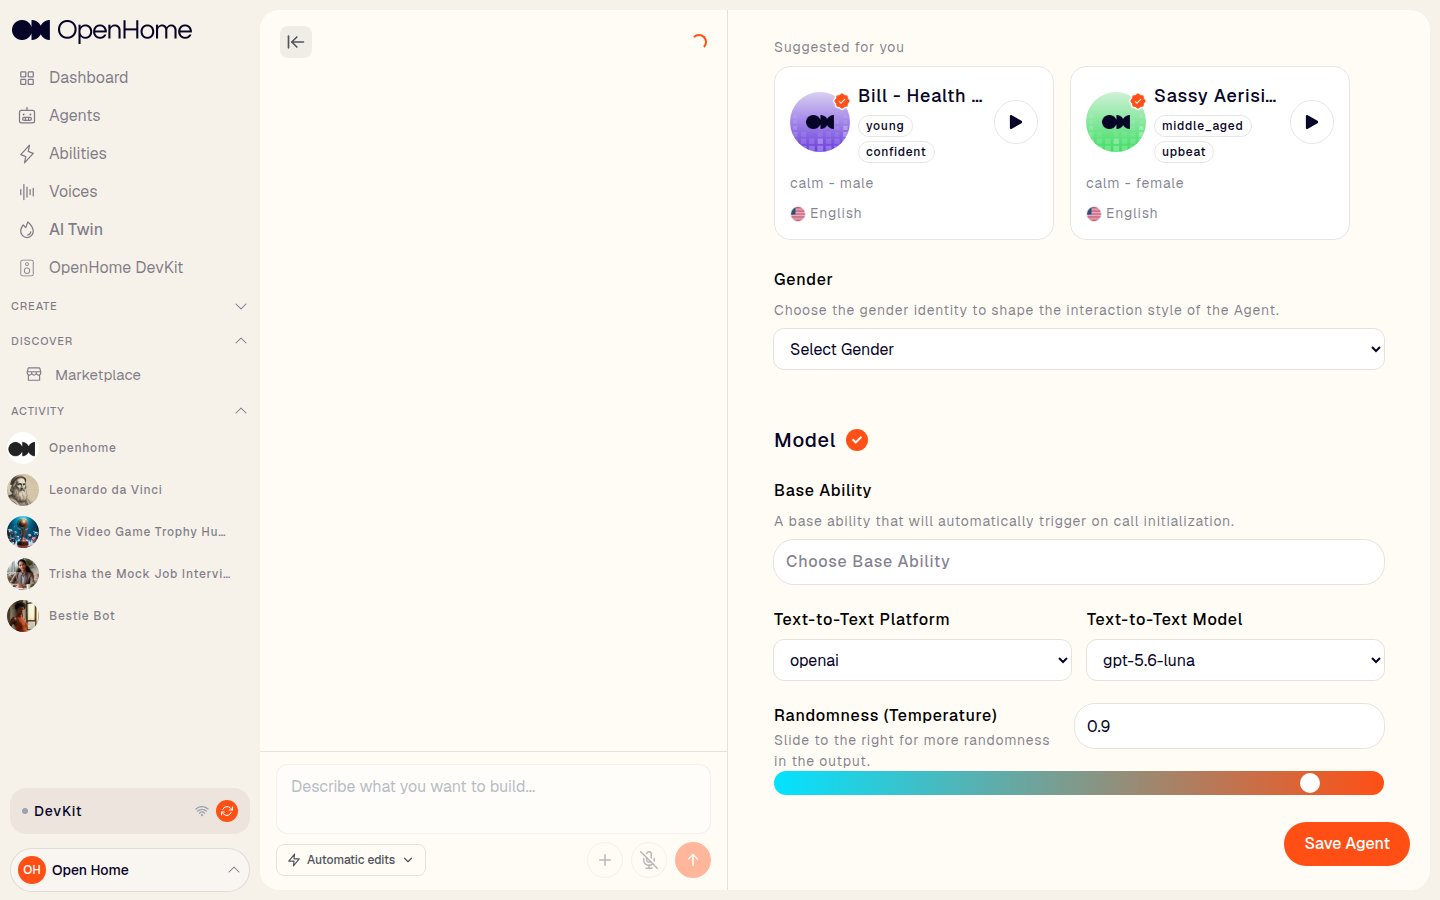
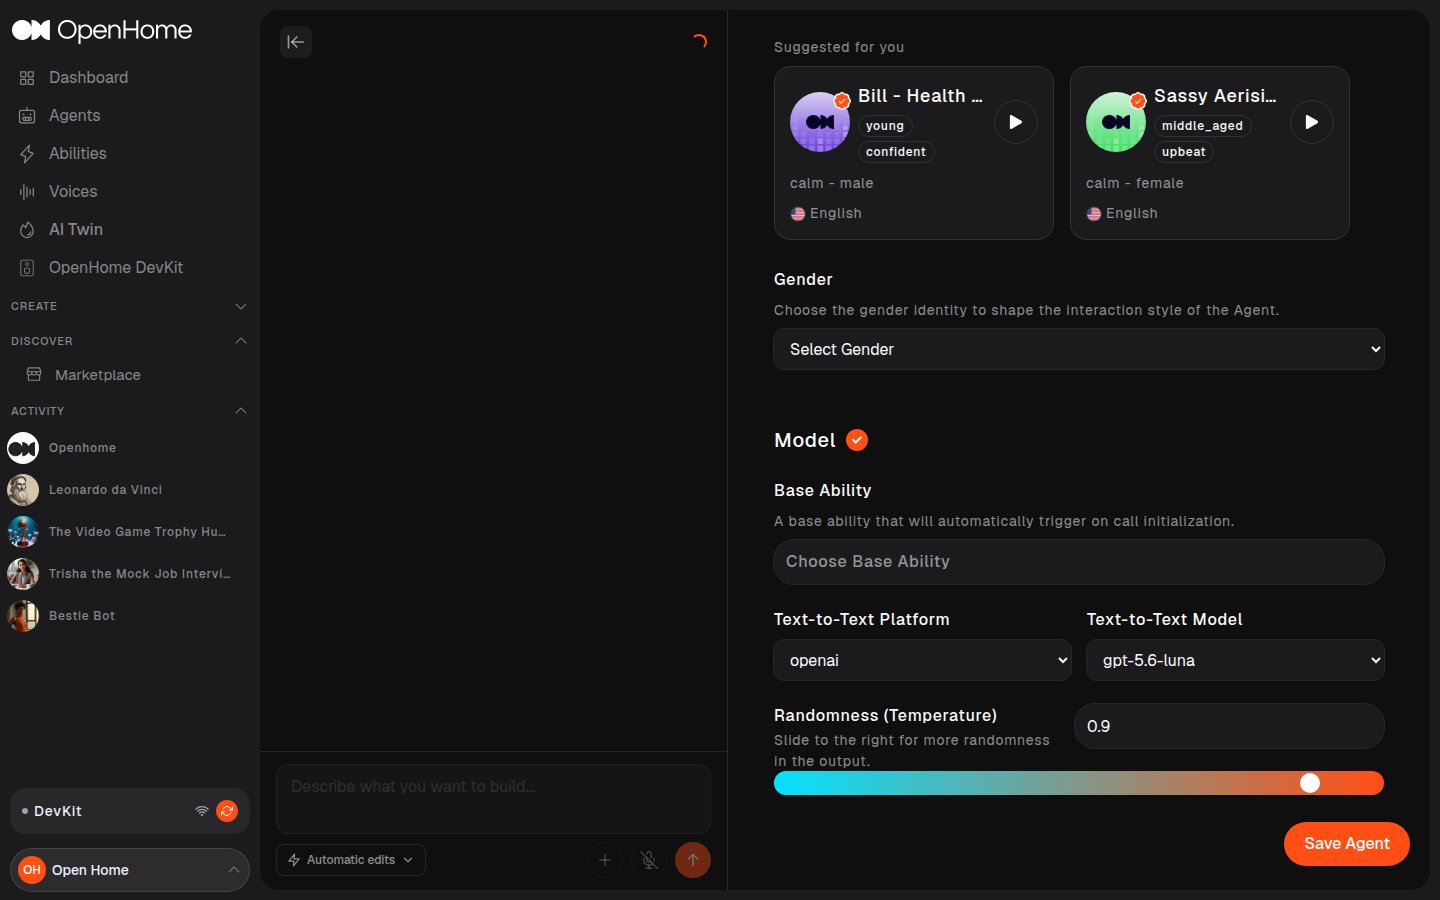
- Base Ability: an Ability that auto-triggers when a call starts.
- Text-to-Text Platform / Text-to-Text Model: the LLM provider and model.
- Randomness (Temperature): slide right for more creative, less deterministic responses.
AI Twin
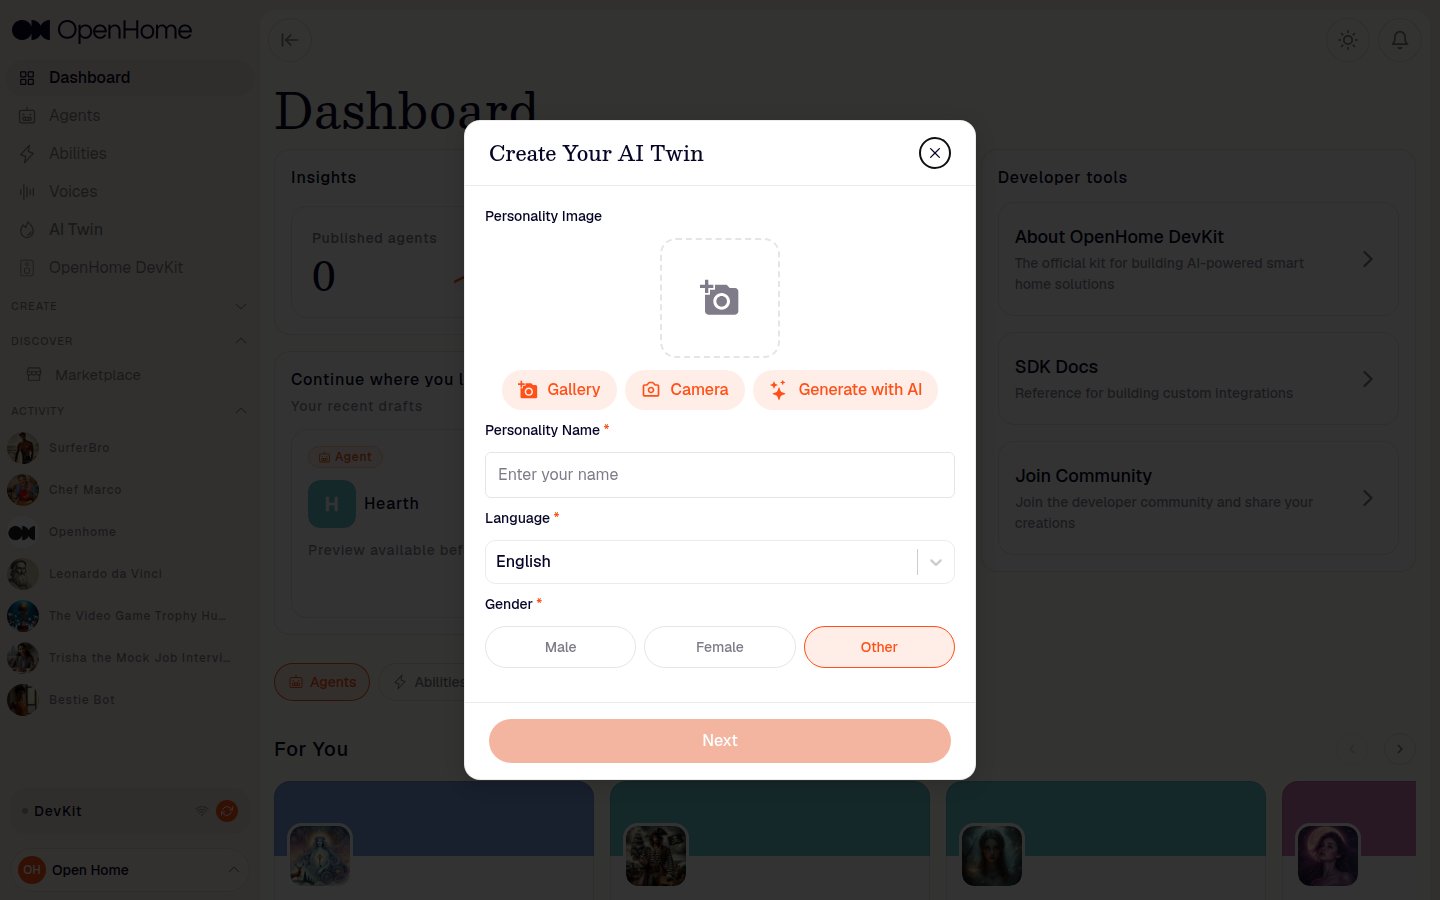
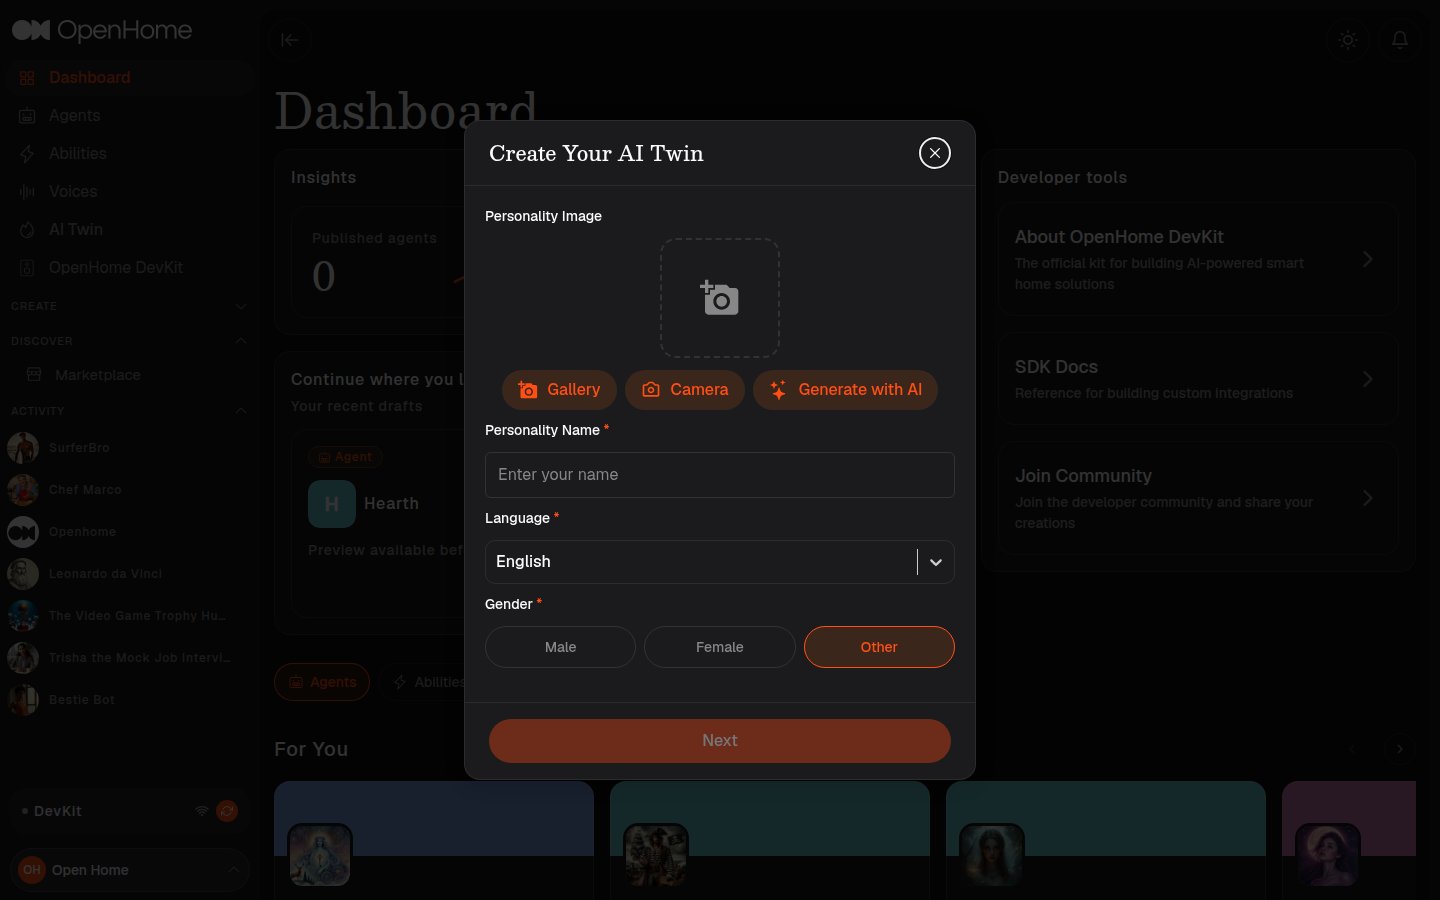
Click AI Twin in the sidebar to open the Create Your AI Twin dialog:- Personality Image: use Gallery, Camera, or Generate with AI.
- Personality Name.
- Language.
- Gender: Male, Female, or Other.
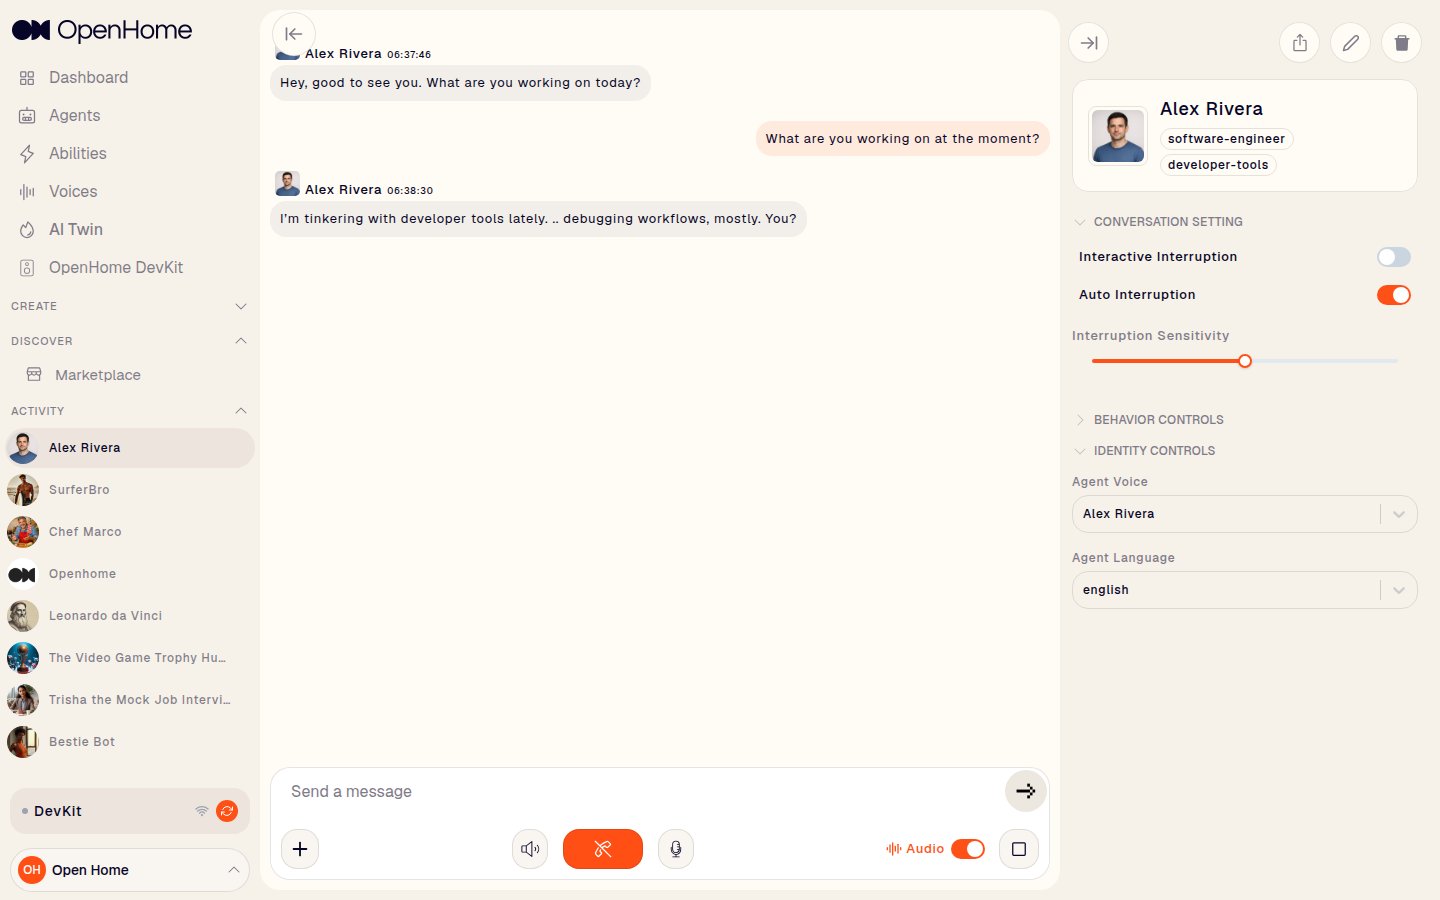
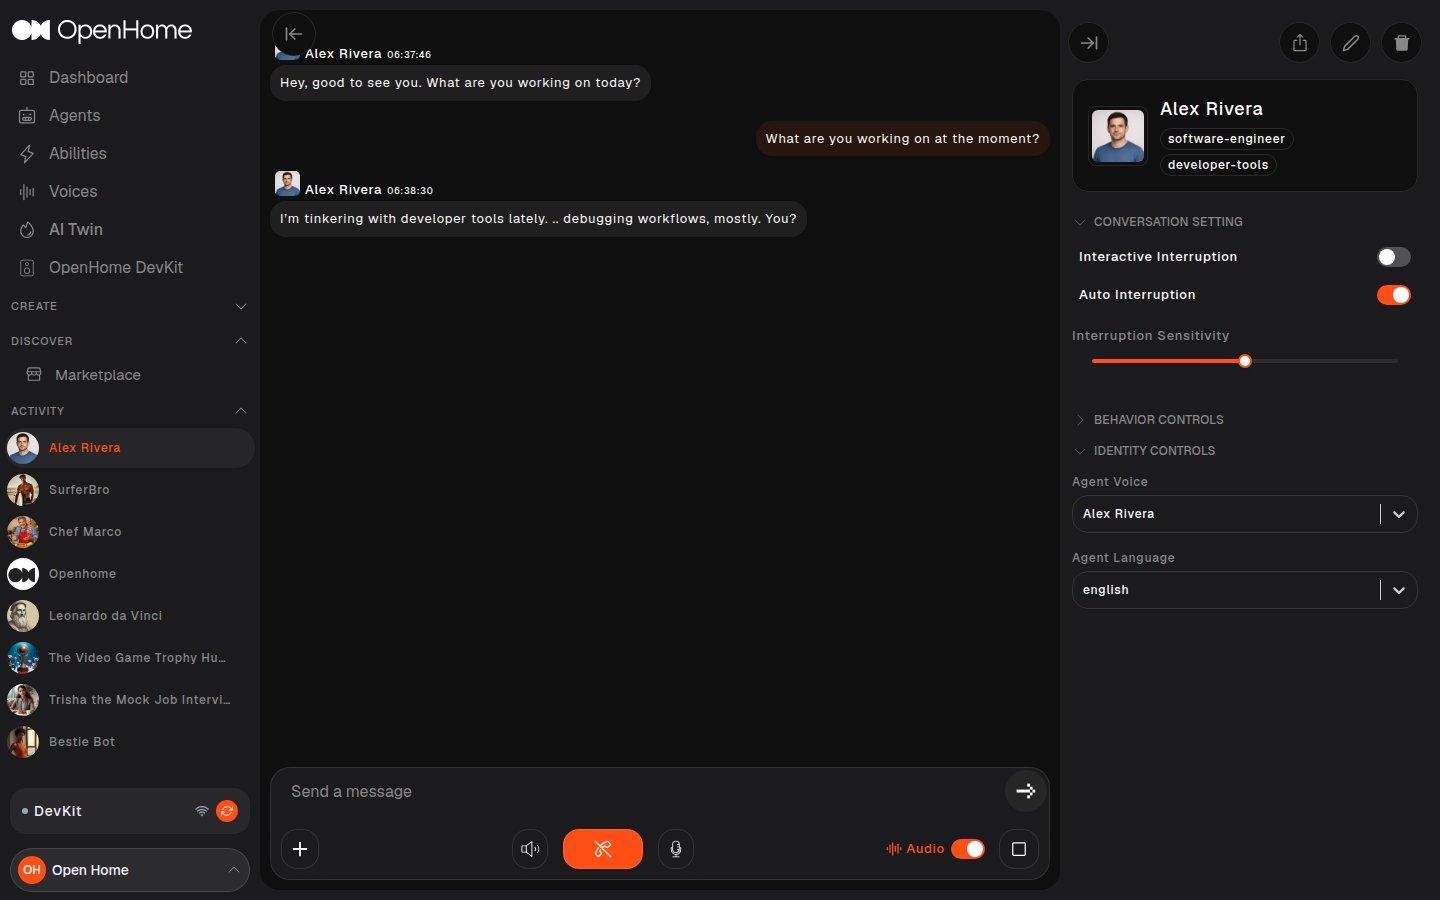
- Conversation Setting: the same Interactive Interruption, Auto Interruption, and Interruption Sensitivity controls as any Agent.
- Behavior Controls: Starting Message and Description prompt, generated from your spoken answers and editable here afterward.
- Identity Controls: Agent Voice (a voice generated for the Twin during setup) and Agent Language.
Abilities
The Abilities page lists every Ability you can access.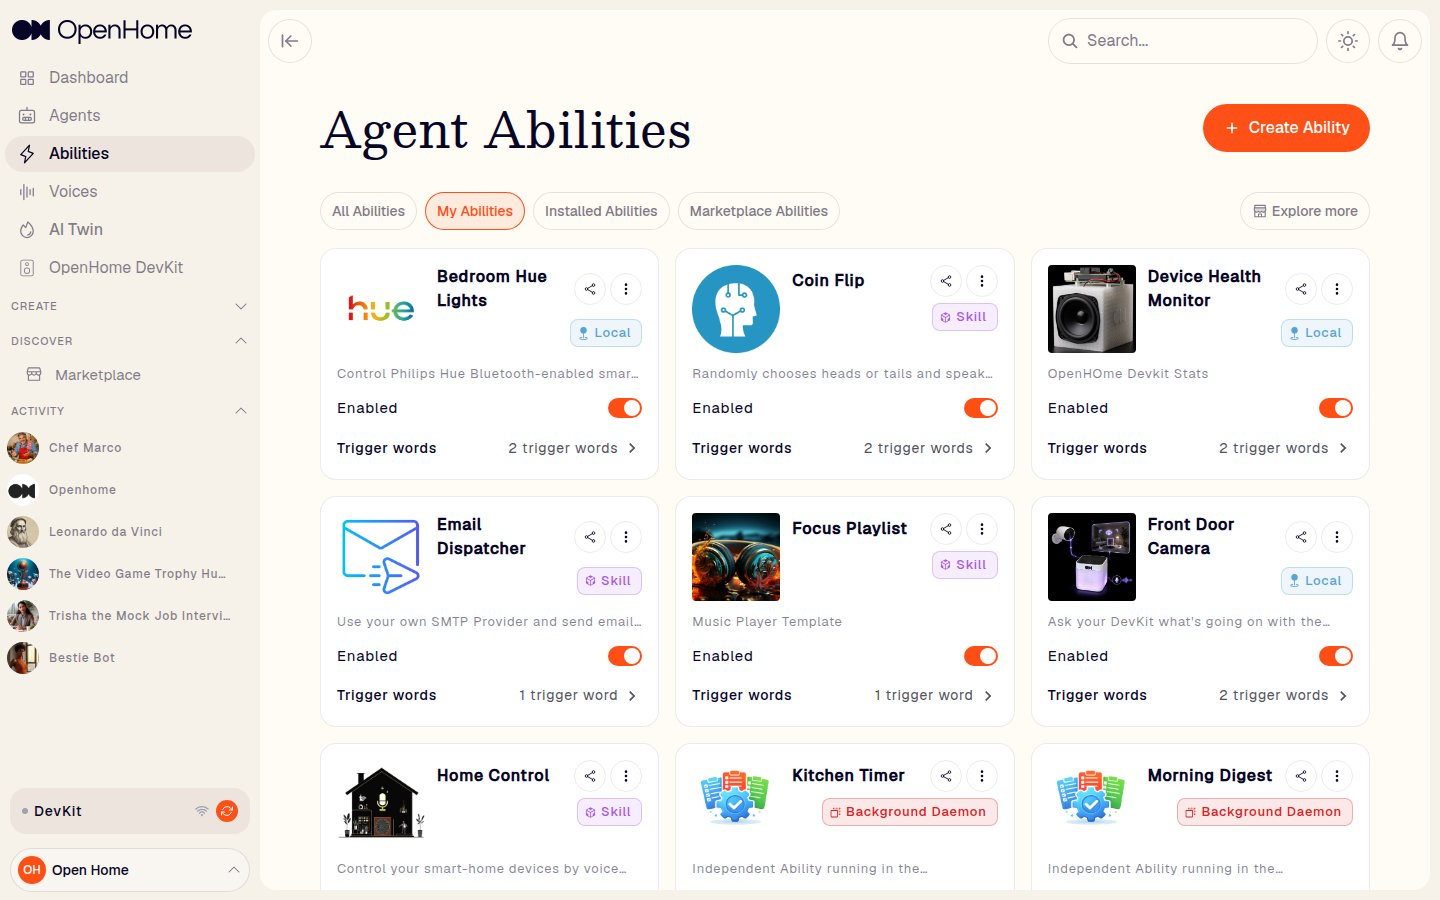
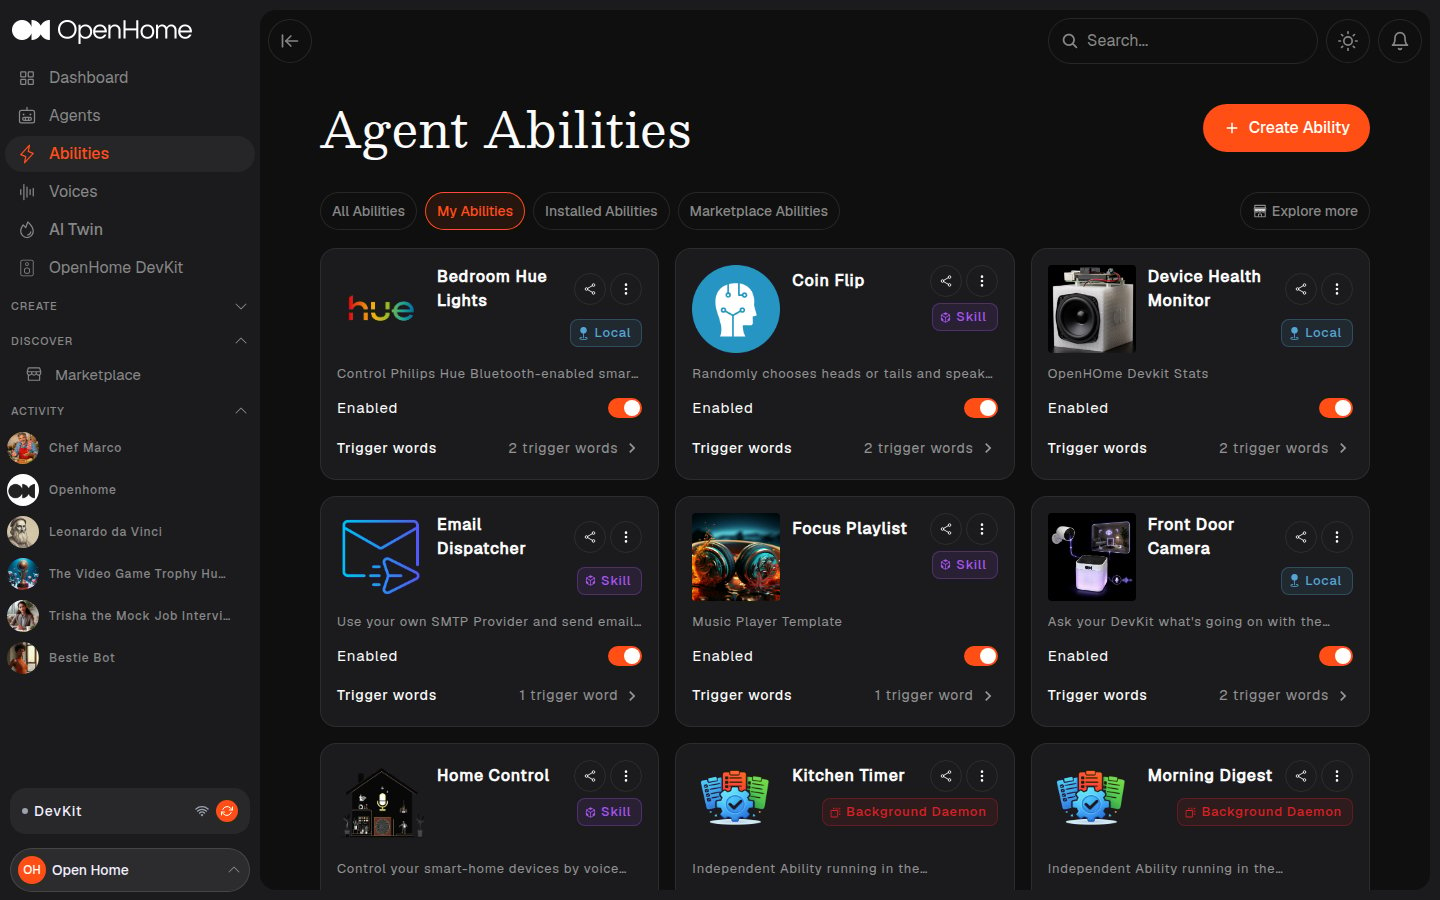
- Tabs: All Abilities, My Abilities, Installed Abilities, Marketplace Abilities.
- Explore more: opens the Marketplace.
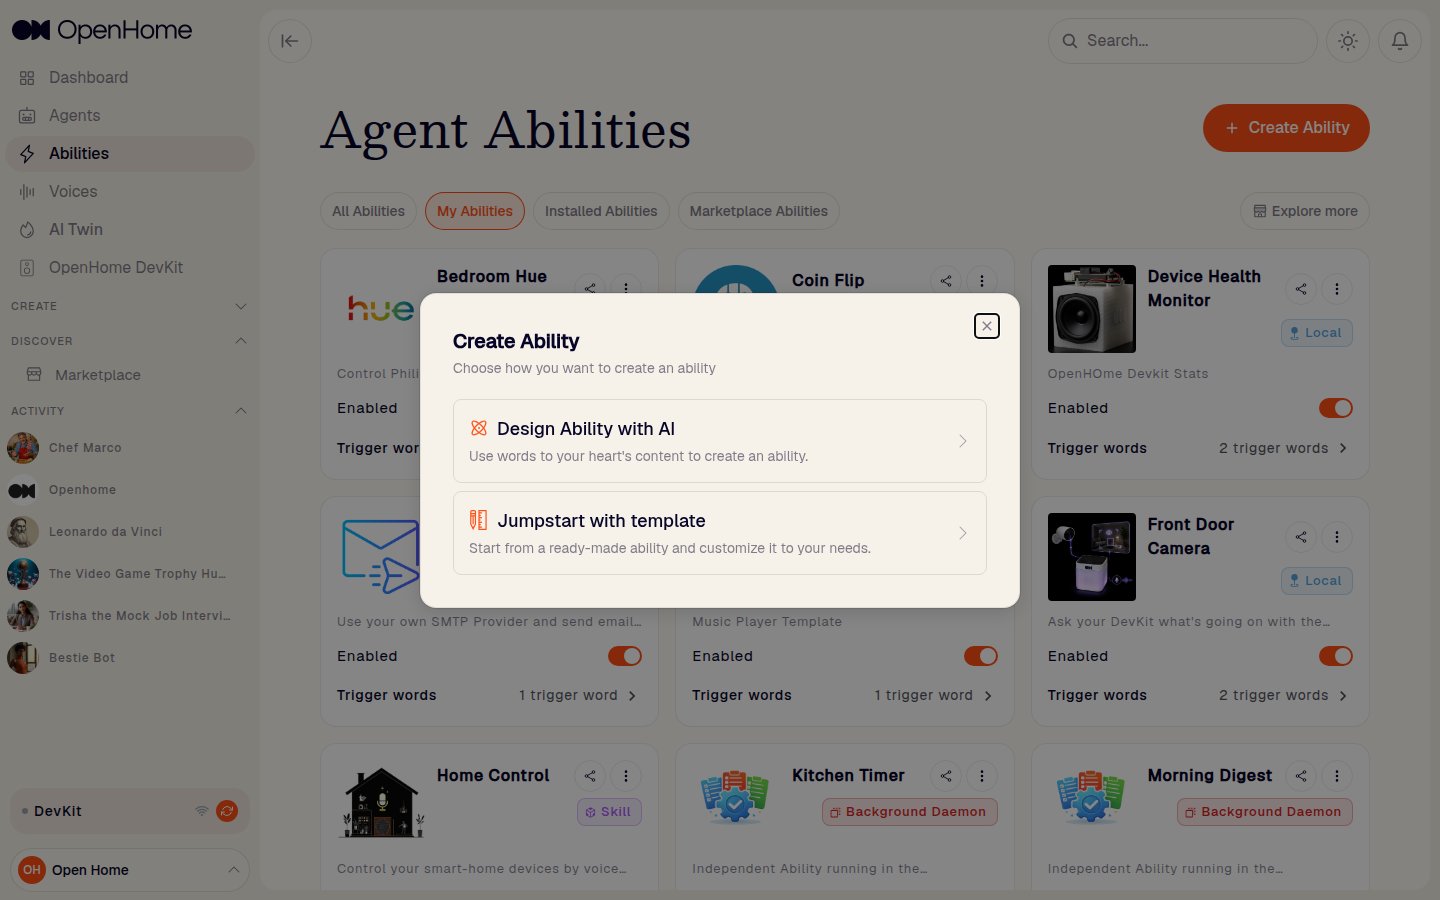
- Each Ability card shows its icon, name, category (Skill, Agent Controlled, Background Daemon, or Local), description, an Enabled toggle, and its trigger word count, plus Share, Open code editor, and a More actions menu.
Create an Ability
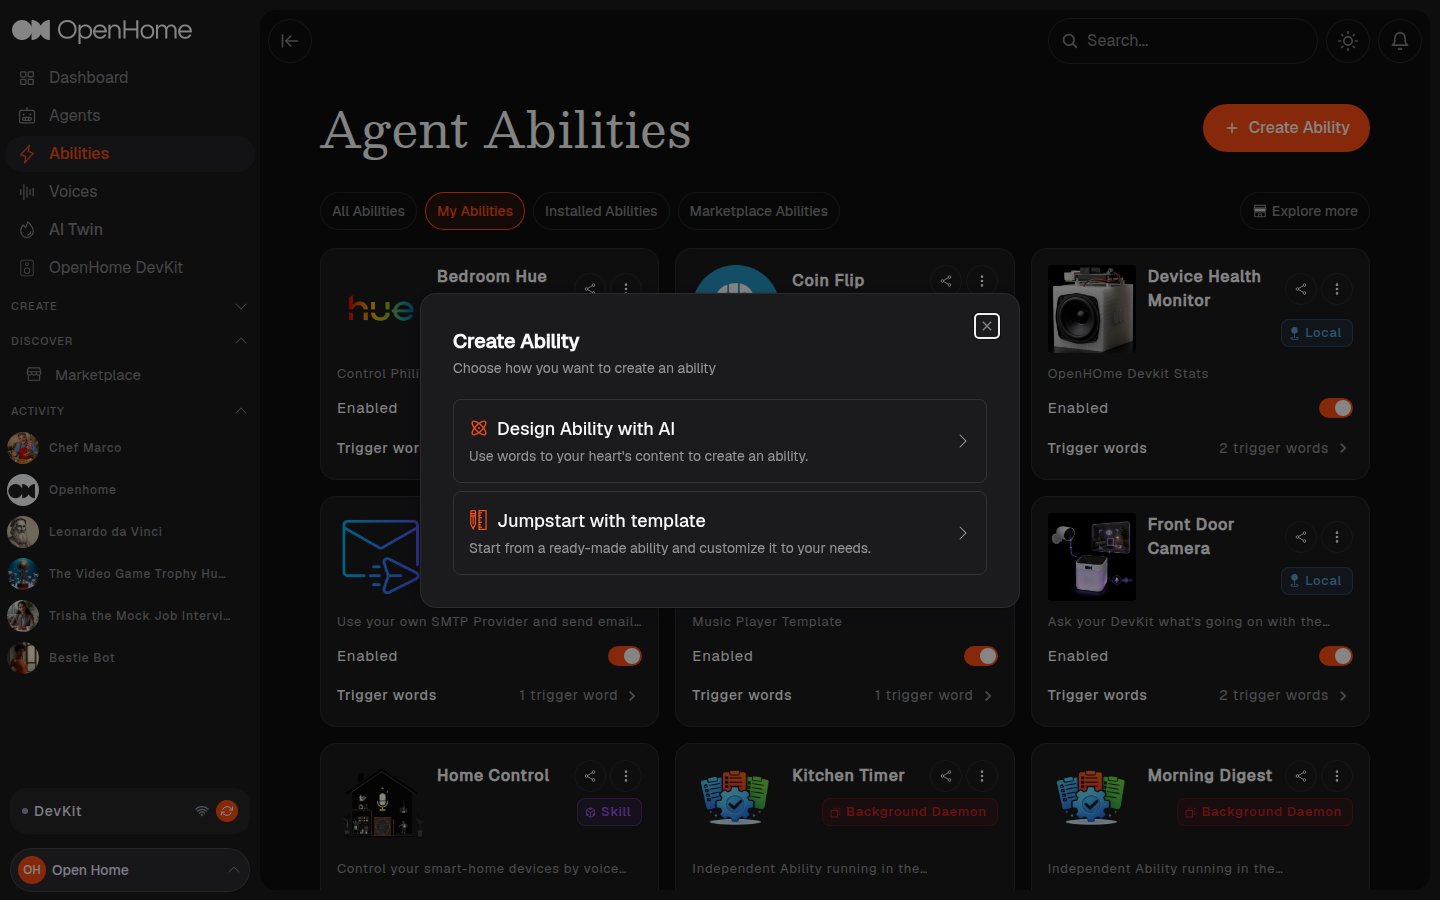
Click Create Ability to choose how to build it:- Design Ability with AI: describe what you want in your own words.
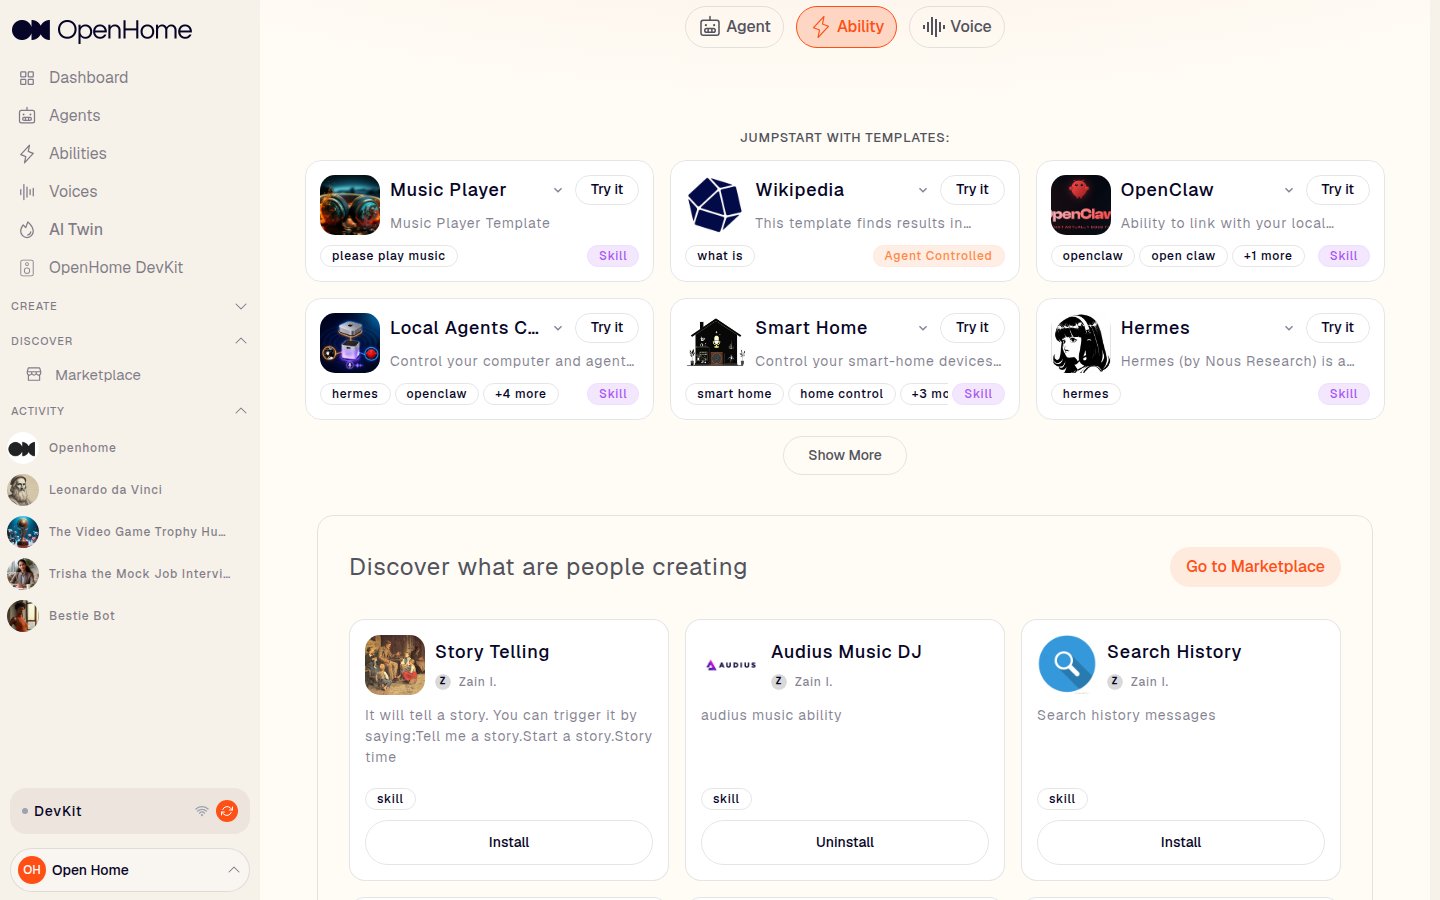
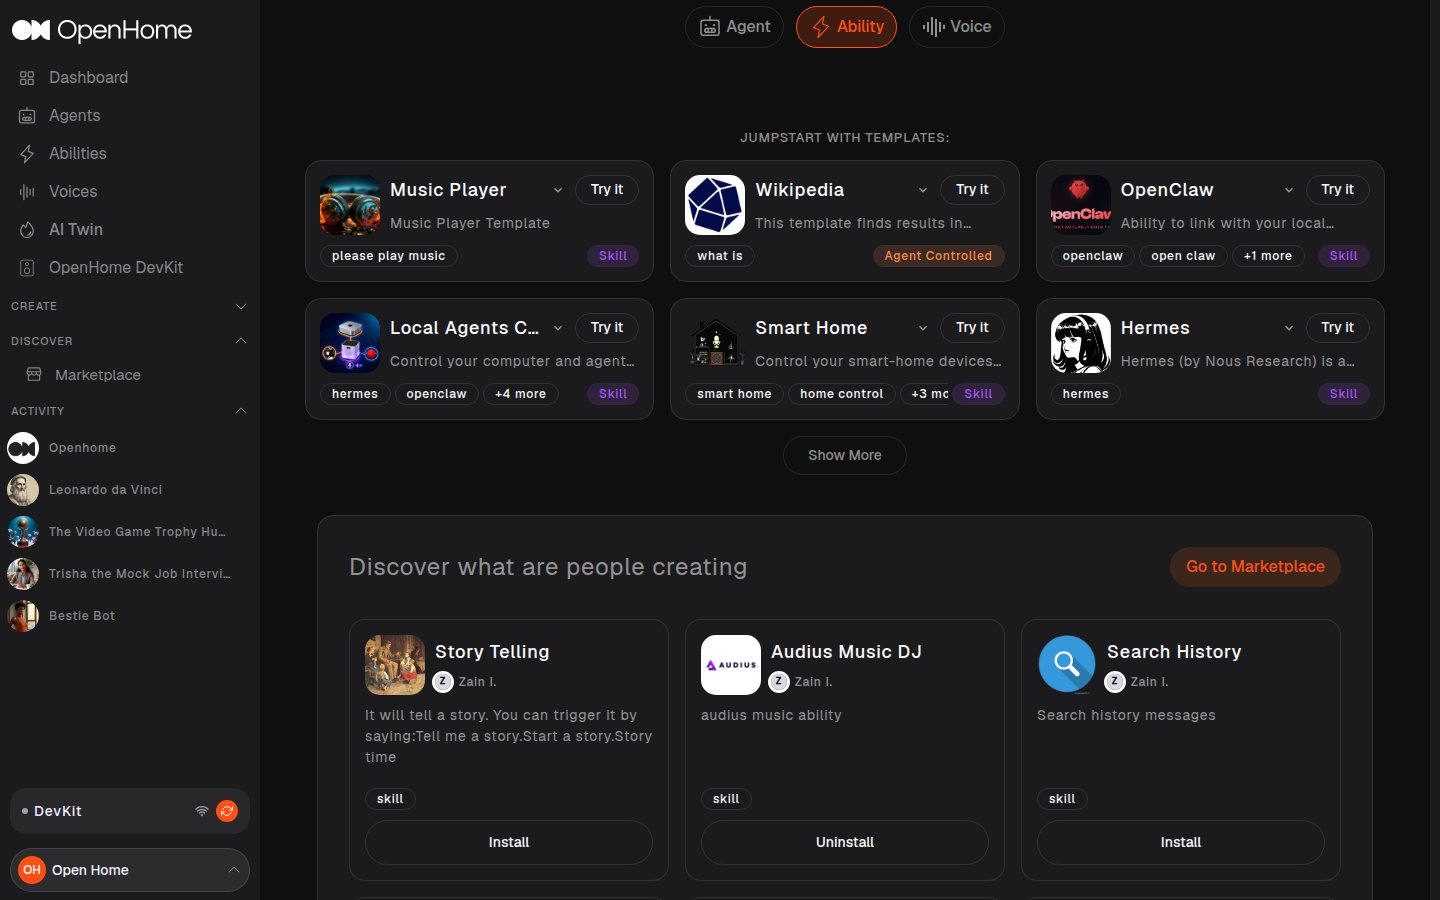
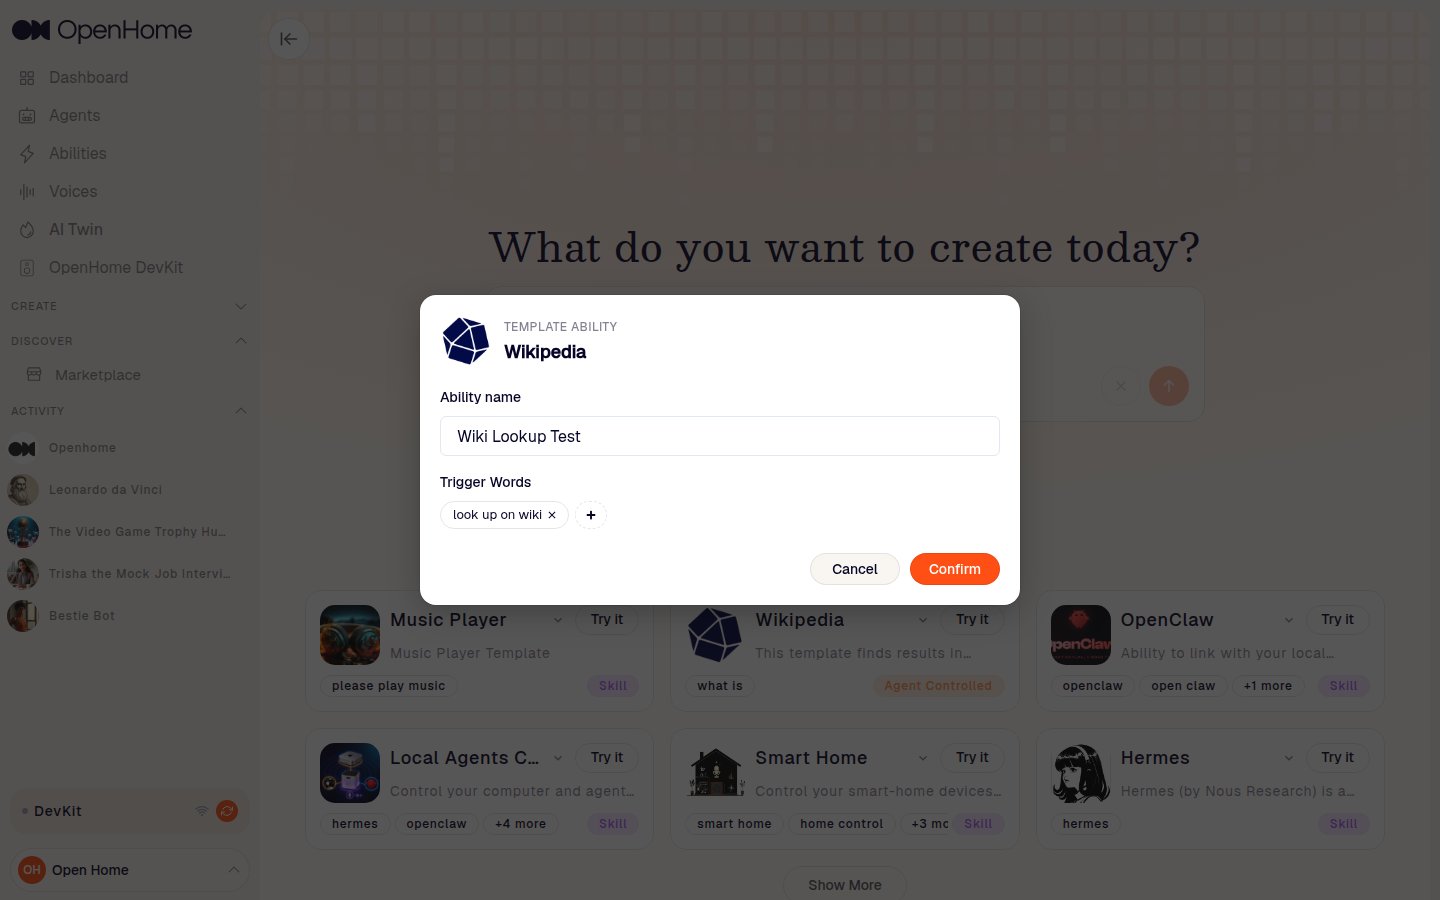
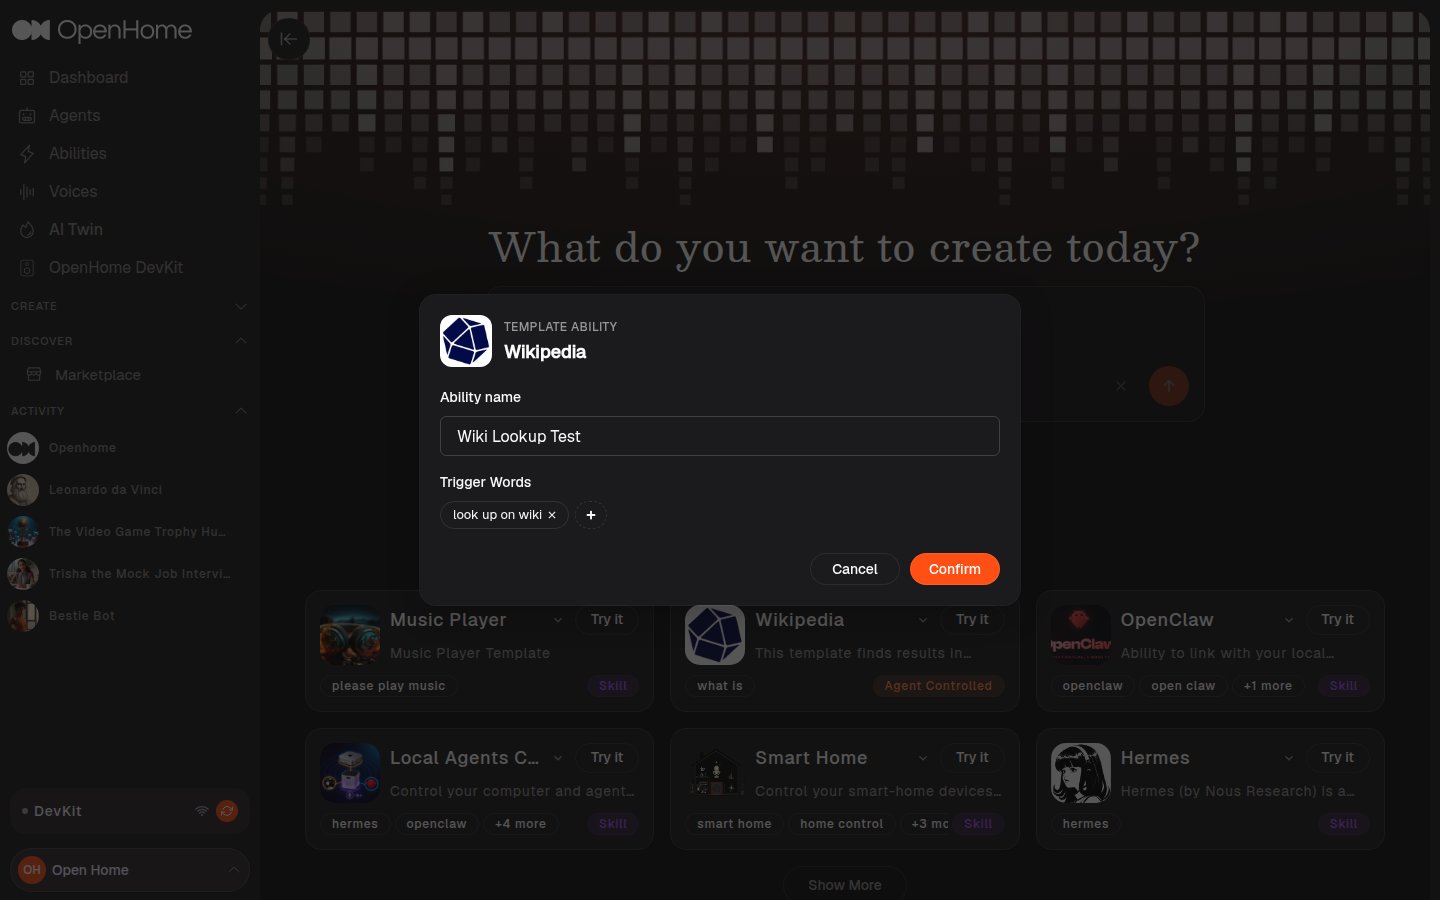
- Jumpstart with template: start from a ready-made Ability. Templates map directly to the ones in the OpenHome Abilities repository, Music Player, Wikipedia, OpenClaw, Smart Home, Hermes, and more.
- Ability name.
- Trigger Words: the spoken phrases that activate it. Templates pre-fill a starting set, remove any with its x or add more.
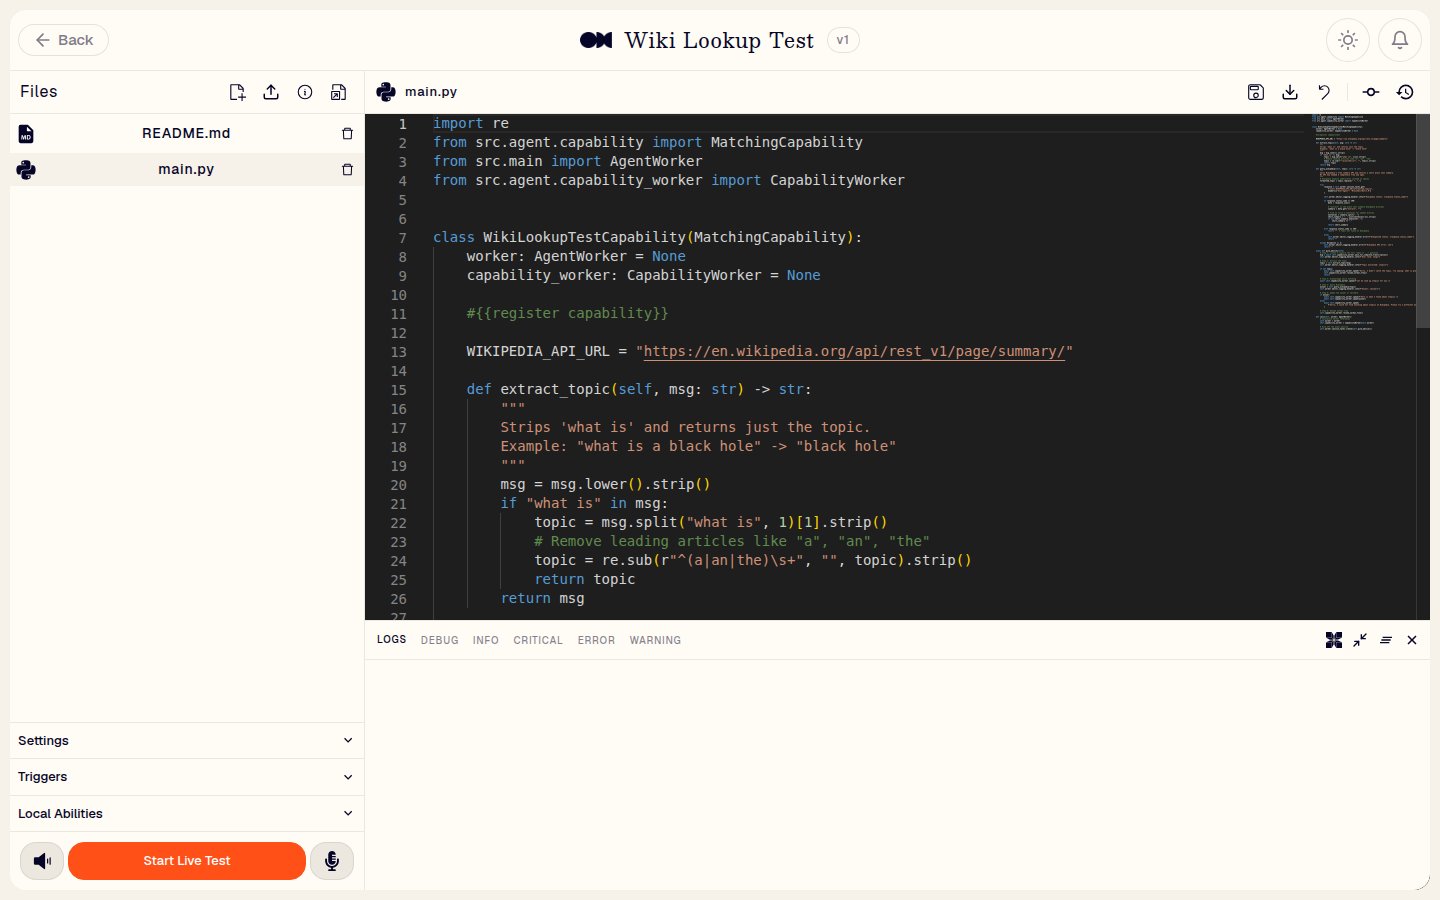
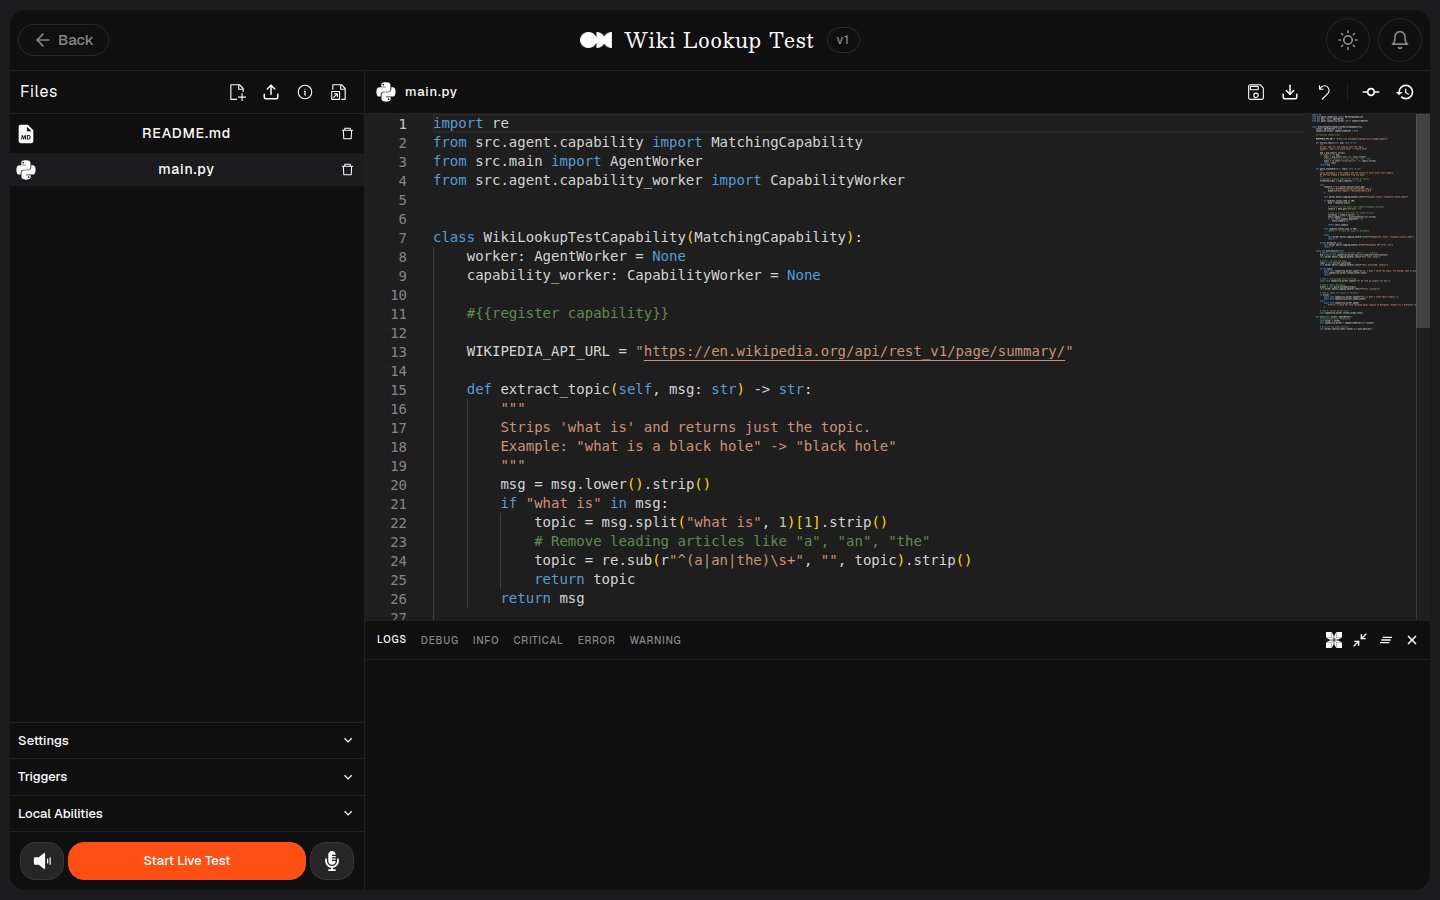
- Files: the Ability’s source files (for example
main.py,README.md). New File and Upload File add to them, each file has a Delete file control, and Information and Documentation link out to reference material. - Code editor: edit the selected file directly. Its toolbar has Save, Download, Discard Changes, New Commit, and Commit History.
- Settings, Triggers, and Local Abilities: panels for the Ability’s configuration.
- Start Live Test: try the Ability immediately by voice, with Turn off speaker and Turn off mic beside it.
- Logs: a console with LOGS, DEBUG, INFO, CRITICAL, ERROR, and WARNING views, plus Open AI Agent (an in-editor AI assistant), clear, minimize, and close controls.
Voices
The Voices page lists every voice you can use for an Agent.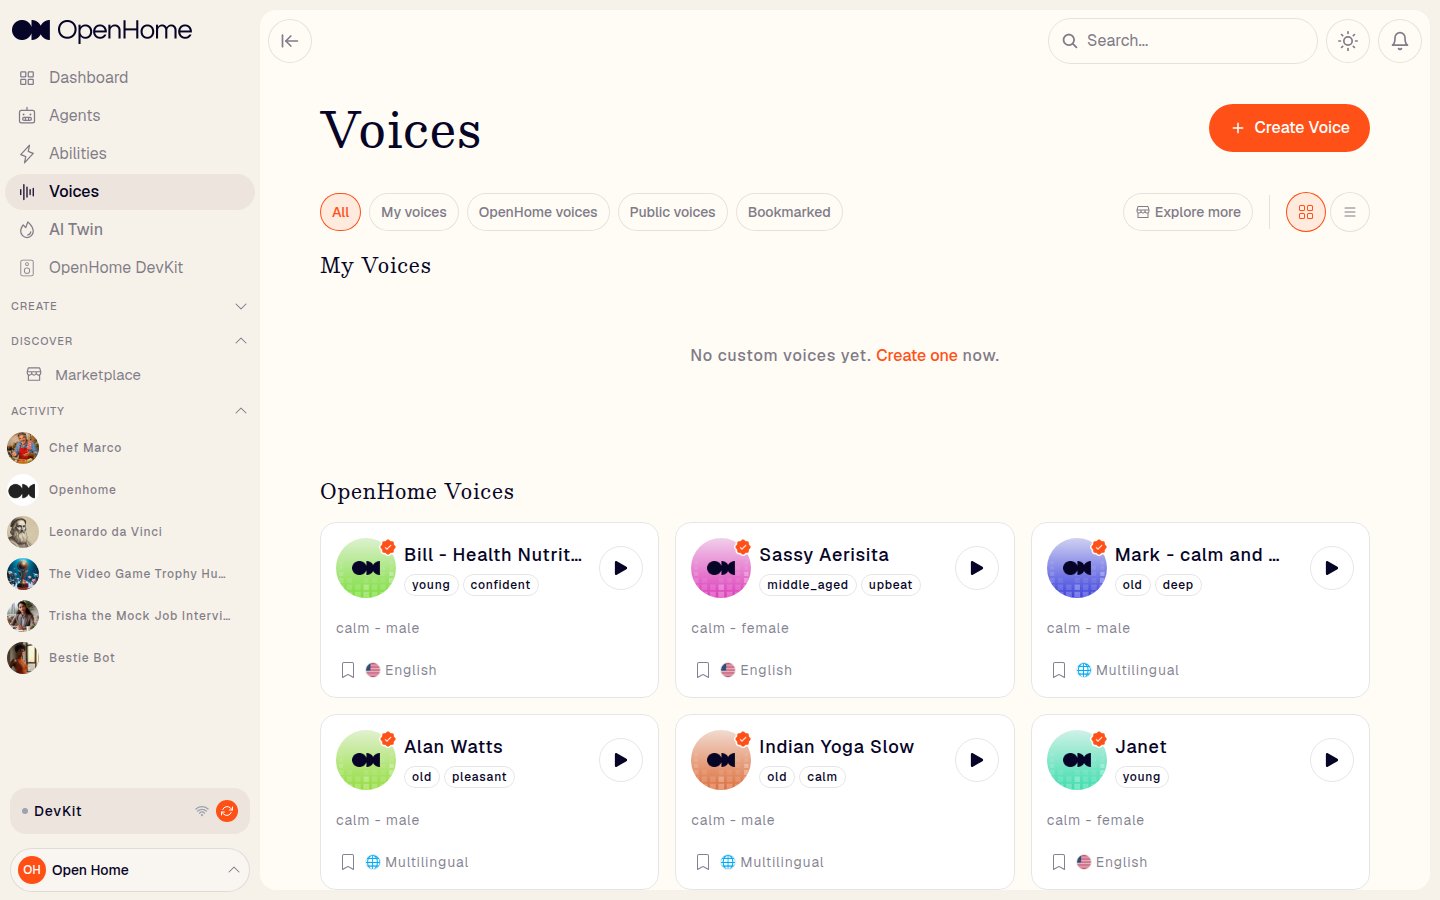
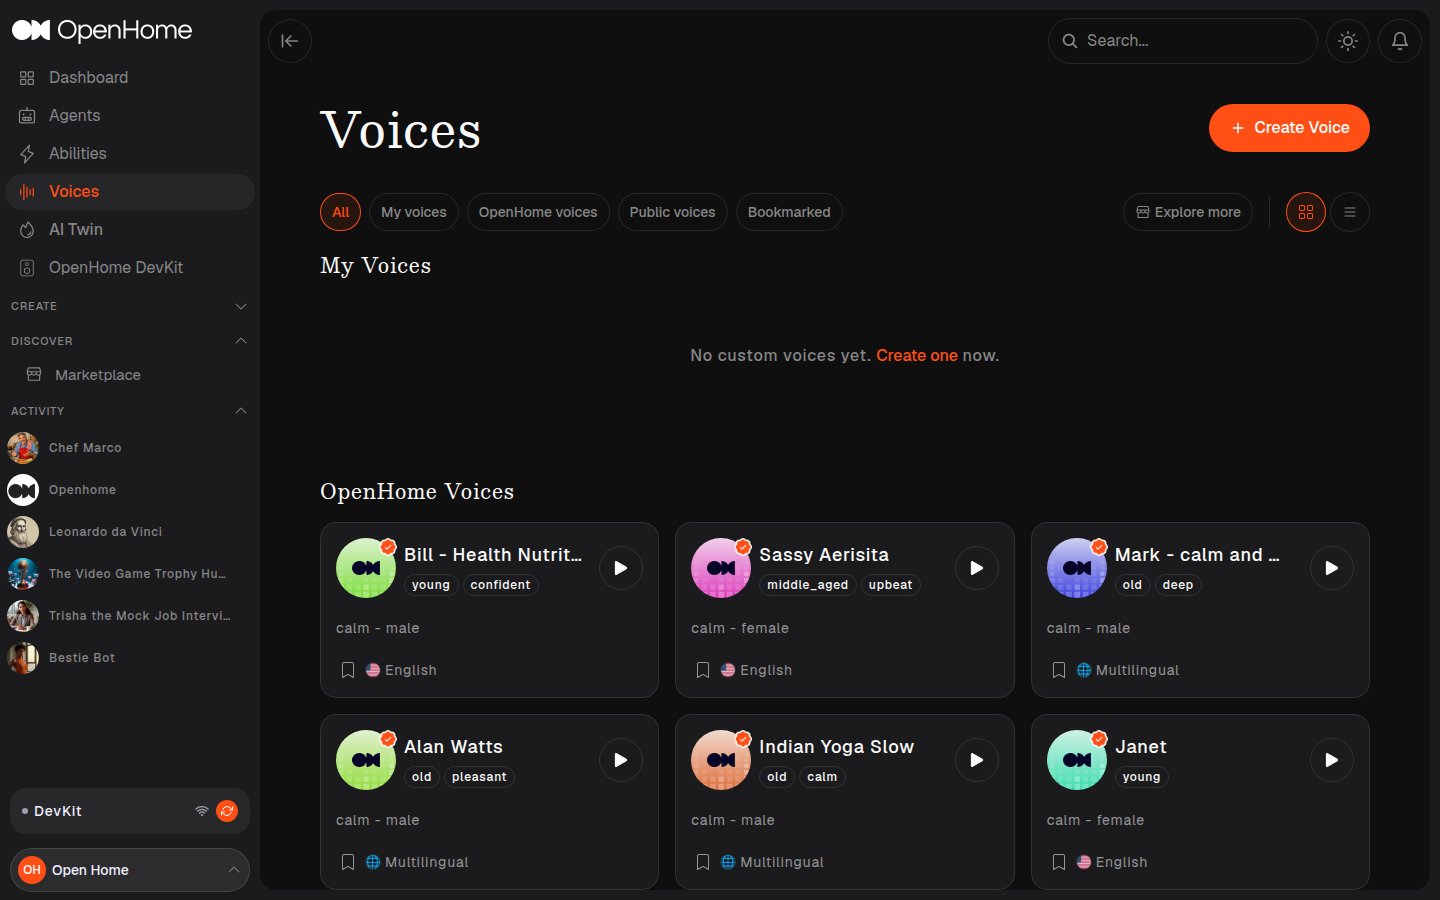
- Tabs: All, My voices, OpenHome voices, Public voices, Bookmarked.
- Explore more: opens the Marketplace.
- Each voice card shows a preview play button, its traits (for example young, confident), tone (for example calm - male), and language, with a bookmark toggle.
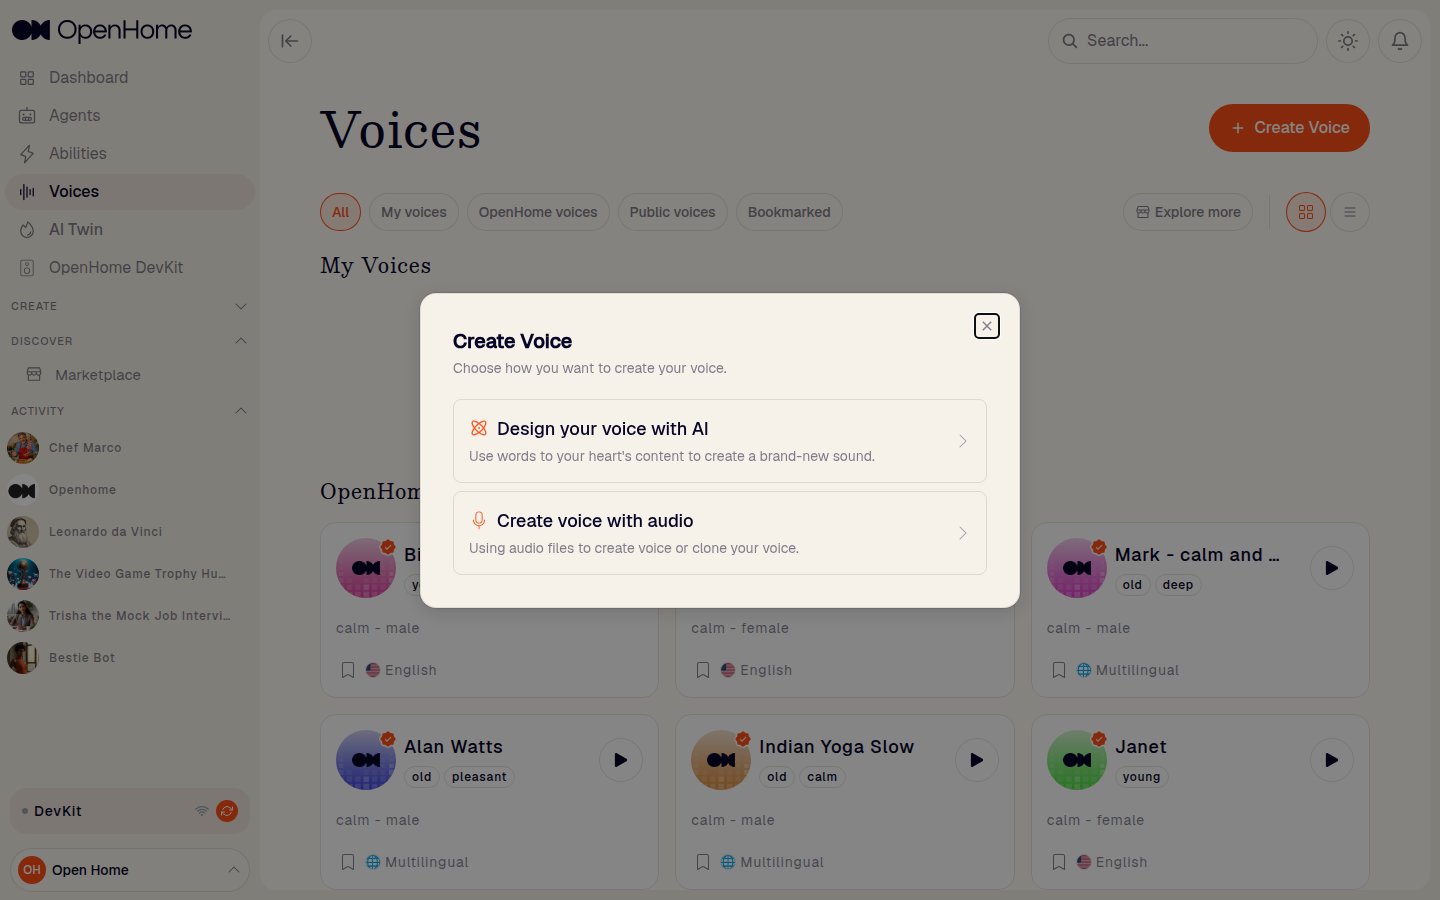
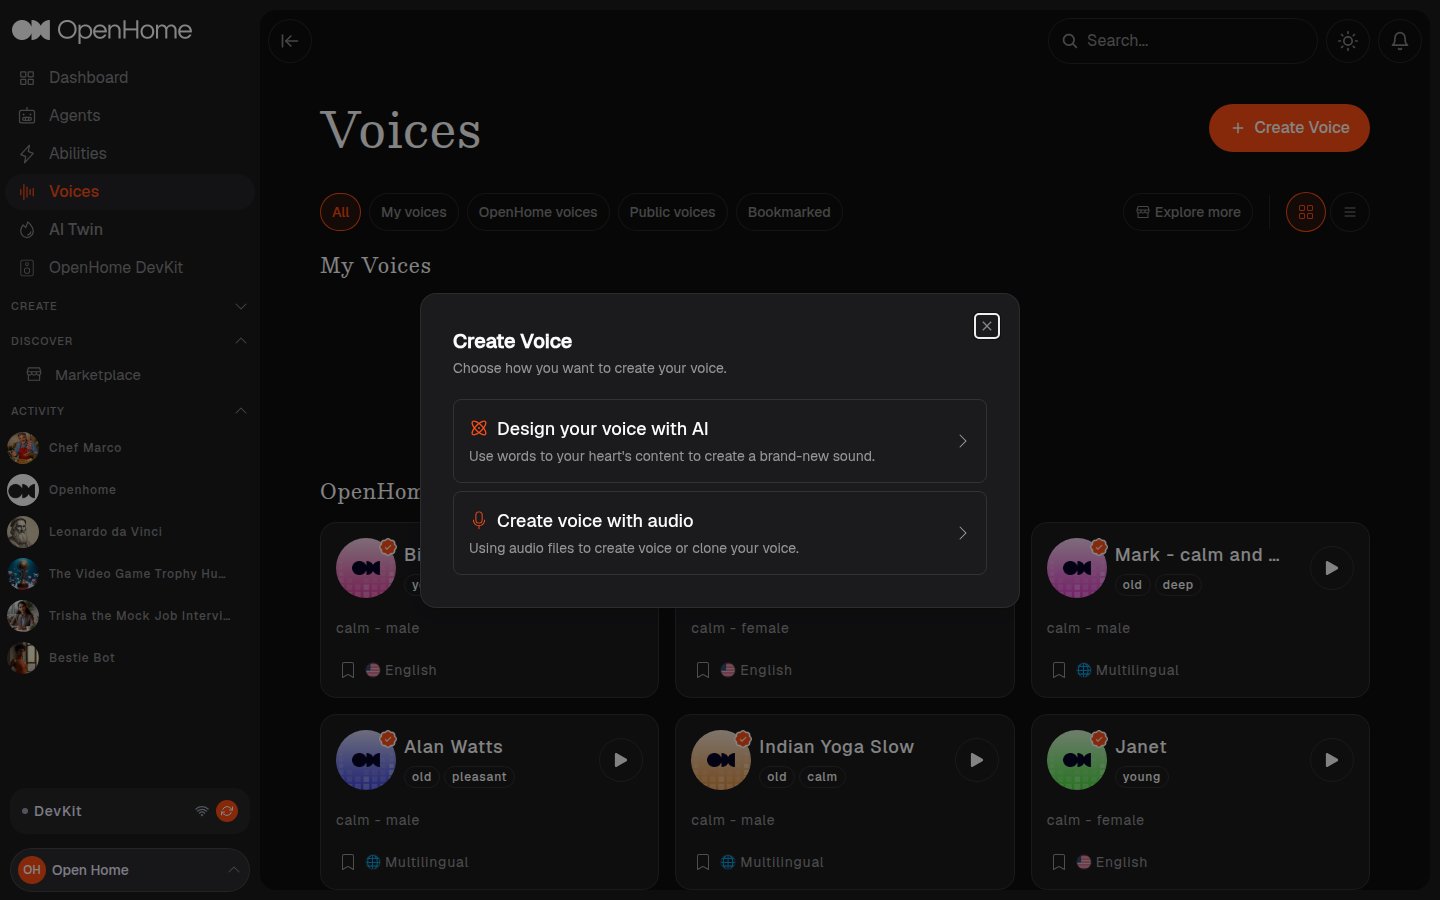
- Design your voice with AI: describe the sound you want in your own words to create a brand-new voice.
- Create voice with audio: upload audio files to build a voice, or clone your own.
OpenHome DevKit
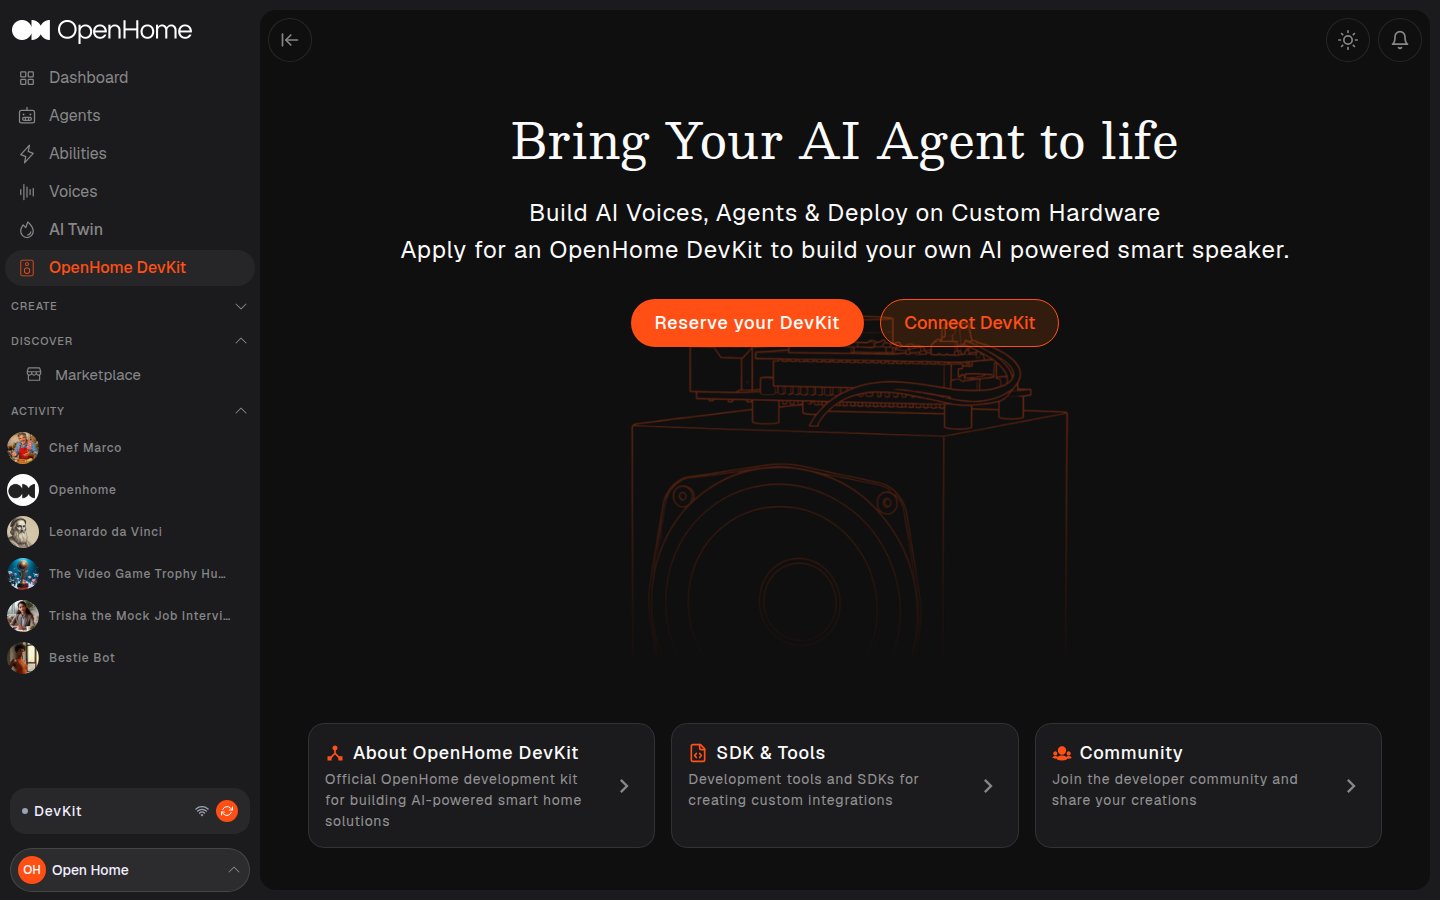
OpenHome DevKit in the sidebar is where a DevKit is paired and managed. Without one connected, the page offers Reserve your DevKit (apply for hardware) and Connect DevKit (pair one you already have).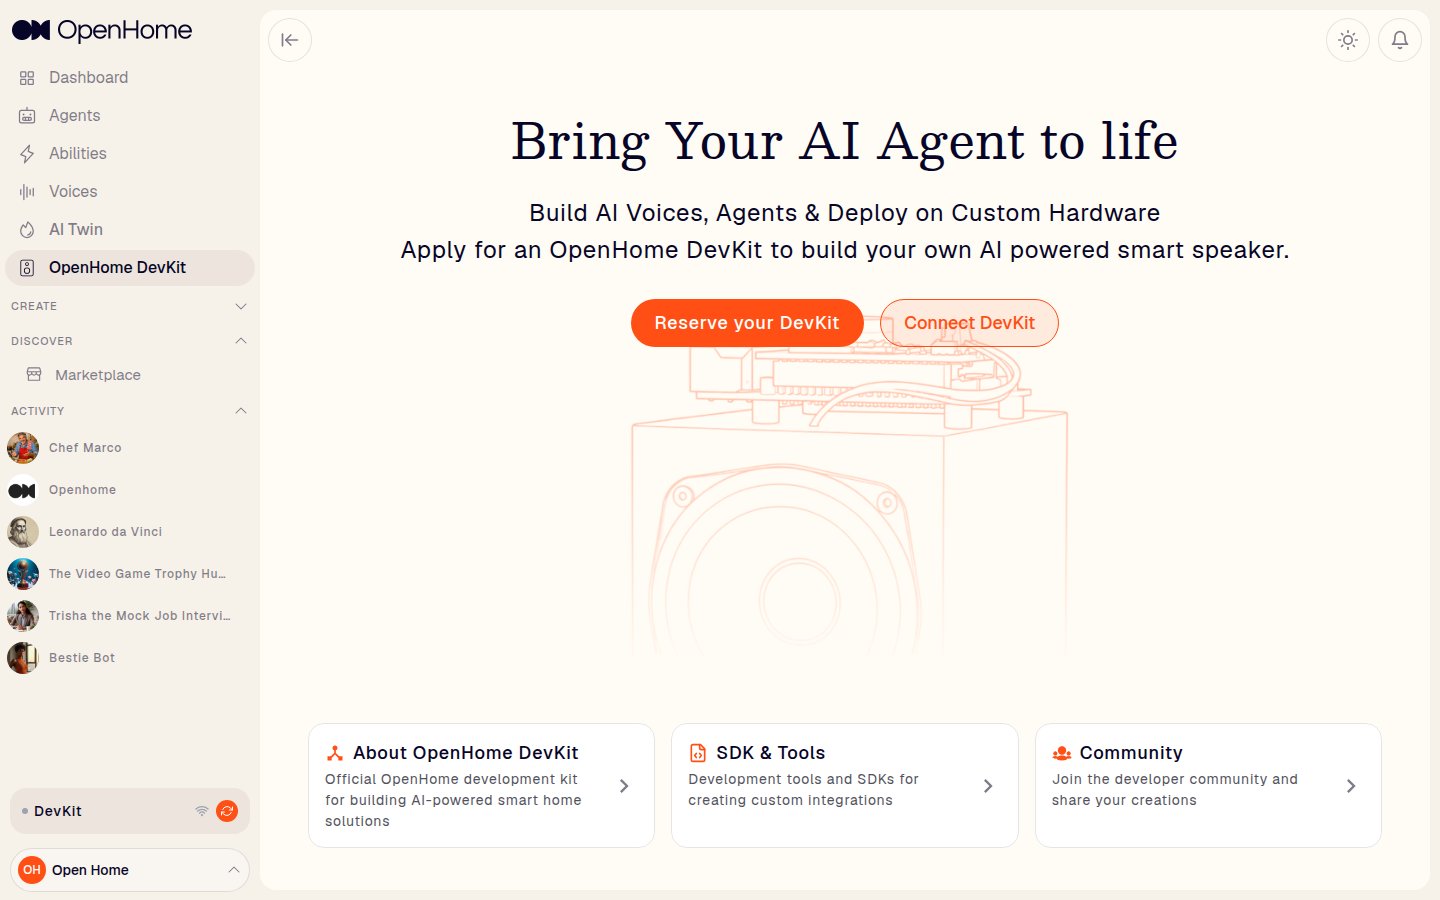
Marketplace
The Marketplace is where the community shares Agents, Abilities, and Voices. Open it from Discover → Marketplace in the sidebar.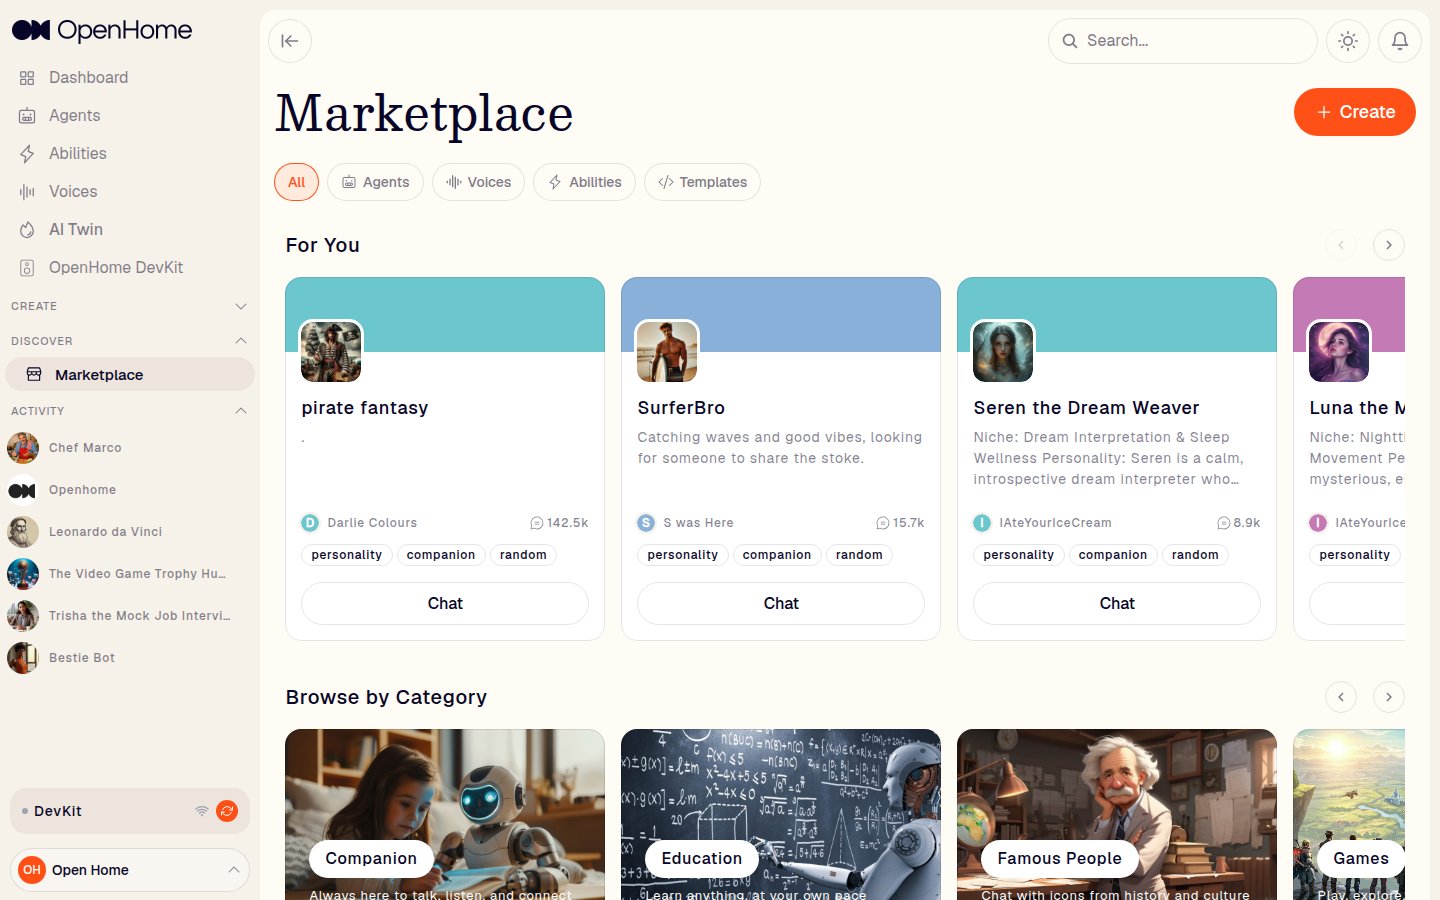
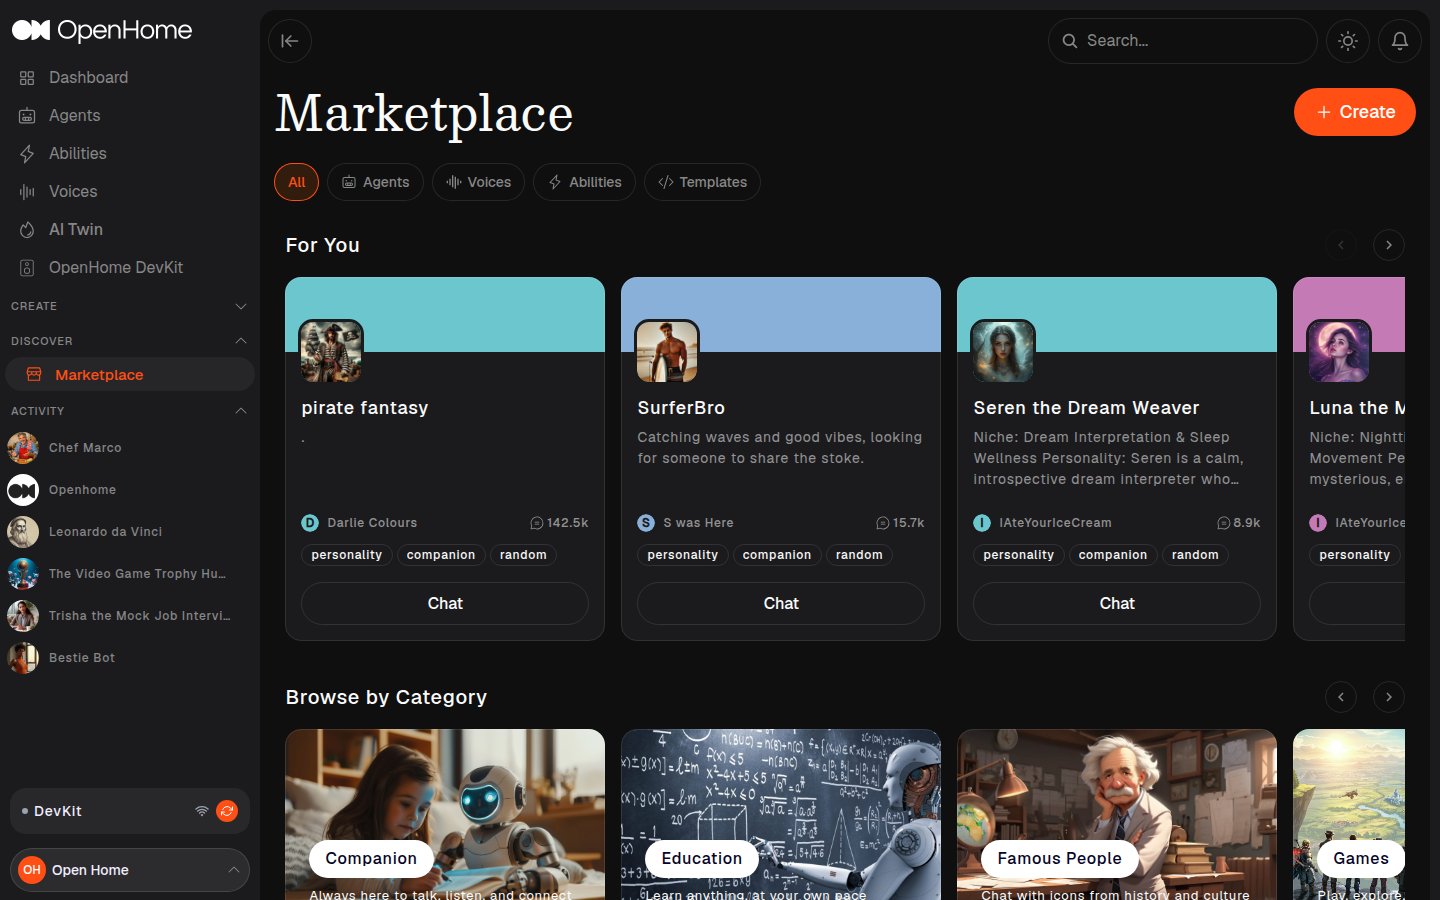
- Tabs: All, Agents, Voices, Abilities, Templates.
- For You: a row of recommended cards based on your activity, each with author, chat count, tags, and a Chat button.
- Browse by Category: category rows (Companion, Education, Famous People, Games, and more) to explore by theme.
- Create: opens Create New.
Conversations and Agent Settings
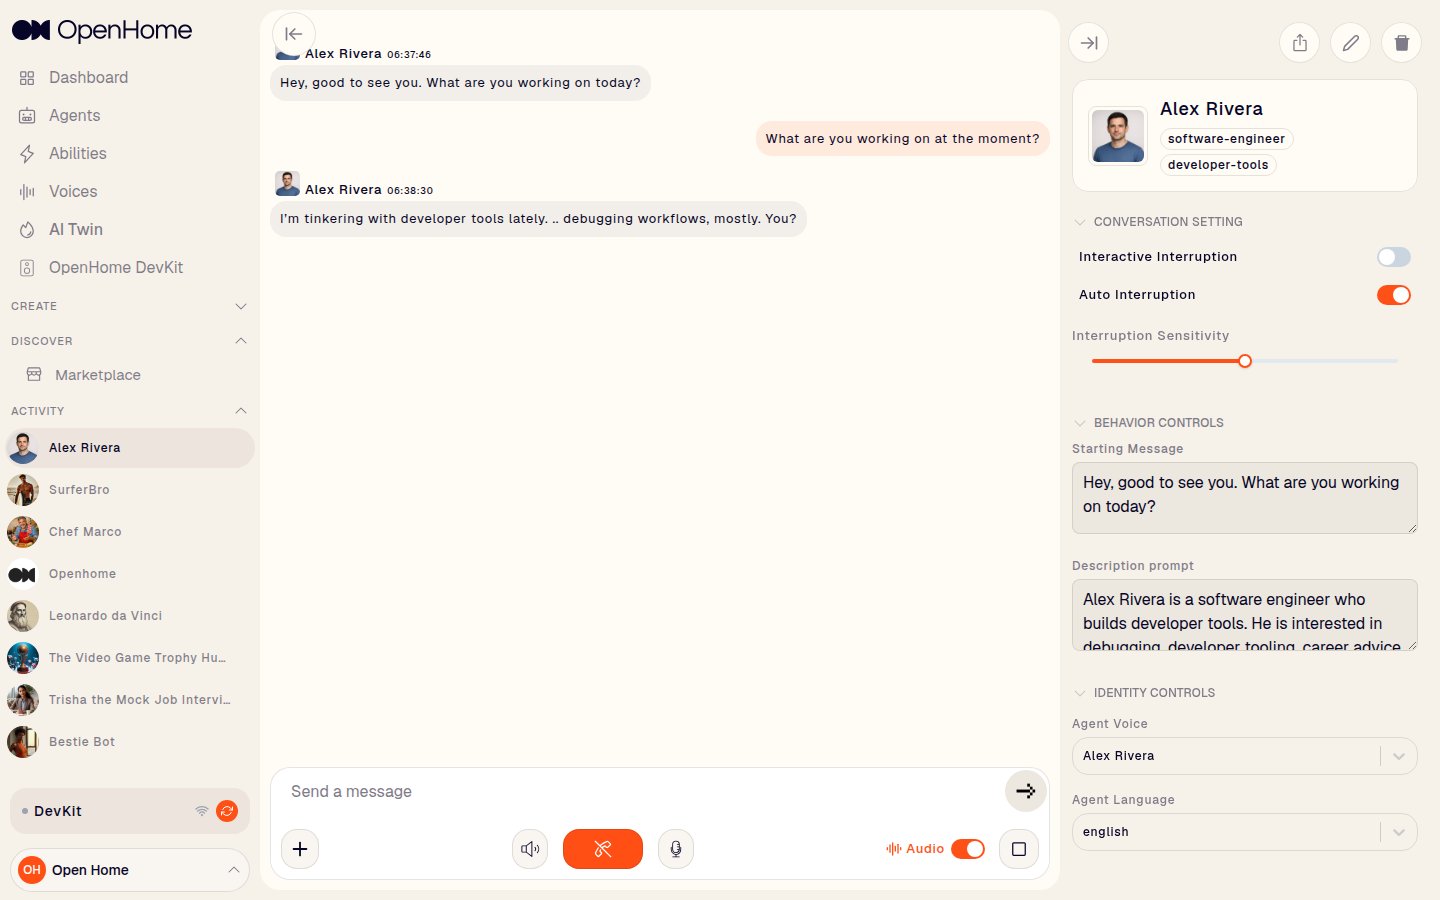
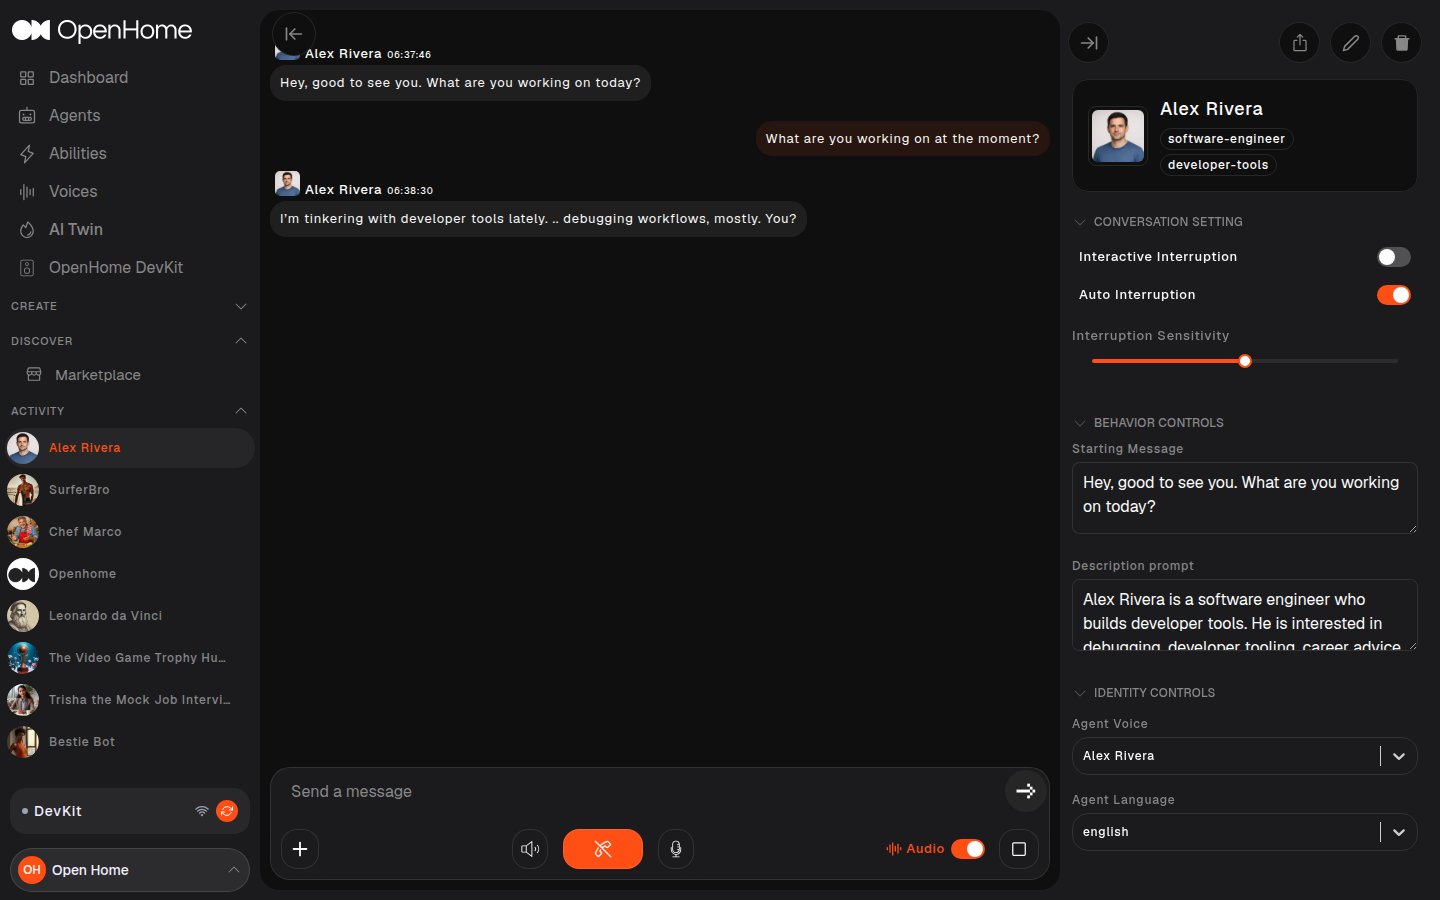
Clicking Chat on an Agent, or saving a new one, opens its conversation view: a chat pane on the left (type a message, or use voice) and Agent Settings on the right.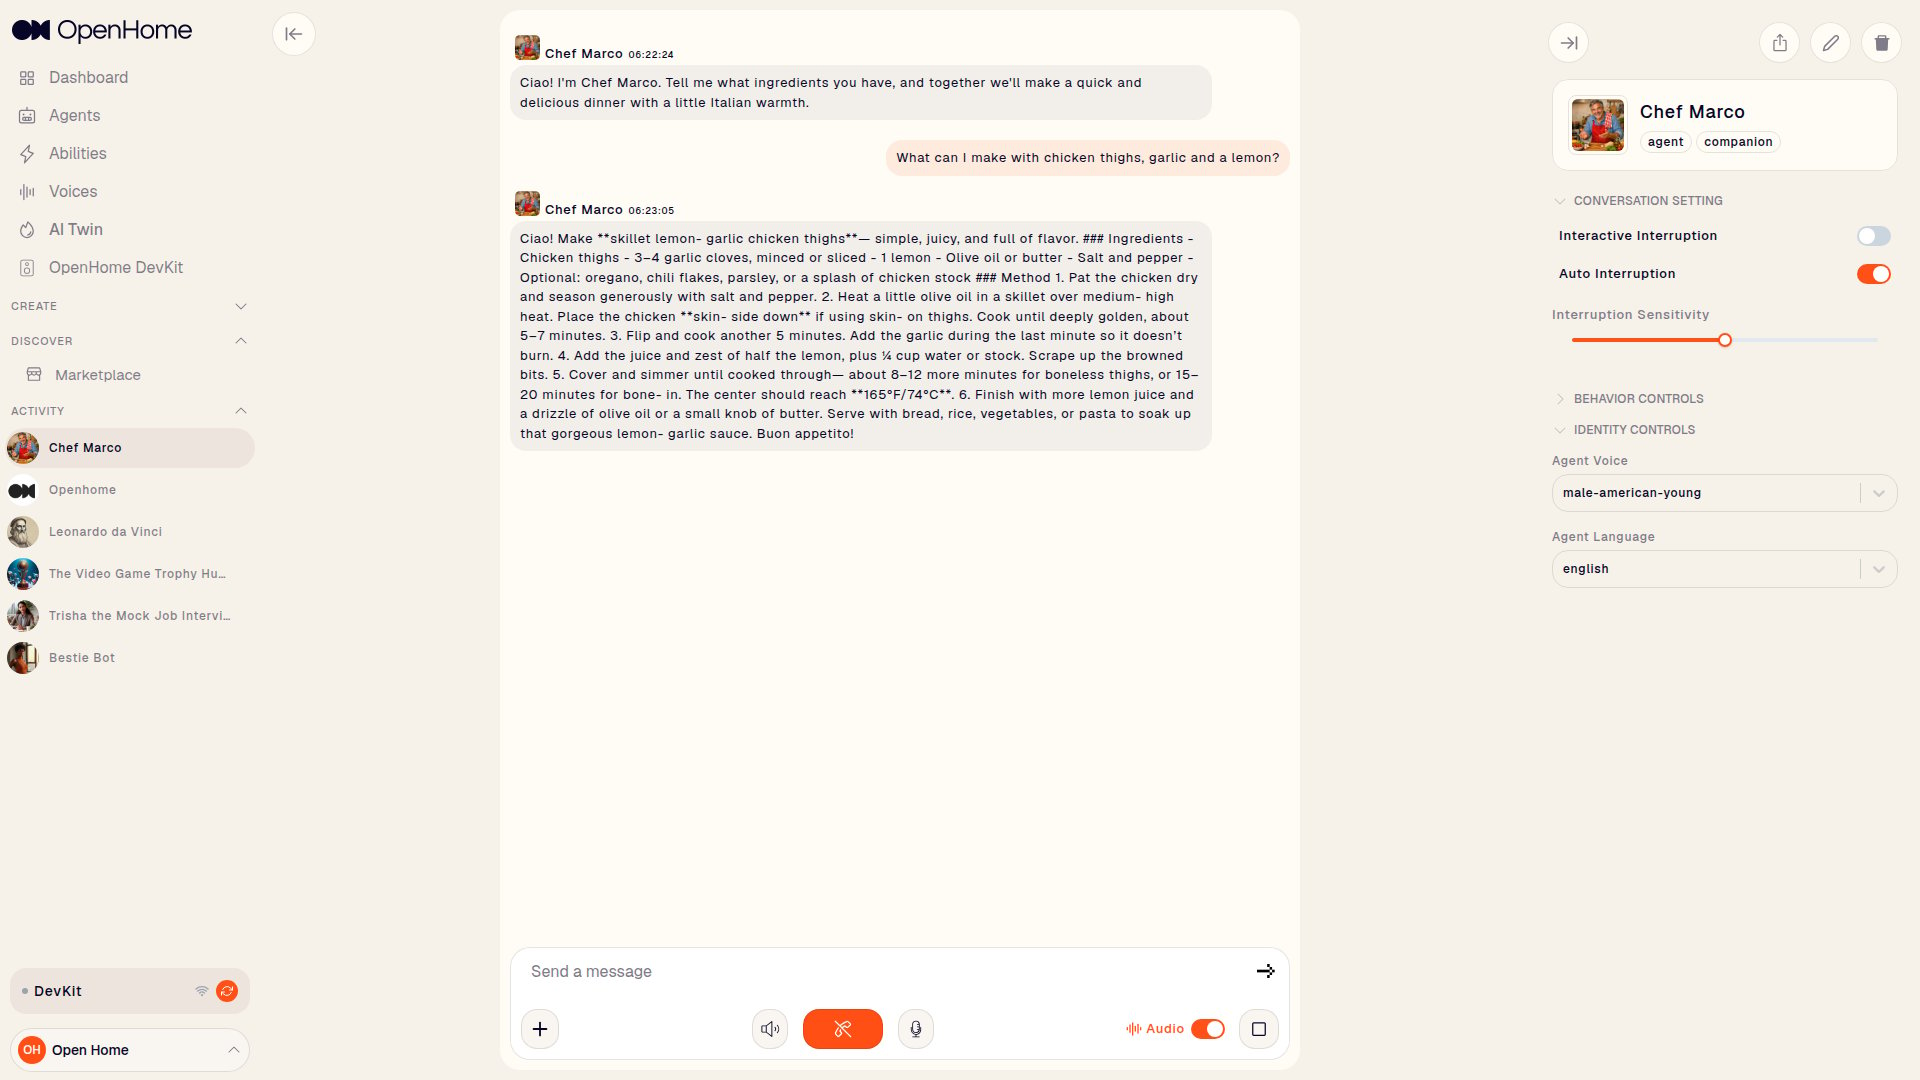
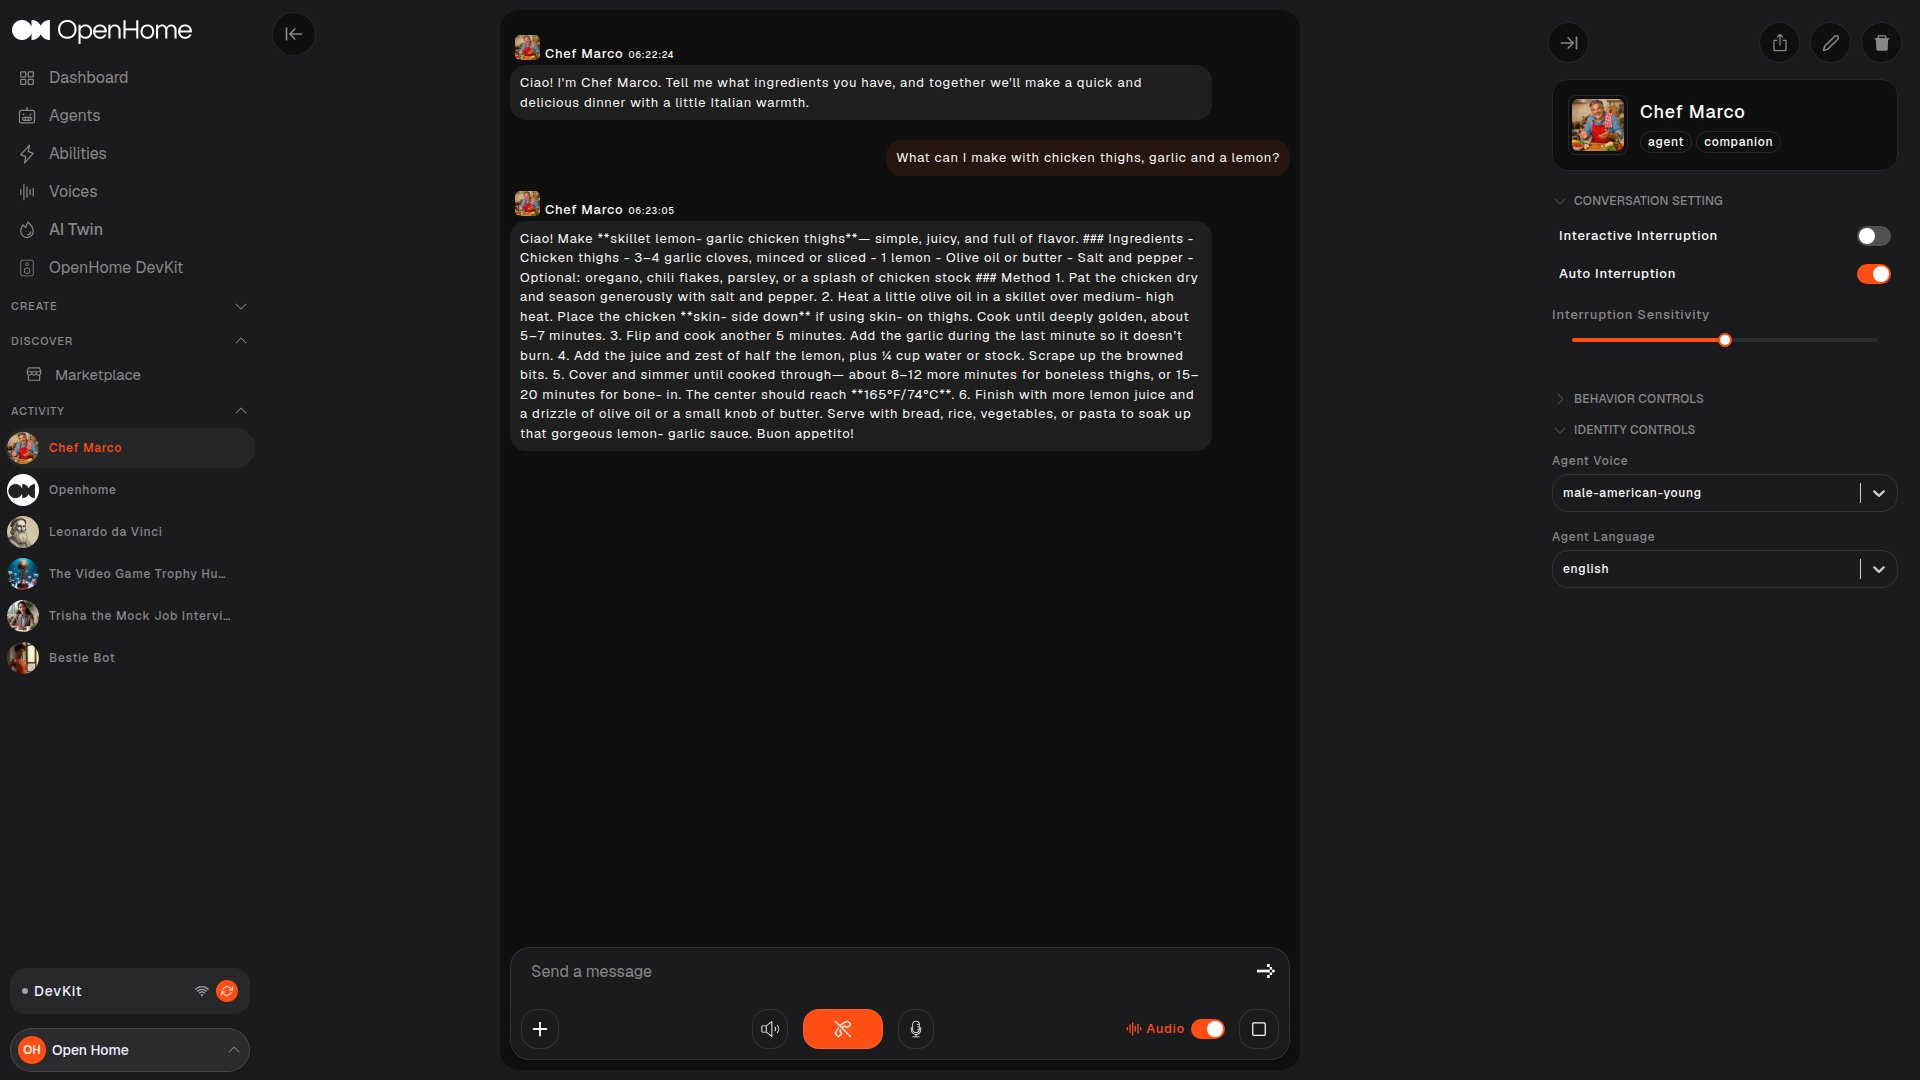
- Conversation Setting: Interactive Interruption (interrupt the Agent while it’s speaking), Auto Interruption (handles interruptions automatically based on interaction cues), and an Interruption Sensitivity slider.
- Behavior Controls: Starting Message and Description prompt, editable here directly, the same values set under Behavior & Identity when creating the Agent.
- Identity Controls: Agent Voice and Agent Language.
Settings
Open Settings from the profile menu at the bottom of the sidebar. It has five tabs.Profile
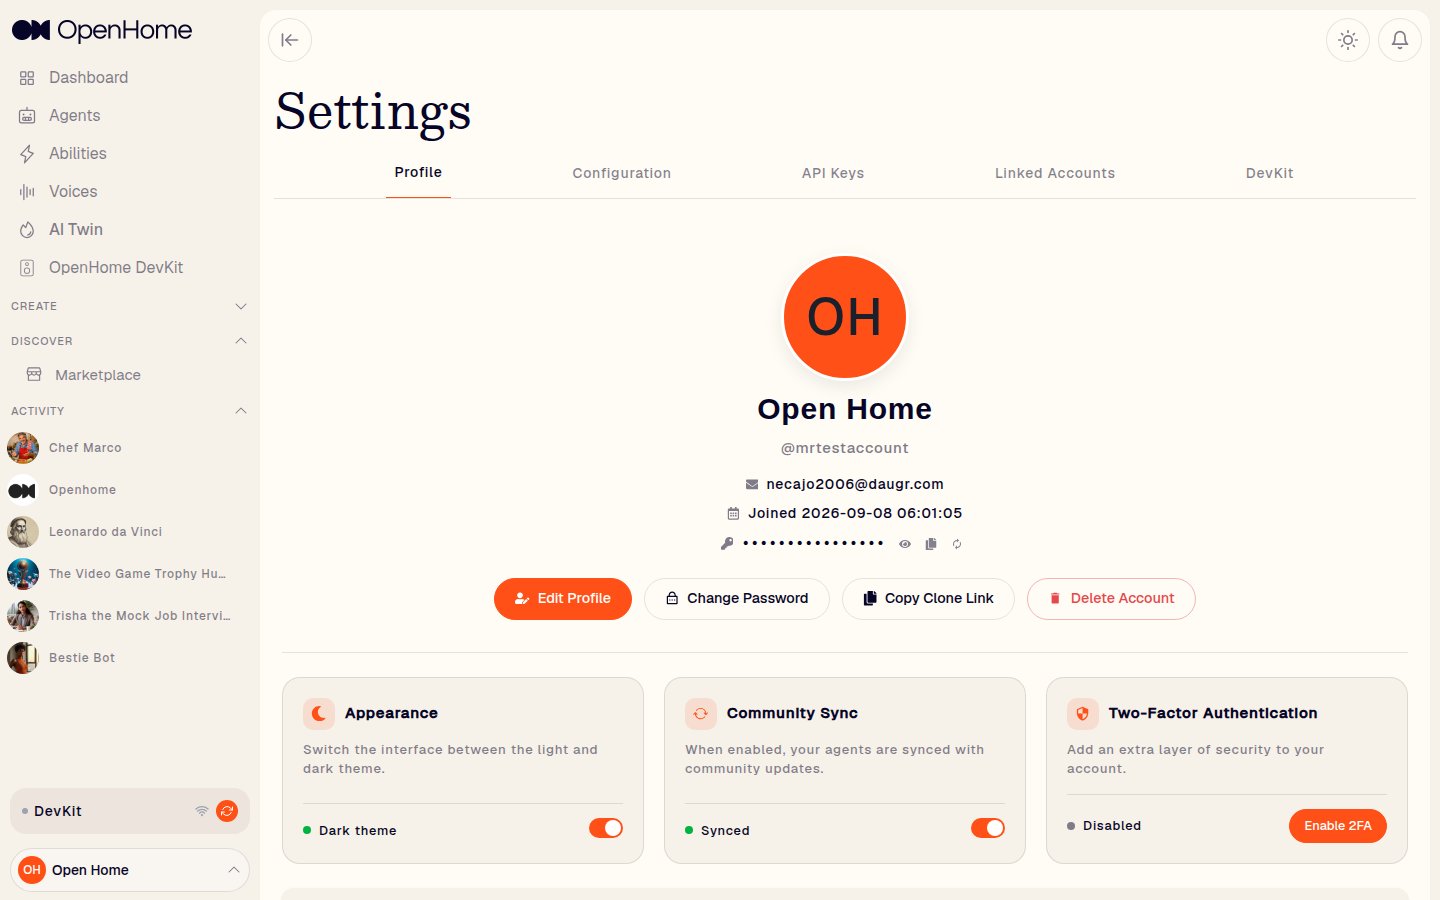
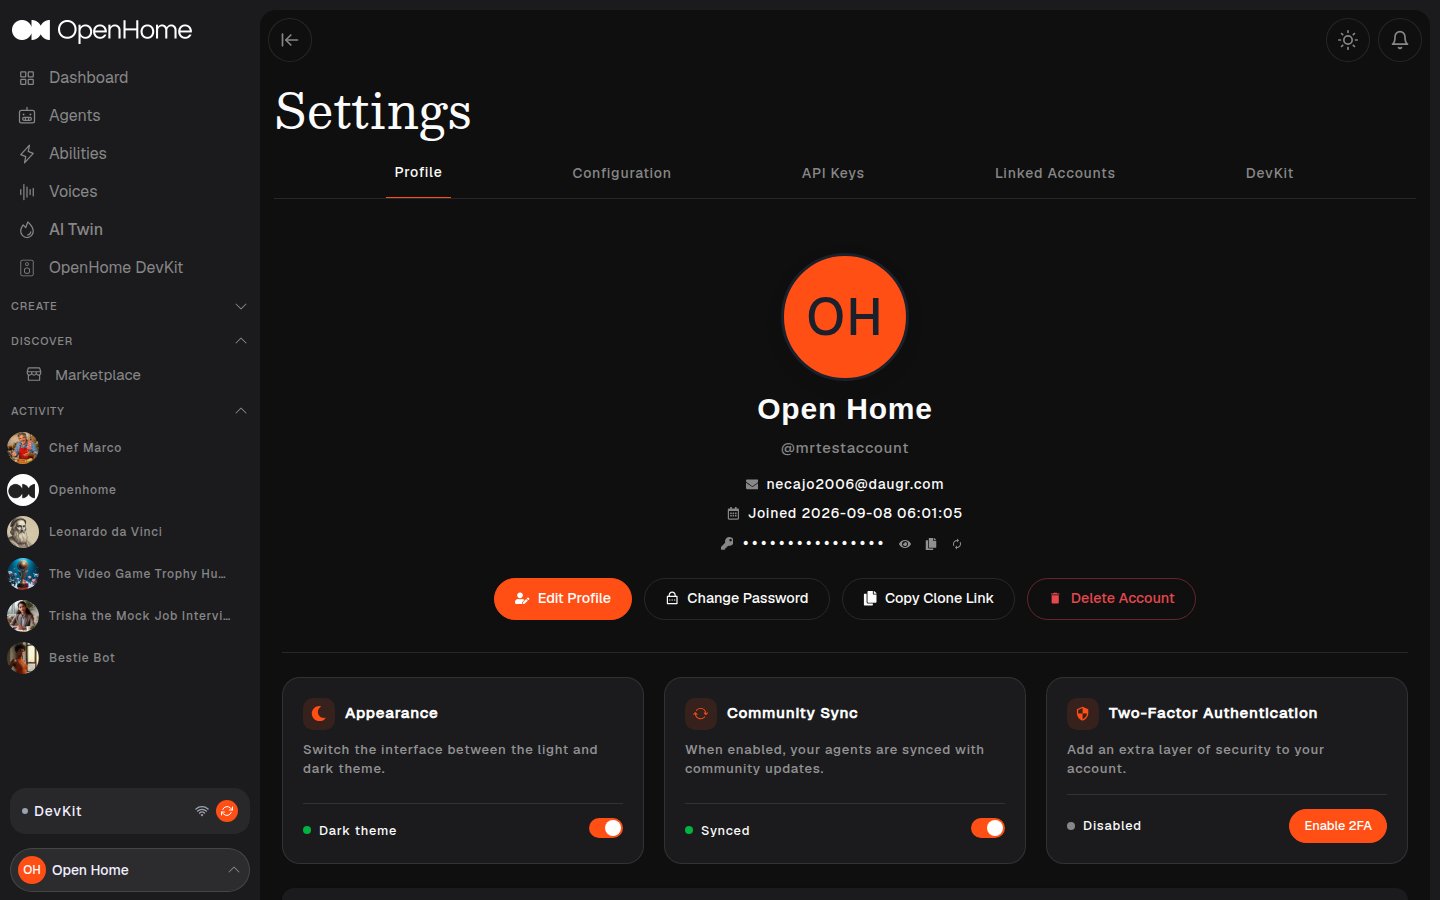
- Edit Profile, Change Password, Copy Clone Account Link (share a link that lets someone else create an account with the same Abilities and data), and Delete Account.
- Email, Joined date, and your API Key (show, copy, or rotate it).
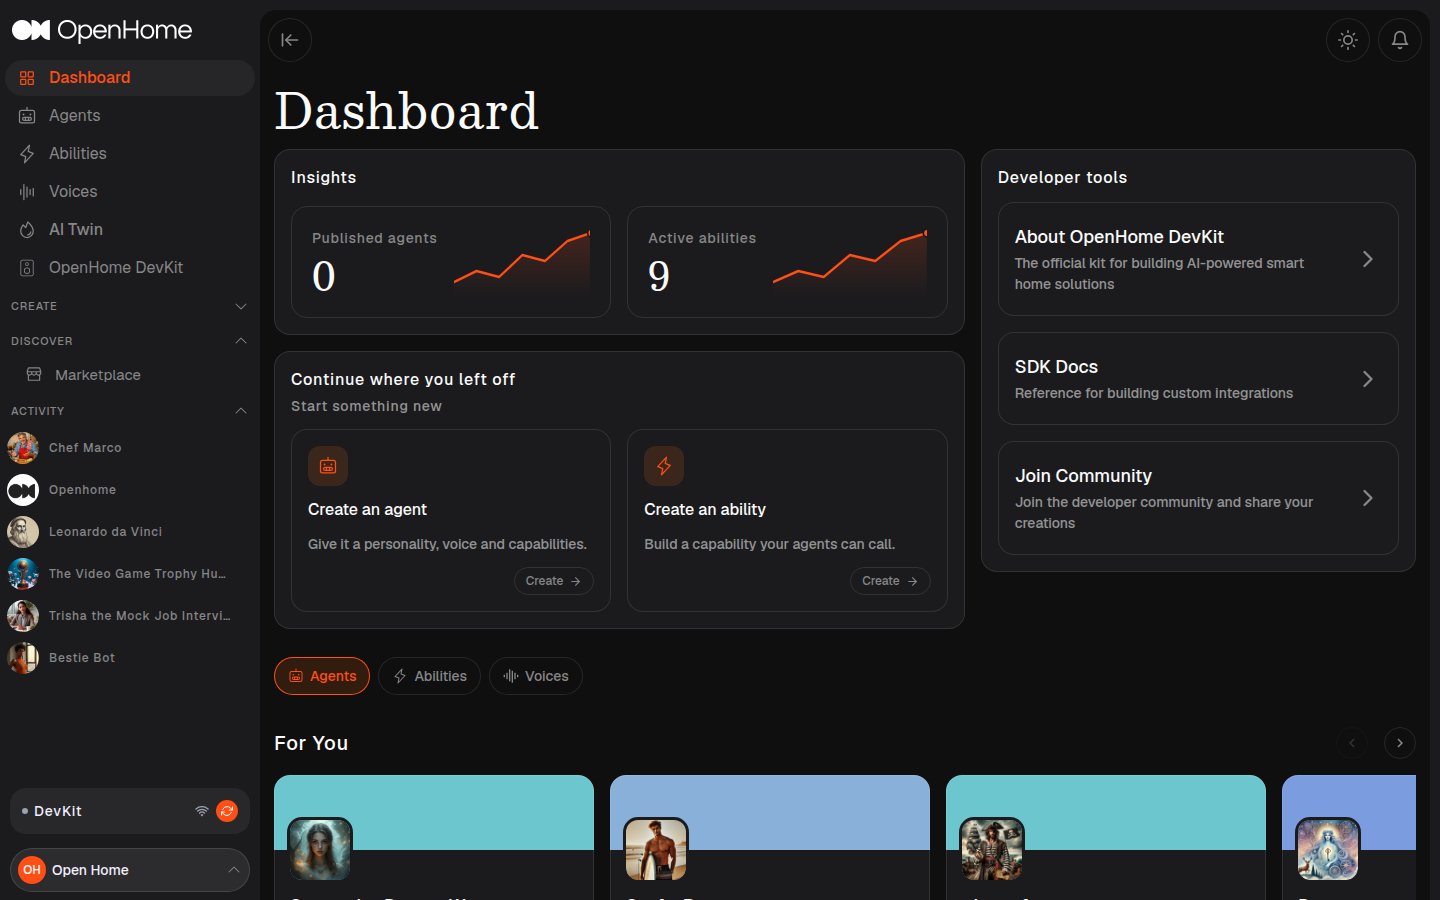
- Appearance: toggle Dark Mode.
- Community Sync: when enabled, your Agents stay synced with community updates.
- Two-Factor Authentication: enable 2FA for an extra layer of account security.
- User Info: view or edit your persistent memory files,
user_profile.md(durable facts: name, role, location, preferences) anduser_summary.md(a rolling summary of recent conversation context). These are injected into the Agent prompt by the memory background. Changes typically take effect on the next background cycle.
Configuration
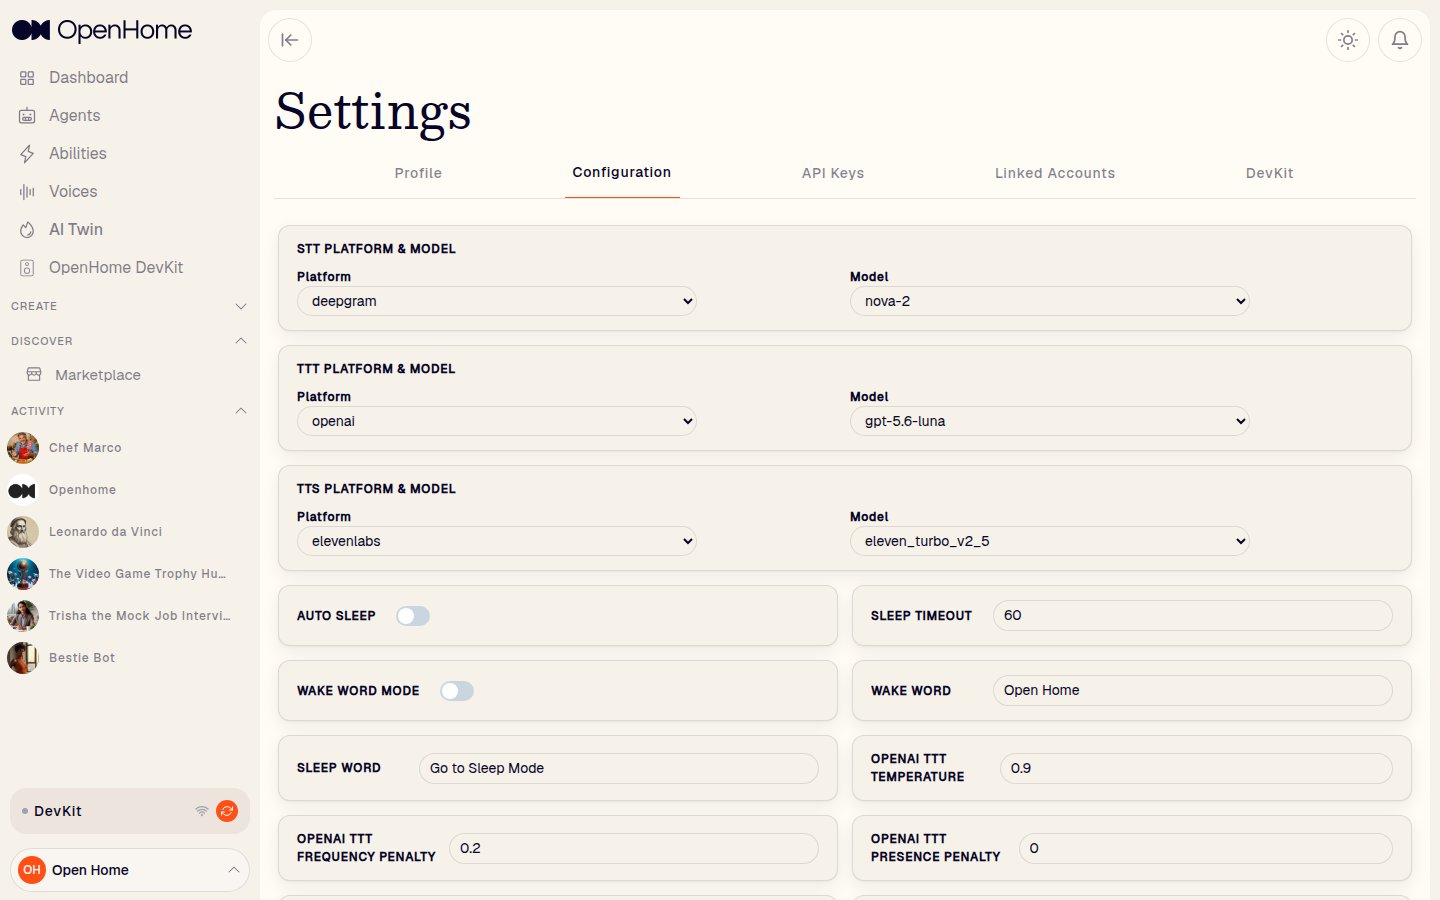
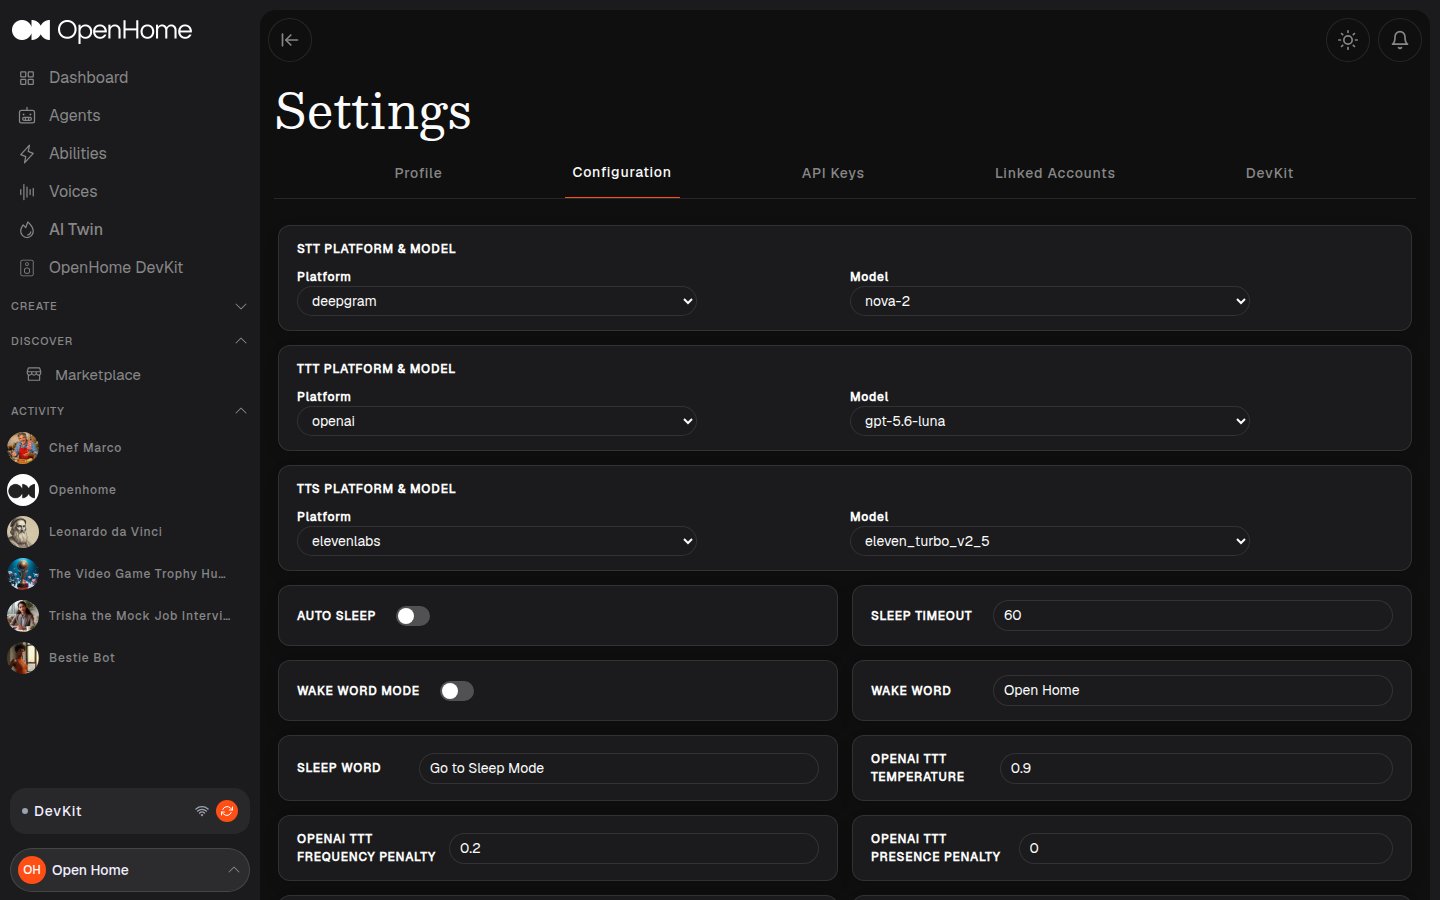
- STT Platform & Model, TTT Platform & Model, TTS Platform & Model: the Speech-to-Text, Text-to-Text, and Text-to-Speech providers and models powering your Agents. Speech-to-Text offers Deepgram and ElevenLabs, Text-to-Text offers OpenAI, OpenRouter, and Venice, and Text-to-Speech uses ElevenLabs. See Voice and Model Configuration for every model each one offers.
- Auto Sleep / Sleep Timeout: put the Agent to sleep after a period of silence.
- Wake Word Mode / Wake Word: require a spoken wake word before the Agent responds. See Wake Word & Sleep Interaction for the full behavior.
- Sleep Word: the phrase that puts the Agent to sleep on command.
- OpenAI TTT Temperature, Frequency Penalty, Presence Penalty: tune response randomness, repetition, and topic focus.
- Voice Stability / Voice Similarity Boost: how consistent the synthesized voice is, and how closely it matches the reference voice.
- Utterance Threshold: the threshold, in milliseconds, for treating captured audio as a complete user utterance.
API Keys
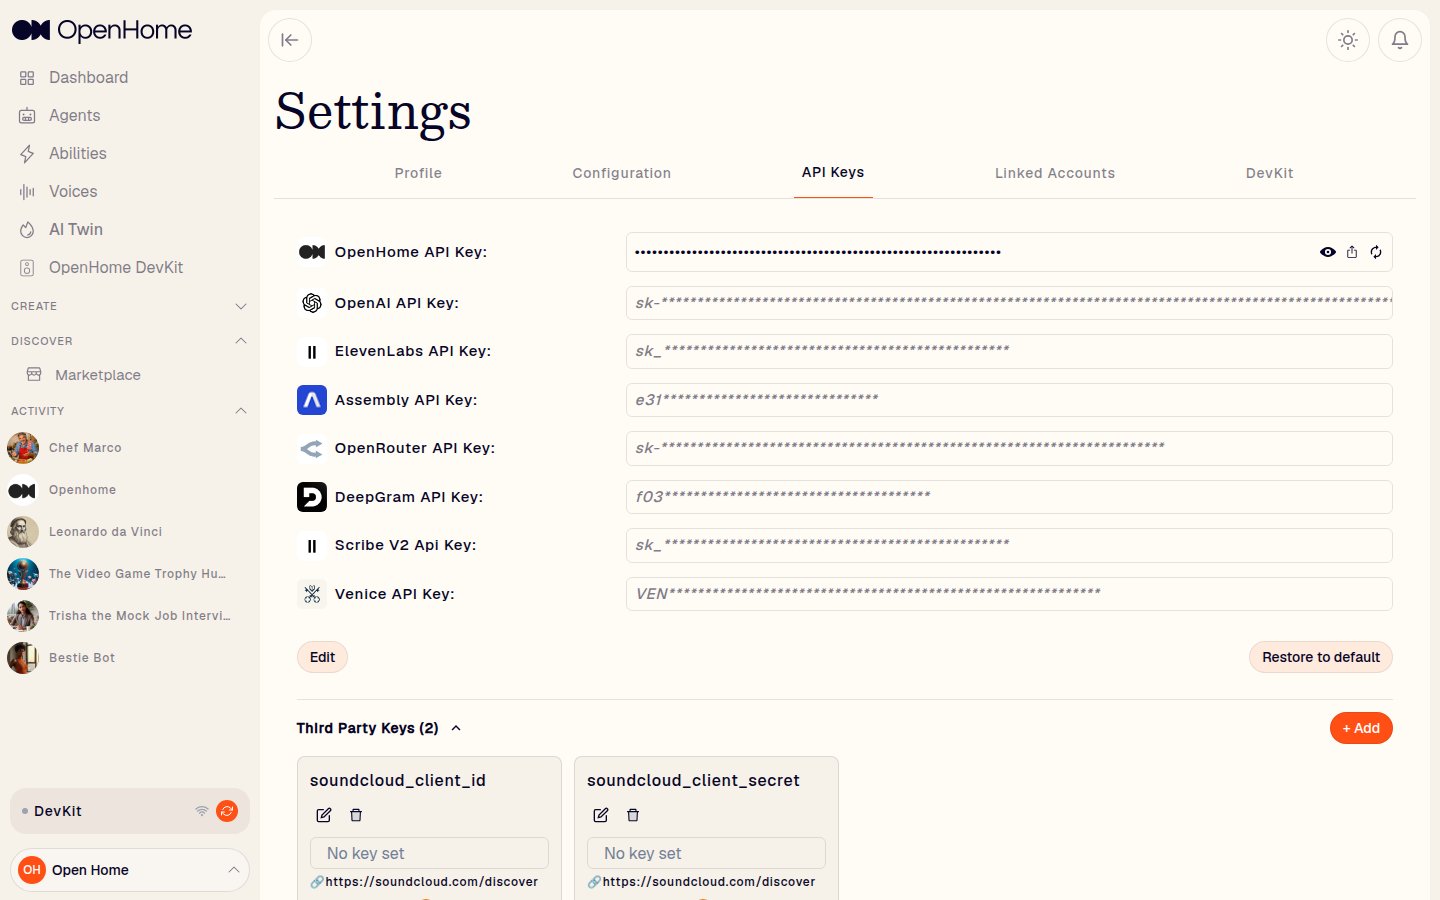
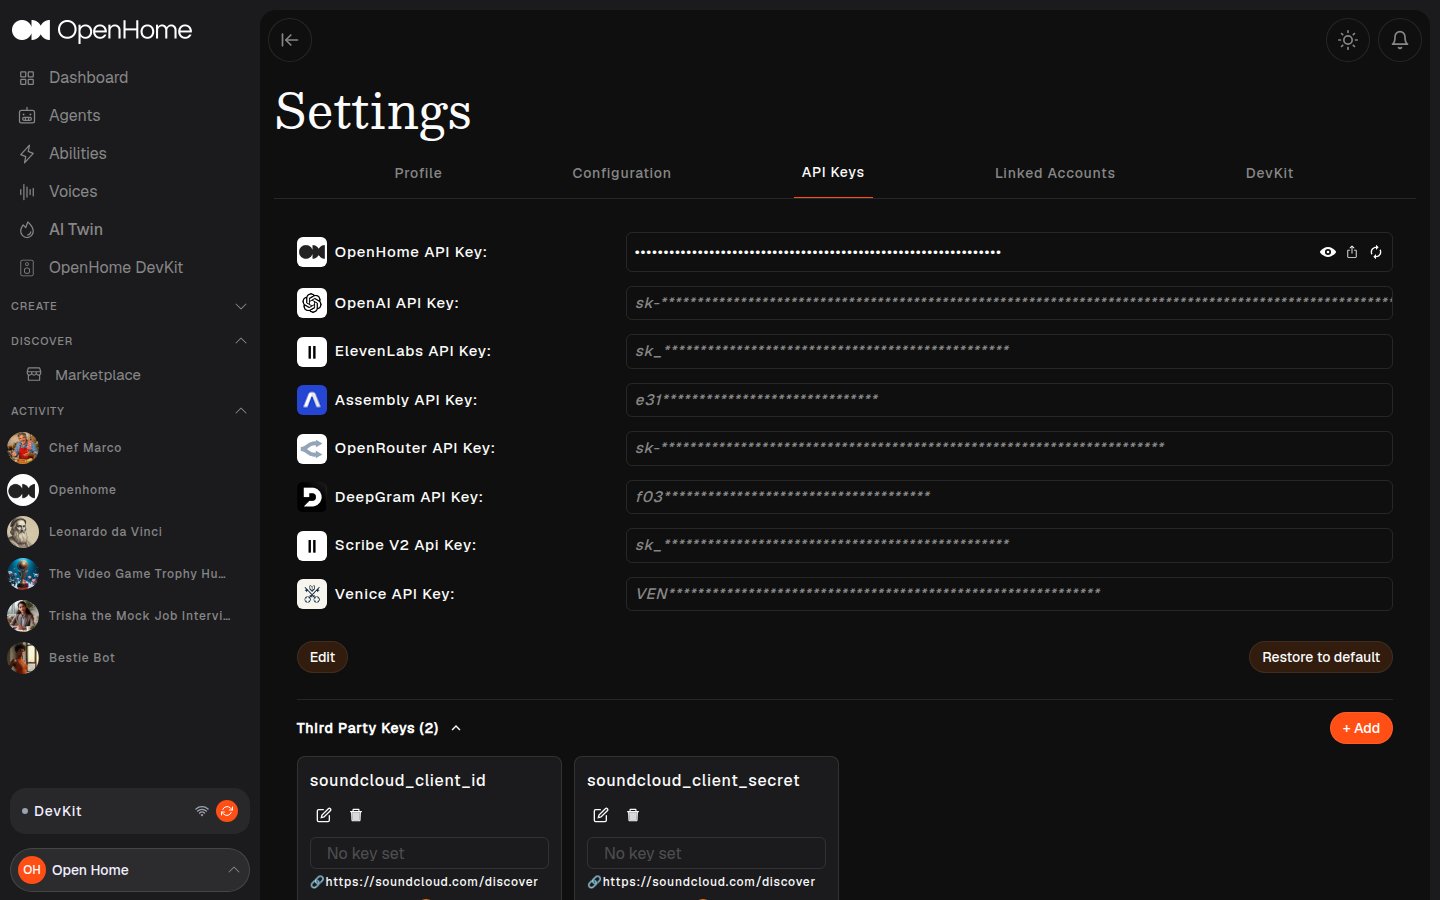
- Default provider keys, in the order they appear: OpenHome, OpenAI, ElevenLabs, Assembly, OpenRouter, DeepGram, Scribe V2, and Venice. Use Edit to change one, or Restore to default.
Updating these keys means your Agents draw on the associated provider accounts and may incur charges. OpenHome is not responsible for costs from your own keys.
- Third Party Keys: custom keys your Abilities depend on (for example a
soundcloud_client_id). Click + Add to create one, or use the edit and delete icons on an existing key. See Custom API Keys for how Abilities read these at runtime.
Linked Accounts
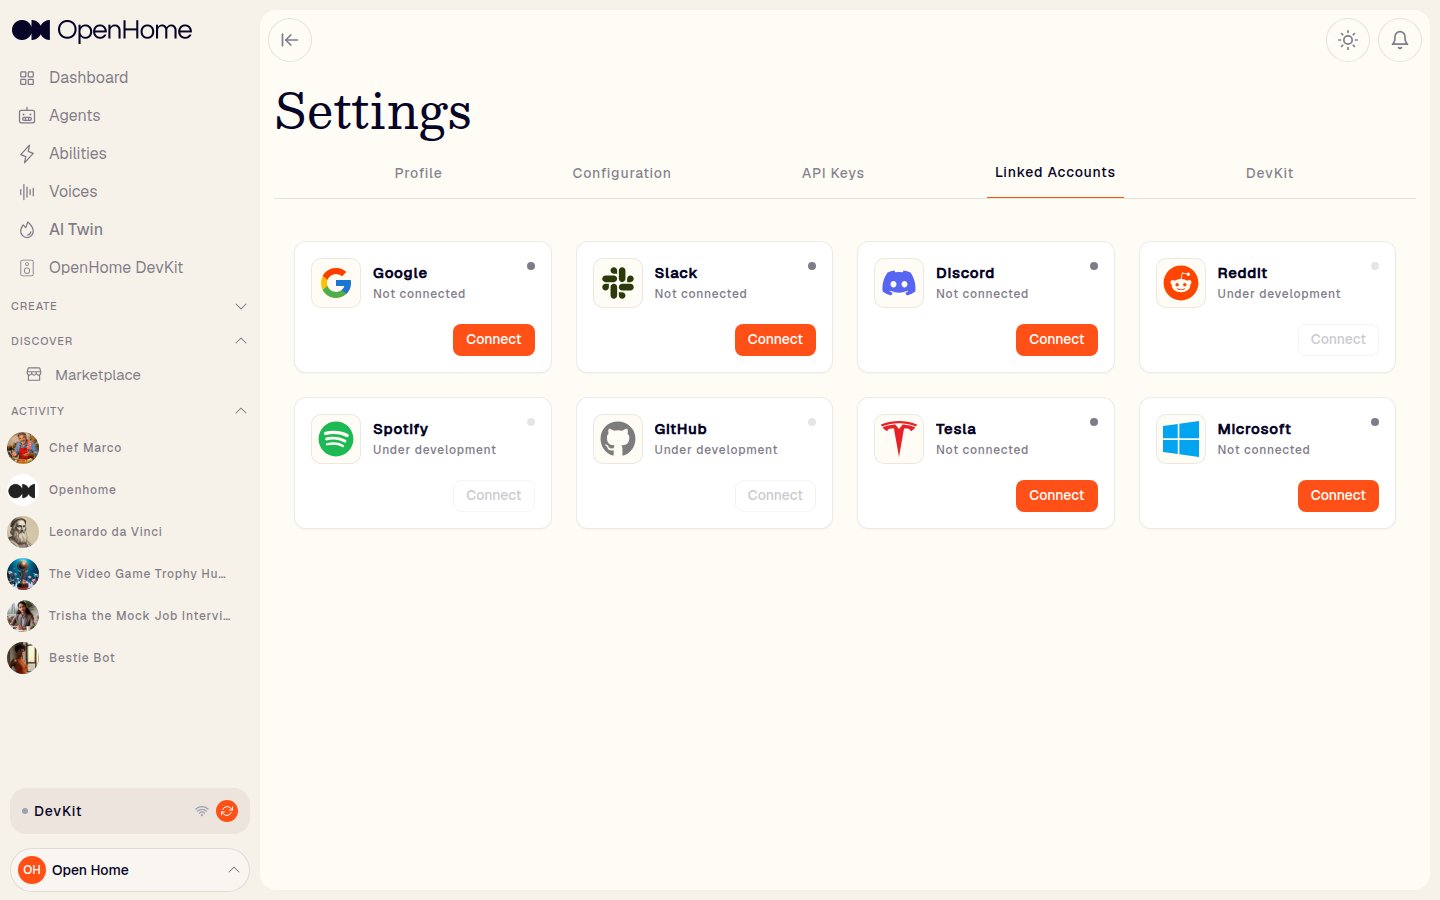
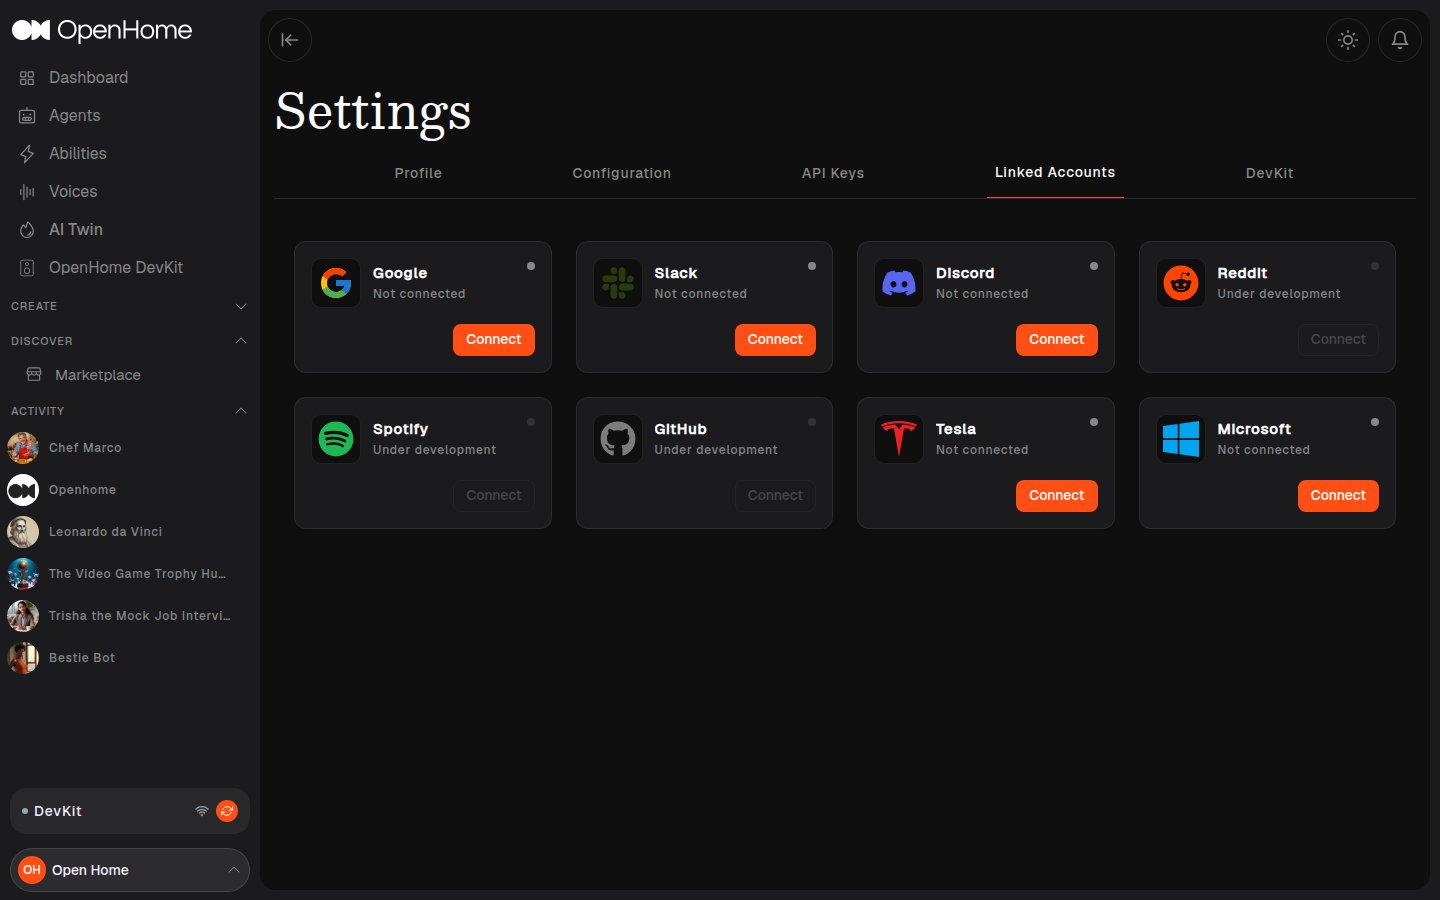
- Supported providers: Google, Slack, Discord, Tesla, Microsoft.
- Under development: Reddit, Spotify, GitHub.
get_token() method. See Reading Linked Account Tokens with get_token() for the SDK-side reference.
DevKit
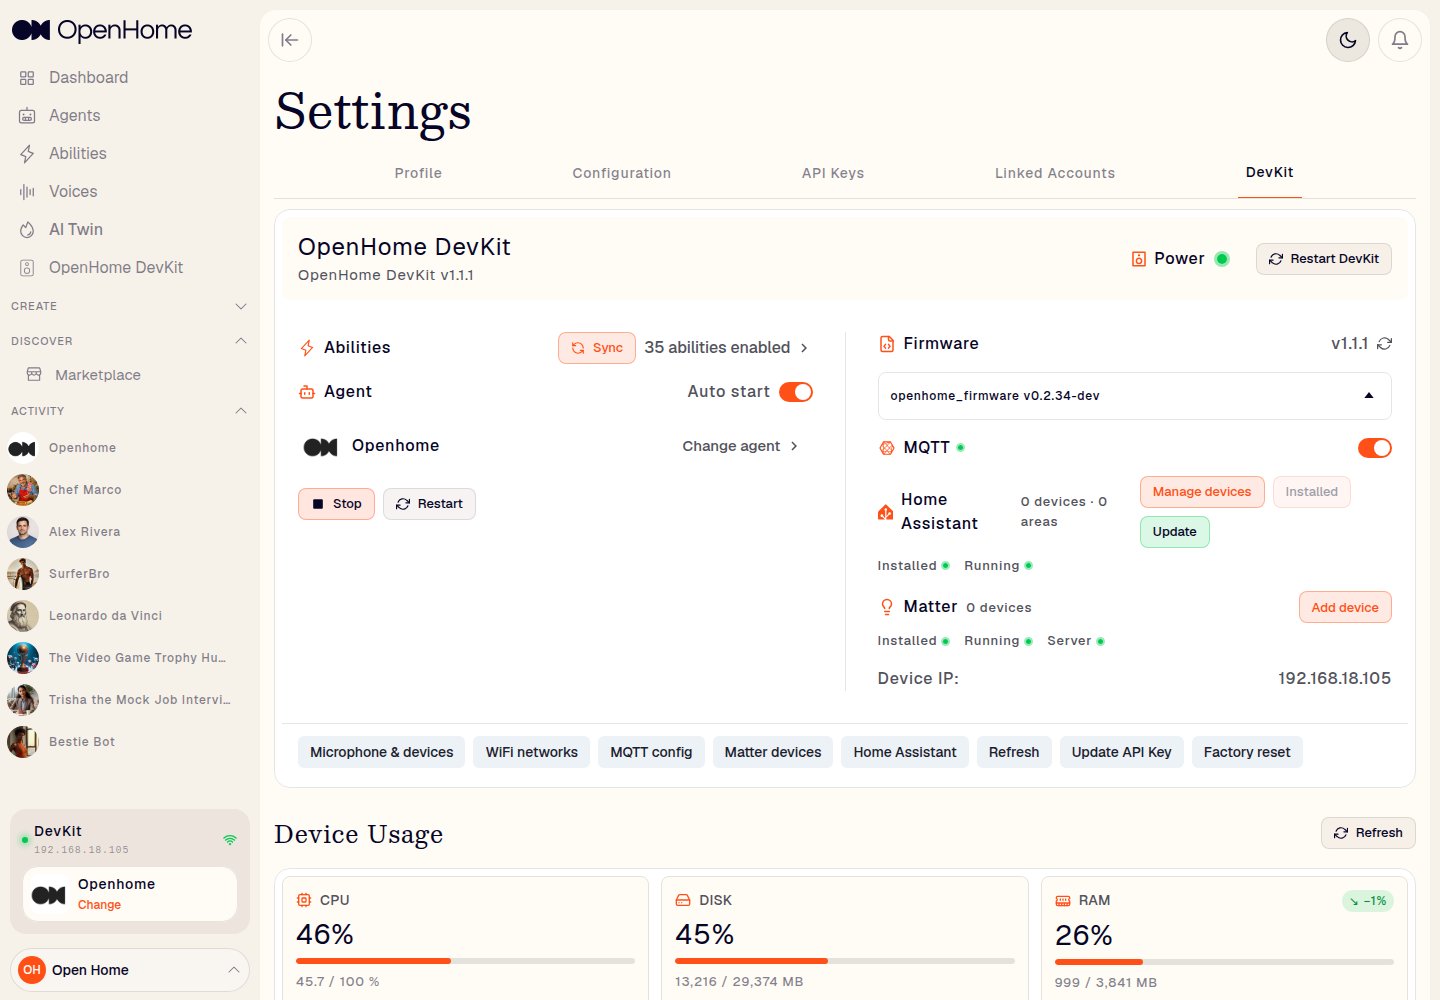
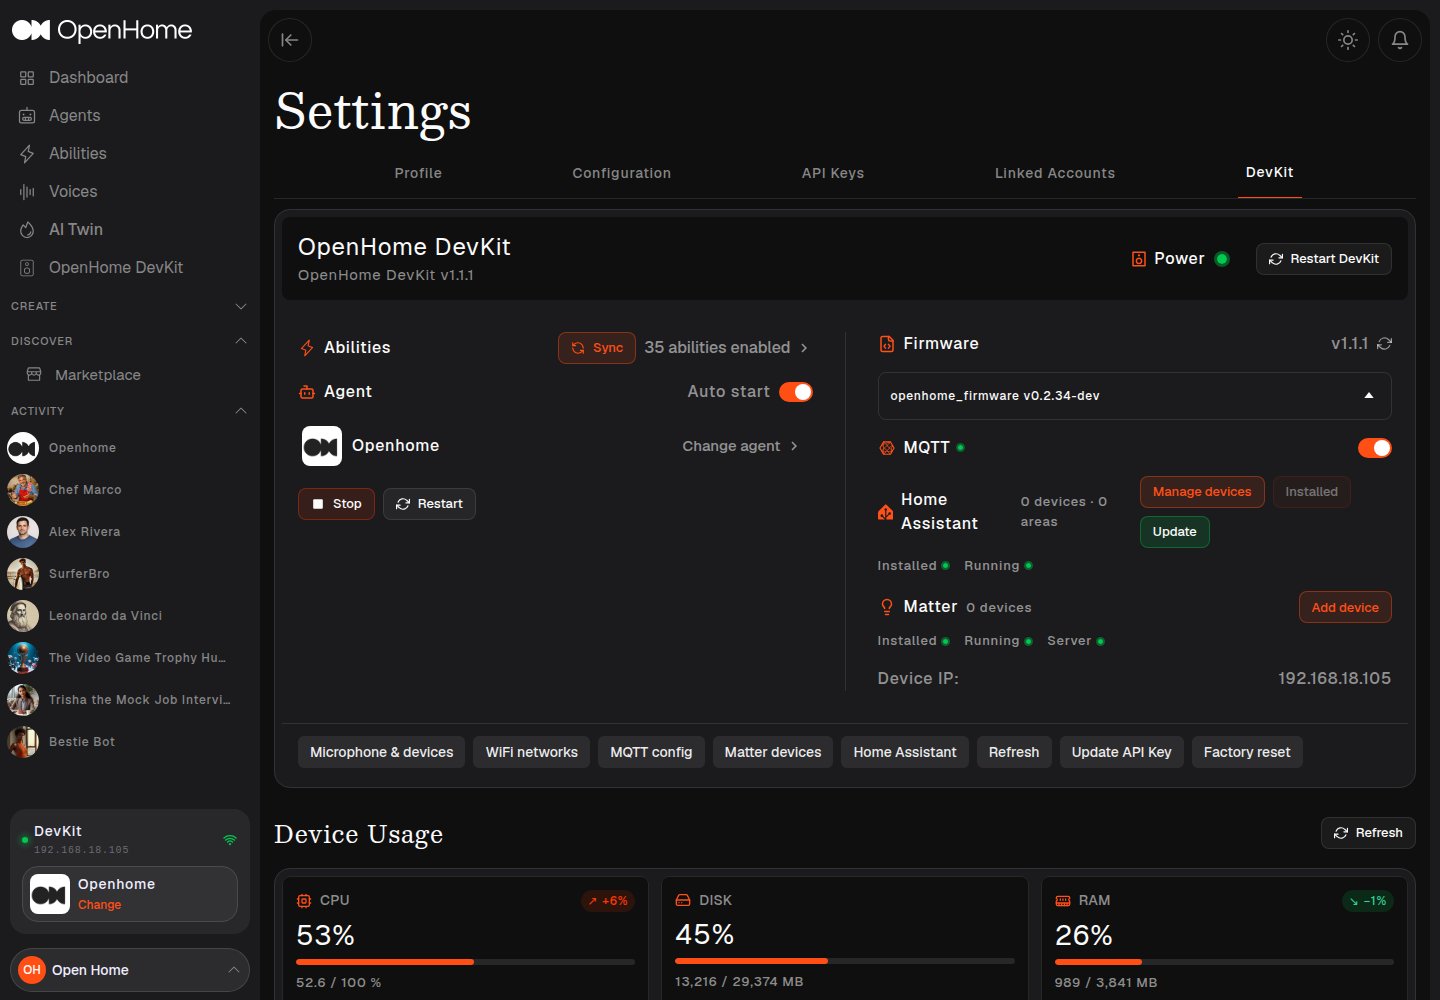
- Power: whether the DevKit is connected, and a control to reconnect it. While it is disconnected, the rest of the tab stays empty.
- Restart DevKit: reboot the device. The hardware revision is shown under the device name.
- Abilities: how many are enabled on the DevKit, with Sync to push local Ability changes to it. See Syncing Local Abilities with the DevKit.
- Agent: the Agent running on the device, with Auto start to launch it on power-on, Change agent to switch it, and Stop and Restart to control it.
- Firmware: the running version, and a selector for switching to another available image.
- MQTT: enable or disable the MQTT client. See Controlling MQTT Devices.
- Home Assistant: connected device and area counts with Installed and Running status, plus Manage devices and Update. See Home Assistant on the DevKit.
- Matter: connected device count with Installed, Running, and Server status, plus Add device.
- Device IP: the DevKit’s address on your local network.
- Device Usage: CPU, DISK, and RAM for the device, each as a percentage, an absolute value, and a recent trend.
See also
- Quickstart, the fast path to a working Agent and Ability
- Agents, how Agents work under the hood
- What is an Ability, Ability categories and concepts
- Wake Word & Sleep Interaction, the full wake word and sleep configuration reference
- Building Abilities, write your own Ability in Python